Scenerytember Roundup
It’s been quite a month!
For September, I wanted to get some more scenery painted, since the last bunch I did were March and the dice tower from June. I find scenery to be a nice break from painting characters, and also gives me a chance to try some new things out!
Trying out the Candy Coats Paint Set by TTCombat
The big thing for me trying out new stuff was this paint set. I’ve only used one candy ink before, where I used it to make gold look aged with a green candy ink, but never really knew what else to do with it. This set from TTCombat gives a great range of colours to let you create a range of gem effects, but also they’re perfect for painting vehicles and glass. The way Candy paints work is that it still shows what’s beneath it, providing a colour filter. Think of it like a mirror, where the glass itself isn’t the reflective surface, it’s the layer beneath it. This allows you to use different coloured glass or gels over the glass to colour it. Candy Paints are often used in custom car circles, because they give a beautiful effect, and allow intricate patterns to still be able to be seen beneath the colours.
The Candy Paints end goal was to paint Max’s Hot Ride from Don’t Look Back, a lovely Chevrolet IROC-Z sports car from the 80s.


Playing With Fire
I also made a painting tutorial for how to paint flame effects! In the video I paint a standard yellow/orange flame, but the same technique can be used with any colours to create any form of flame, from a magical purple flame to an otherworldly green flame. In the video I show examples of previous flames I’ve painted, including other colour styles, which all worked toward me perfecting the effect in my eyes.
Painting Fire, because it’s great.
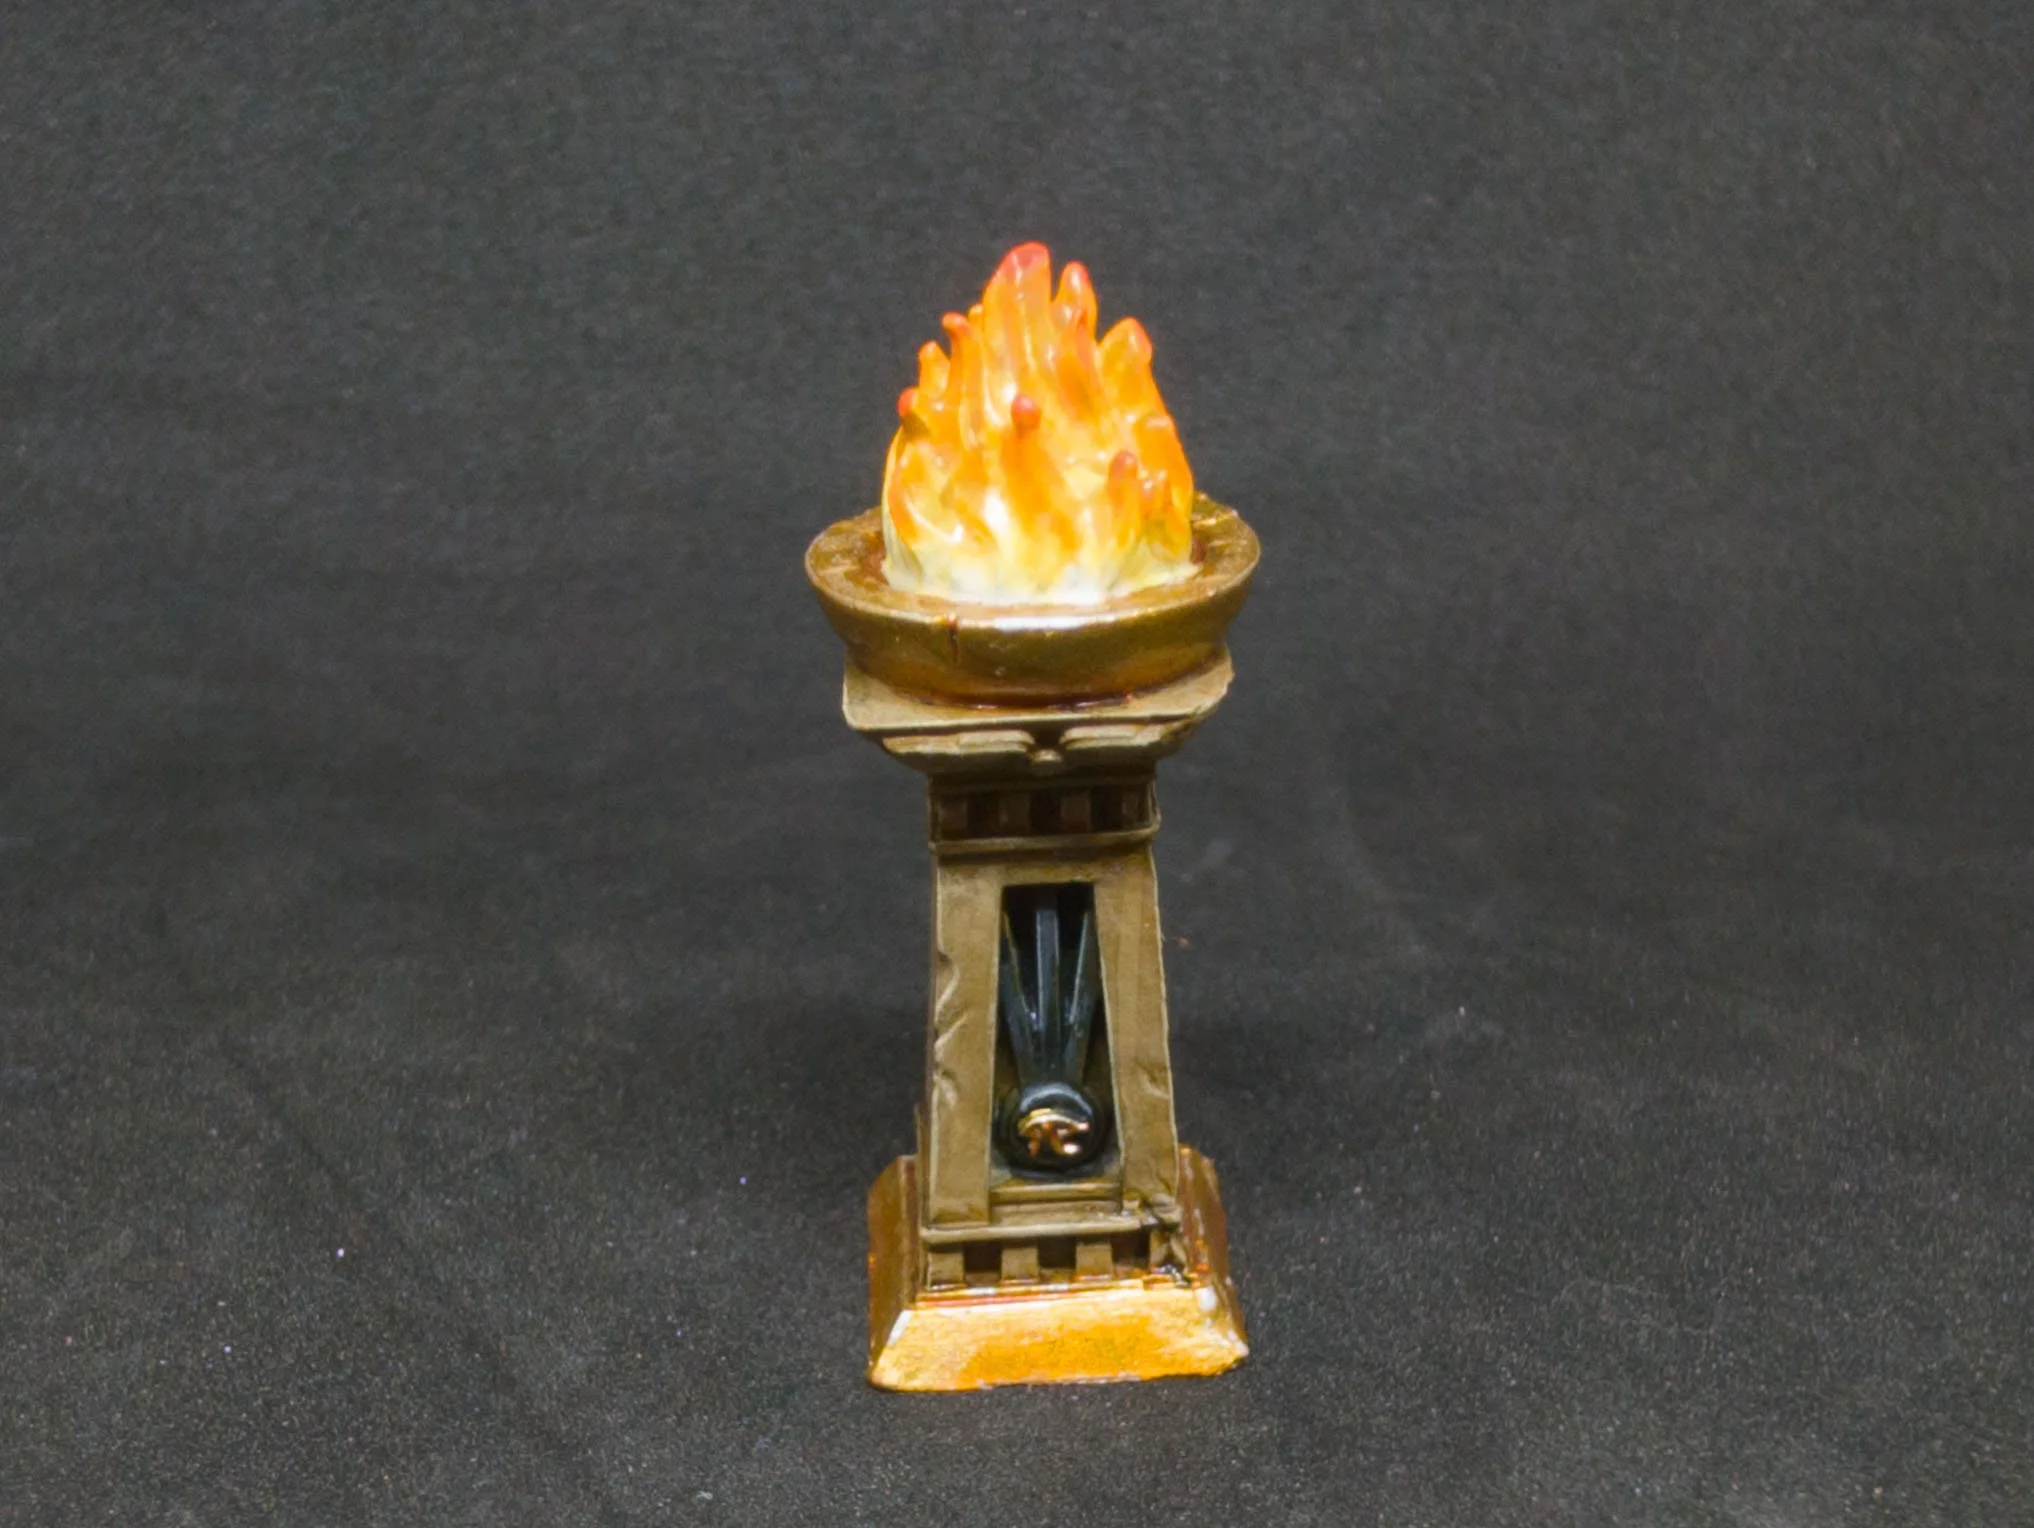
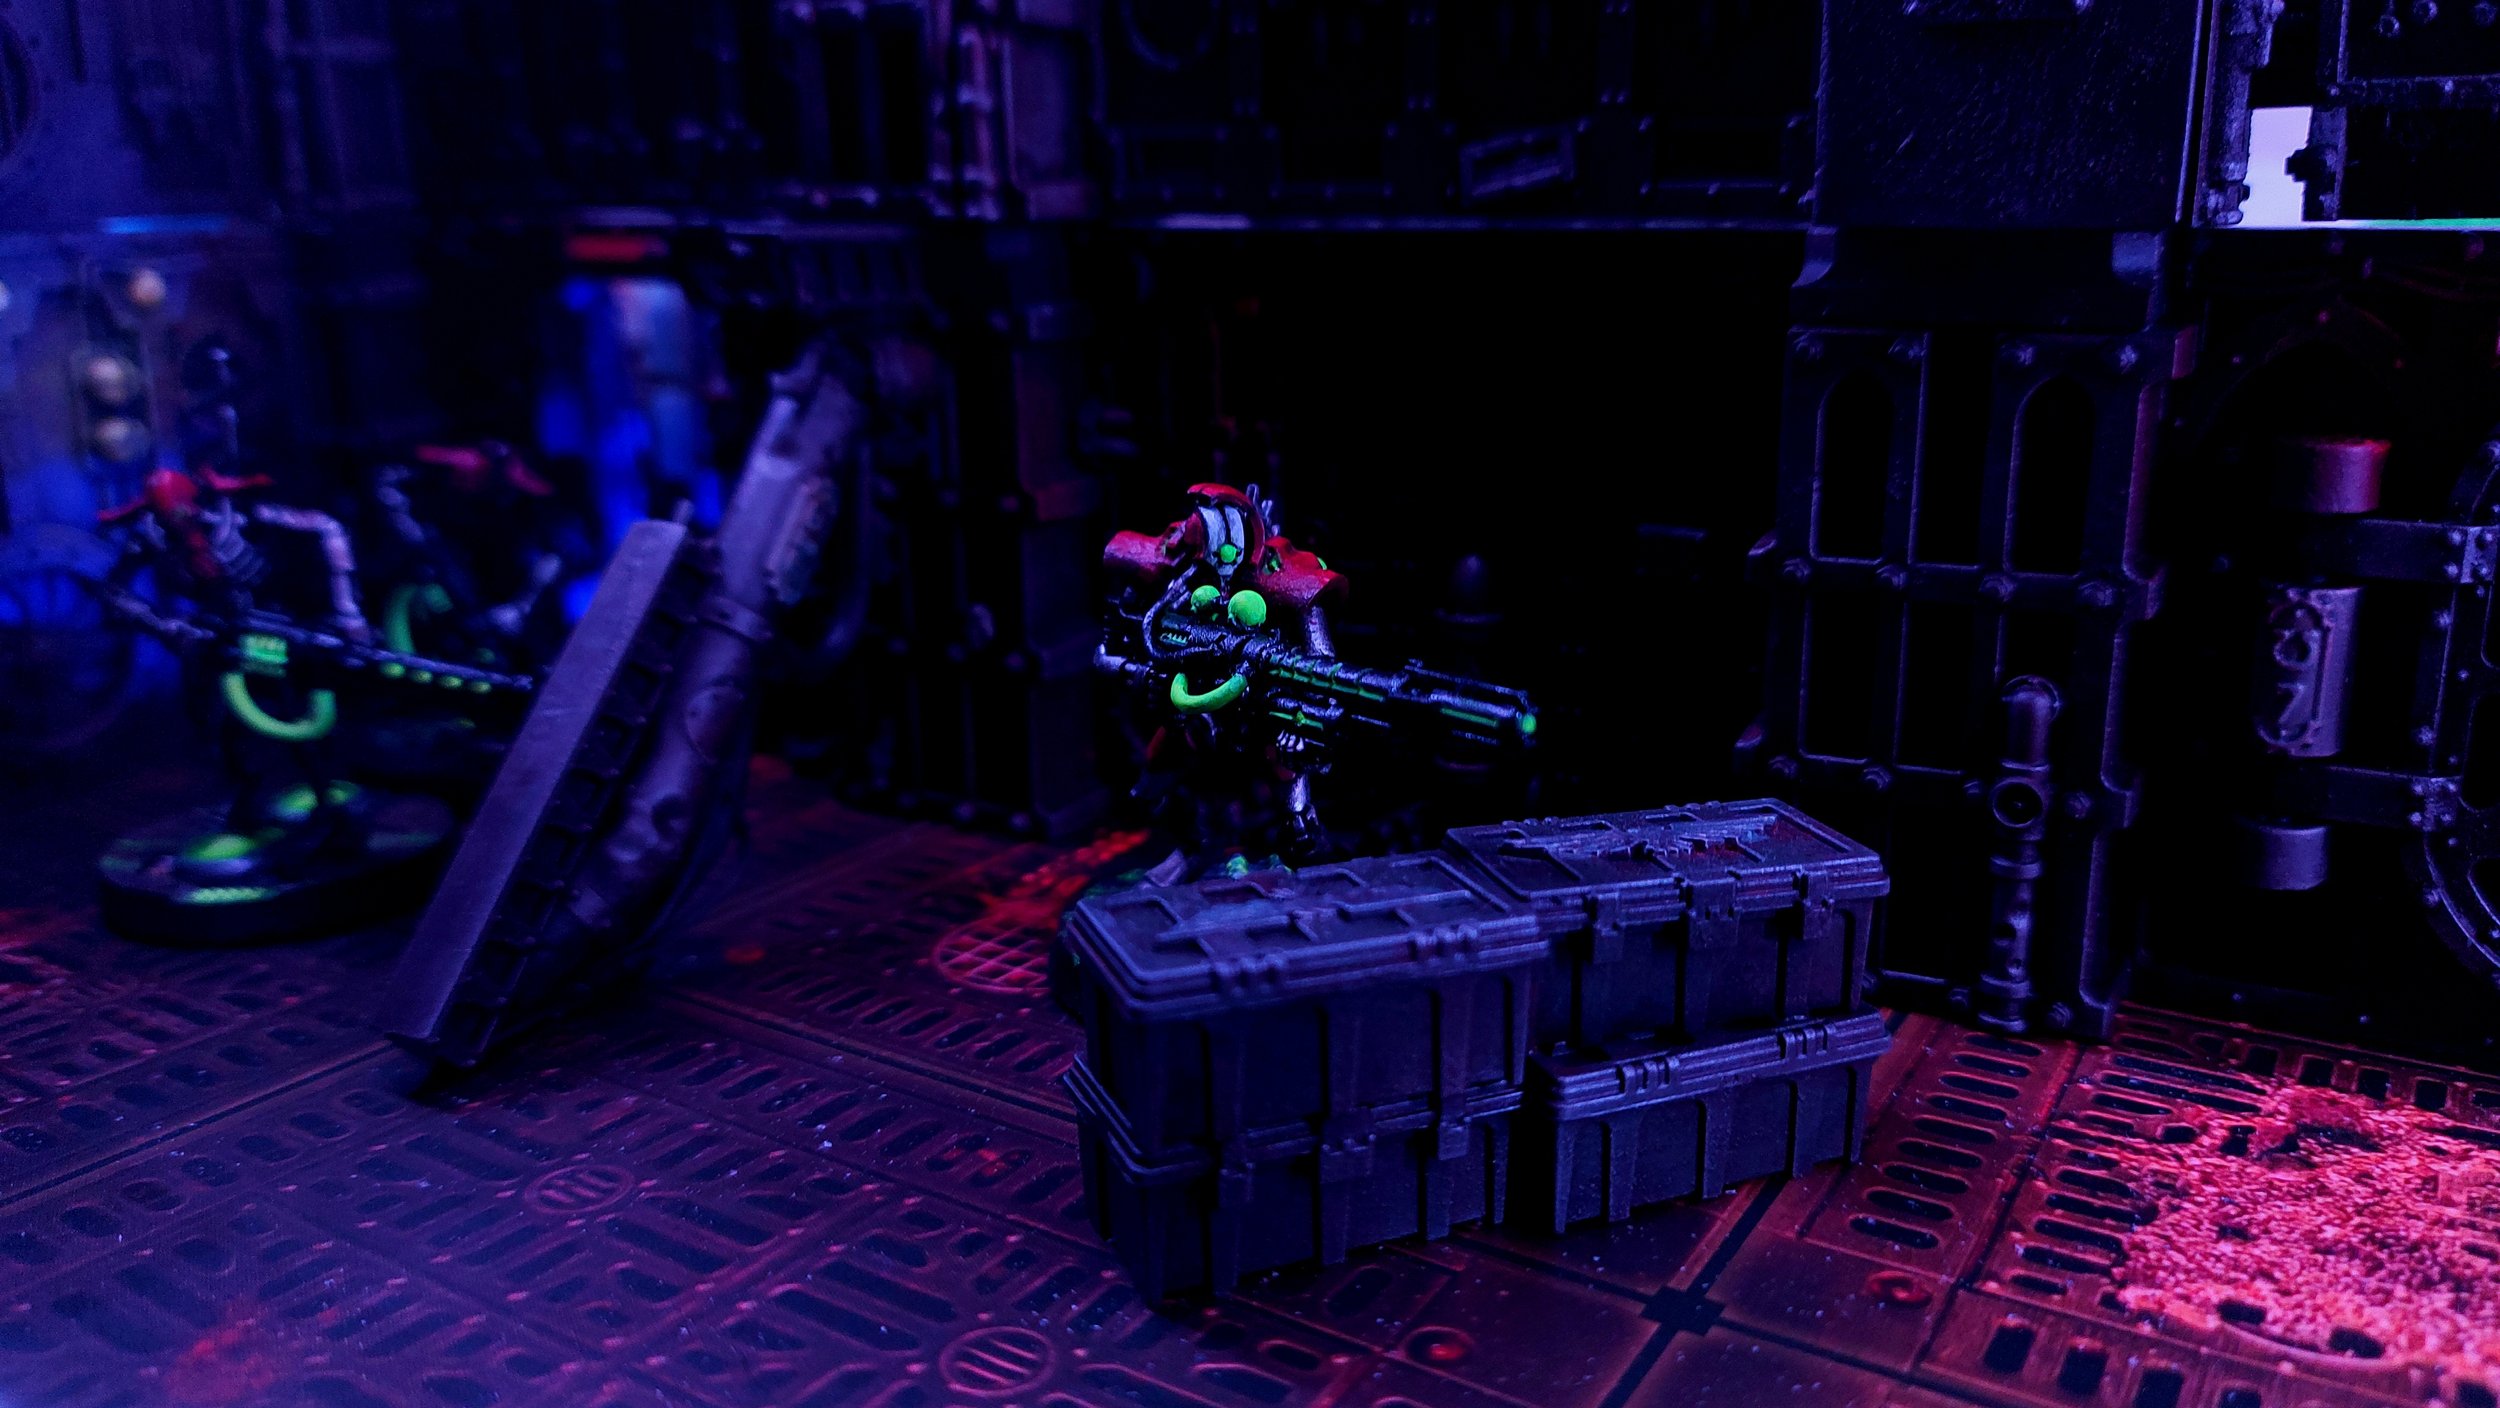
The fire brazier is by MaxMini, from the Necropolis scenery kit.
Planning The Perfect Heist
TTCombat have some great resin kits in their City Scenics range, including a couple Bank Accessories kits. In these you find ATMs, a bank vault door, CCTV cameras and computers, Alarm boxes, safes, loot and gold bullion.


I’ve put the Alarm boxes on a couple bits of scenery already. One is above the garage on a TTCombat house, the other is on the Morley & Wagner building from Red Beam Design, for The Walking Dead: All Out War’s Woodbury scenarios. Some of the cameras are also in use. I added one to the front of the same TTCombat house, and I added a couple to the Deluxe Dinogas Station. I’ll probably end up adding some to the Prison from The Walking Dead: All Out War, too. I painted the safes as different colours, just to give some variation, and also inspired by the safes from Payday 2, where the black safes were able to be cracked, but the enhanced, tan safes were not, and needed drilled. The black safe is painted with silvers, then black candy paint over that. The ATMs are also inspired by Payday, where I took the colour scheme from the Payday 3 Secure Capital Bank. I used Gloss varnish on the screen and the TTC plate, which is just to show that the ATMs are protected by the same group who do the alarm systems.
Street Life
I wanted some more scatter terrain for the streets. I didn’t have any modern lampposts, which you may think, “So what?” but in The Walking Dead (Again, in Woodbury) there are Lampposts which have rules for stealth based scenarios. But you know what other game I play has light mechanics and can be played in Urban areas? Don’t Look Back! Other bits of scatter terrain are construction barriers and large barriers, which I painted like the big barricades you see on the sides of racing tracks, and roadwork barrier/dividers you see on motorways.


The light casings on the lampposts are done with Candy Paints, as are the lights on the construction barriers.
Here’s Negan!
YEARS ago, I backed a Mantic Games Terrain Crate Kickstarter, and one of the kits contained everything you need to replace the card tokens in Here’s Negan. Well, I finally got round to painting them!


I even brought back the TippOil brand from when I painted the barrels in June. The inside of the furnace was painted the same way I did fire in the tutorial video,
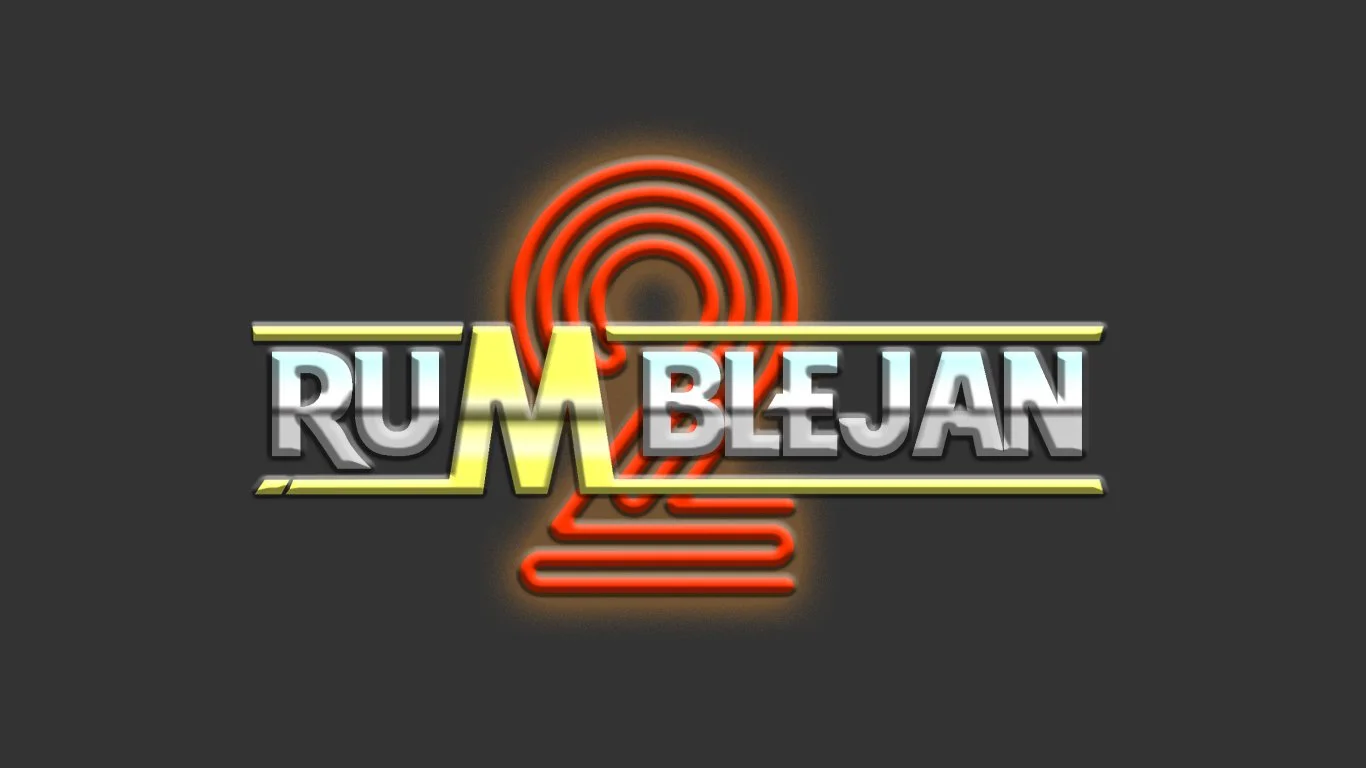
Rumbleslam Ring Ready!
I also got to painting and building the Deluxe Rumbleslam Ring, which has a nice storage space beneath the ring, and the turnbuckles break down nicely into the storage space, too.


I used the same painting scheme as I did for the arena, so when used alongside it, which it matches the height of the entranceway, too, so the steps can either sit alongside the ring or the entranceway.
Machiya Kit
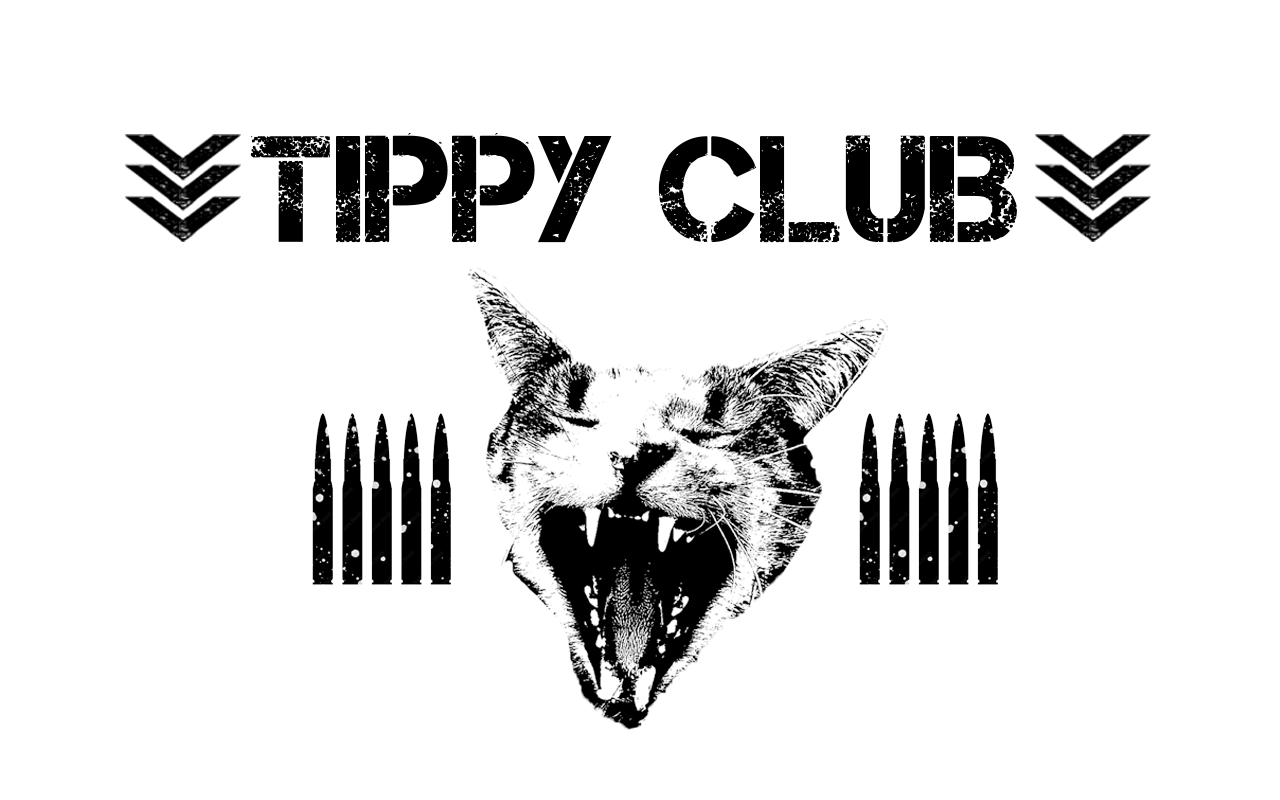
I while back, I bought the Machiya Store Front set from TTCombat when it was in their Last Chance To Buy section, before they released an updated set to replace this one. It’s a nice little kit, and I added a little cat to the front, which I painted like Jiji from Kiki’s Delivery Service. I also used a translator to see what the Kanji would be for Tippy Club, ティッピークラブ - Tippīkurabu


So… Yeah!
It’s been a busy month! I’m a bit late in posting this, because I got caught up in playing Alien Rogue Incursion: Evolved Edition. Excellent game, and I’m looking forward to playing it on Insane Difficulty, which will give me the Platinum Trophy!
Moving into October, the month of Halloween is obviously going to be Horror Themed. Horroctober?

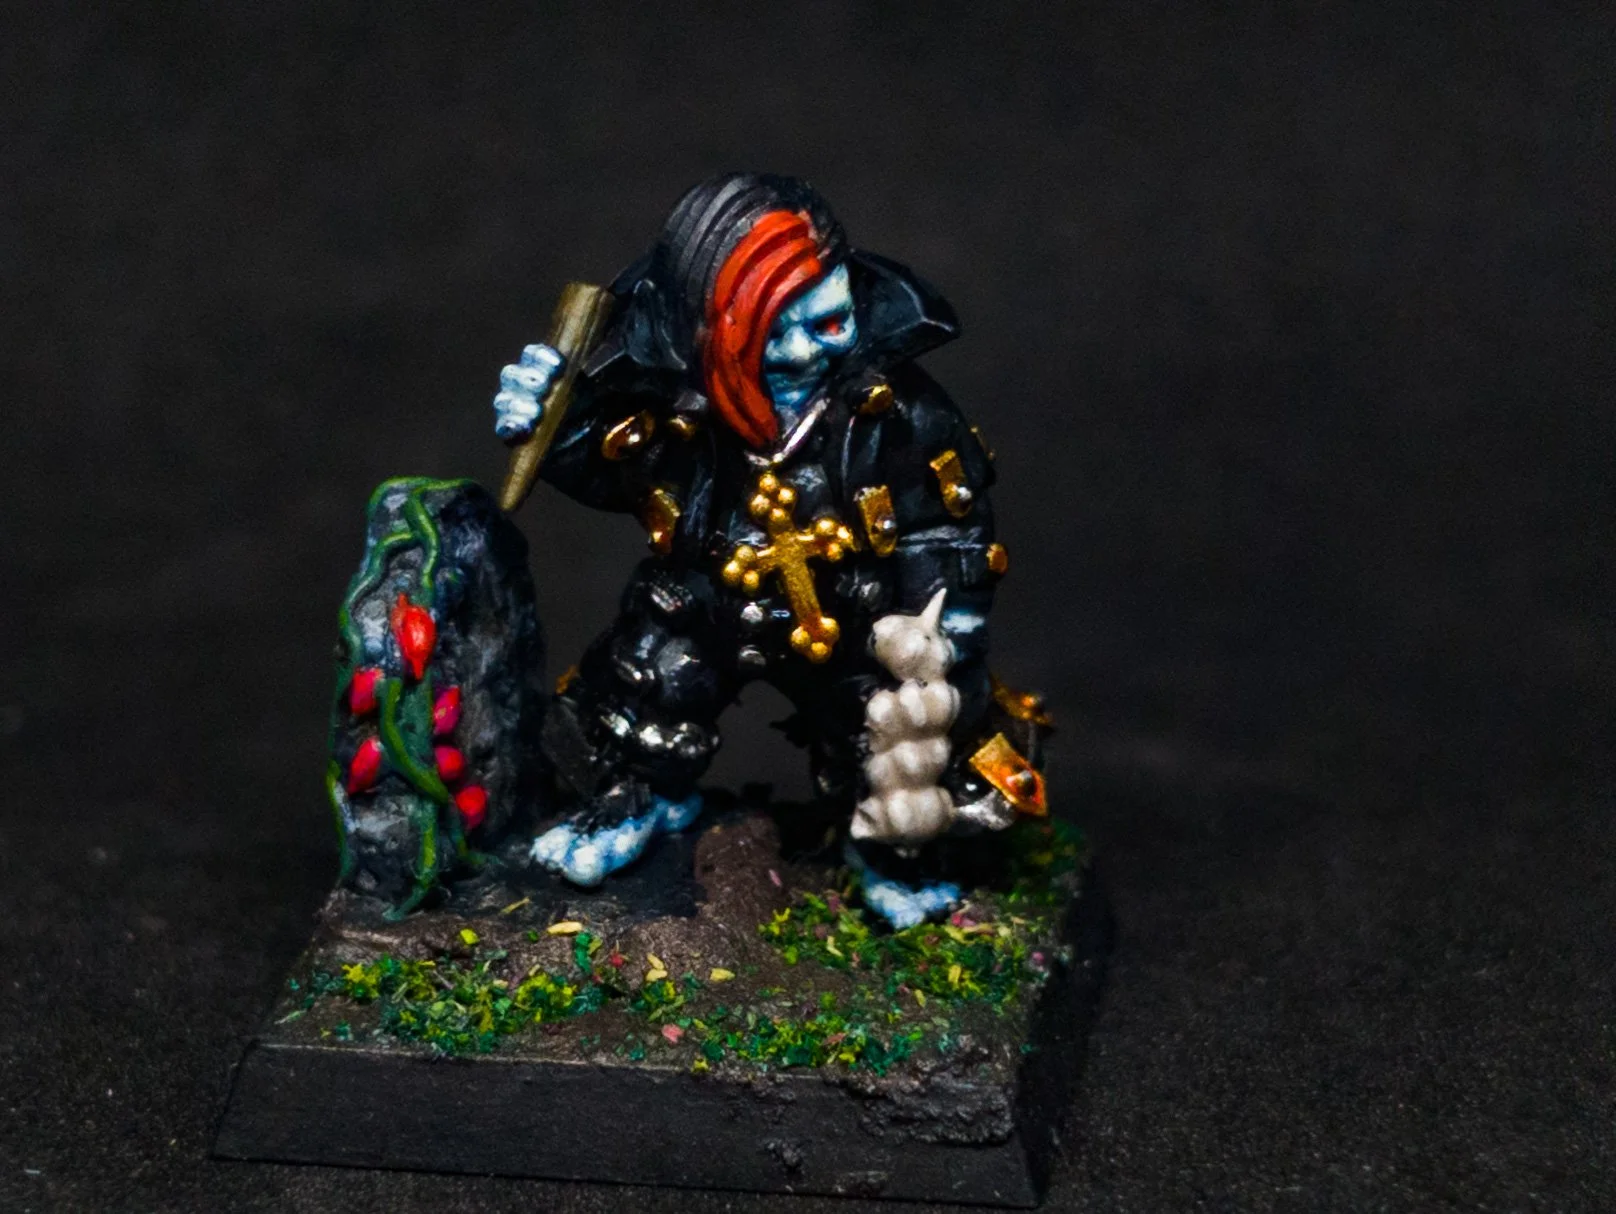


The Diamond Oasis features some of my favourite models, and here are the remaining Diamond Oasis models I had left to paint!