AuGaslands
Throughout August, I wanted to get a couple projects completed. After picking up Gaslands at UKGE this year, I wanted to get a few cars made for it, and wanted to do a few different styles of vehicle, in different effects.
In the rulebook, you see there are more than just junker cars, all wrecked up and panels beat to knock some damage out, you also see some well cared for vehicles. I figured a well kept car would be a stronger car than one that’s had the chassis crumpled and welded up.
AUDI RS5 RACING
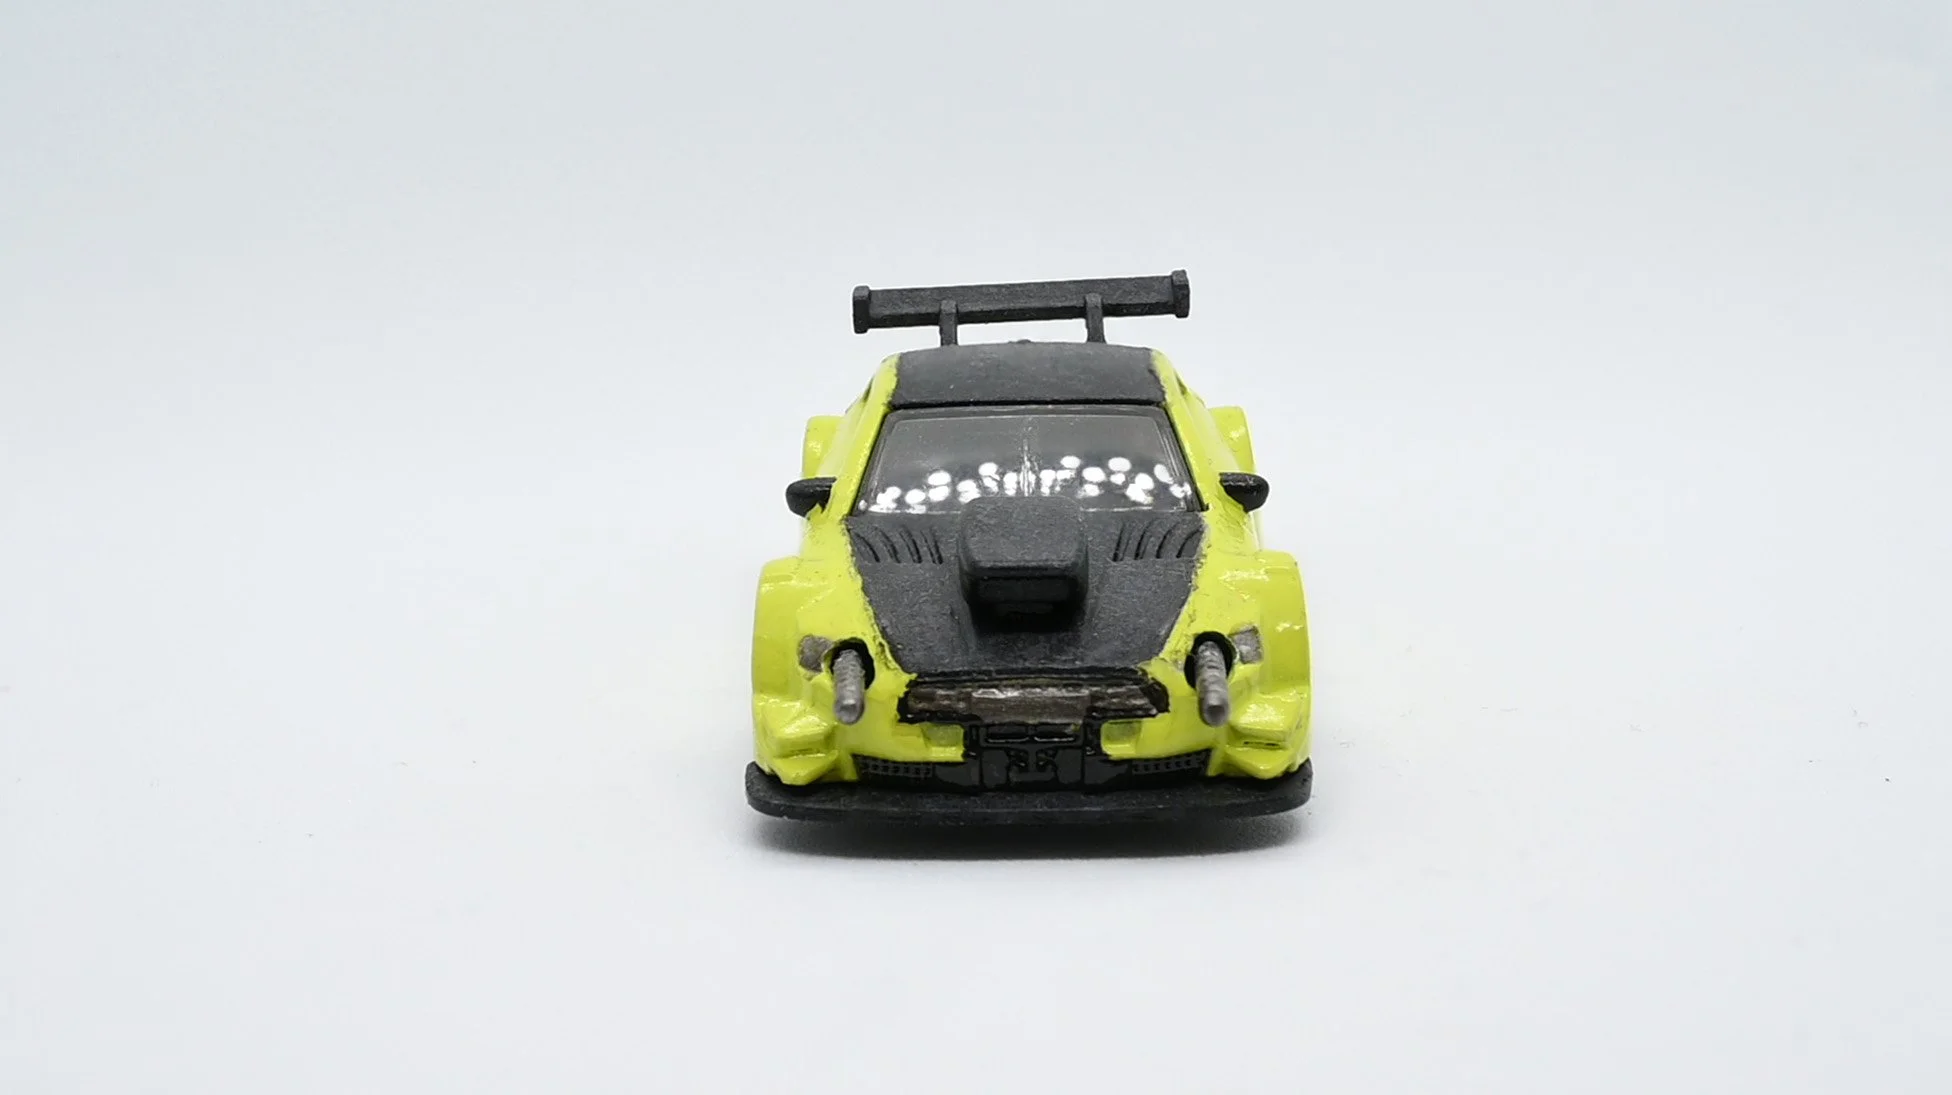
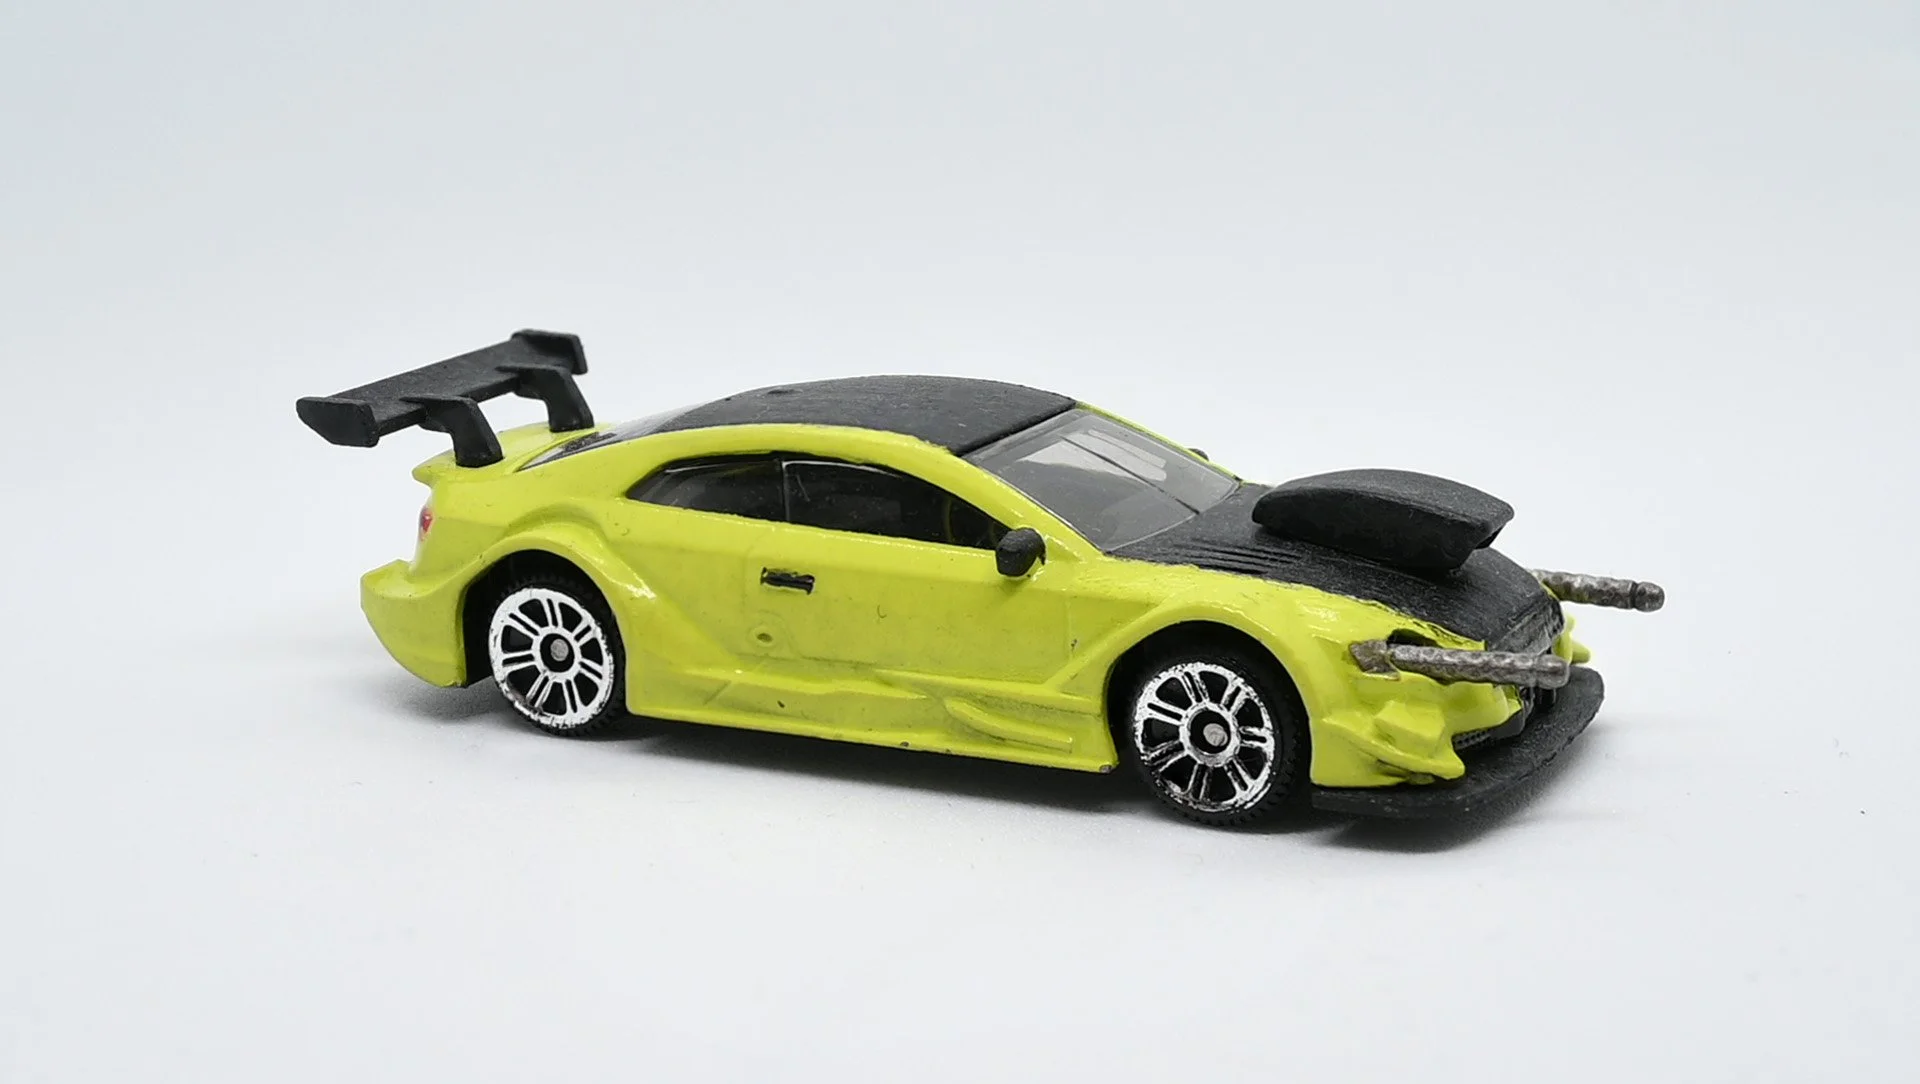
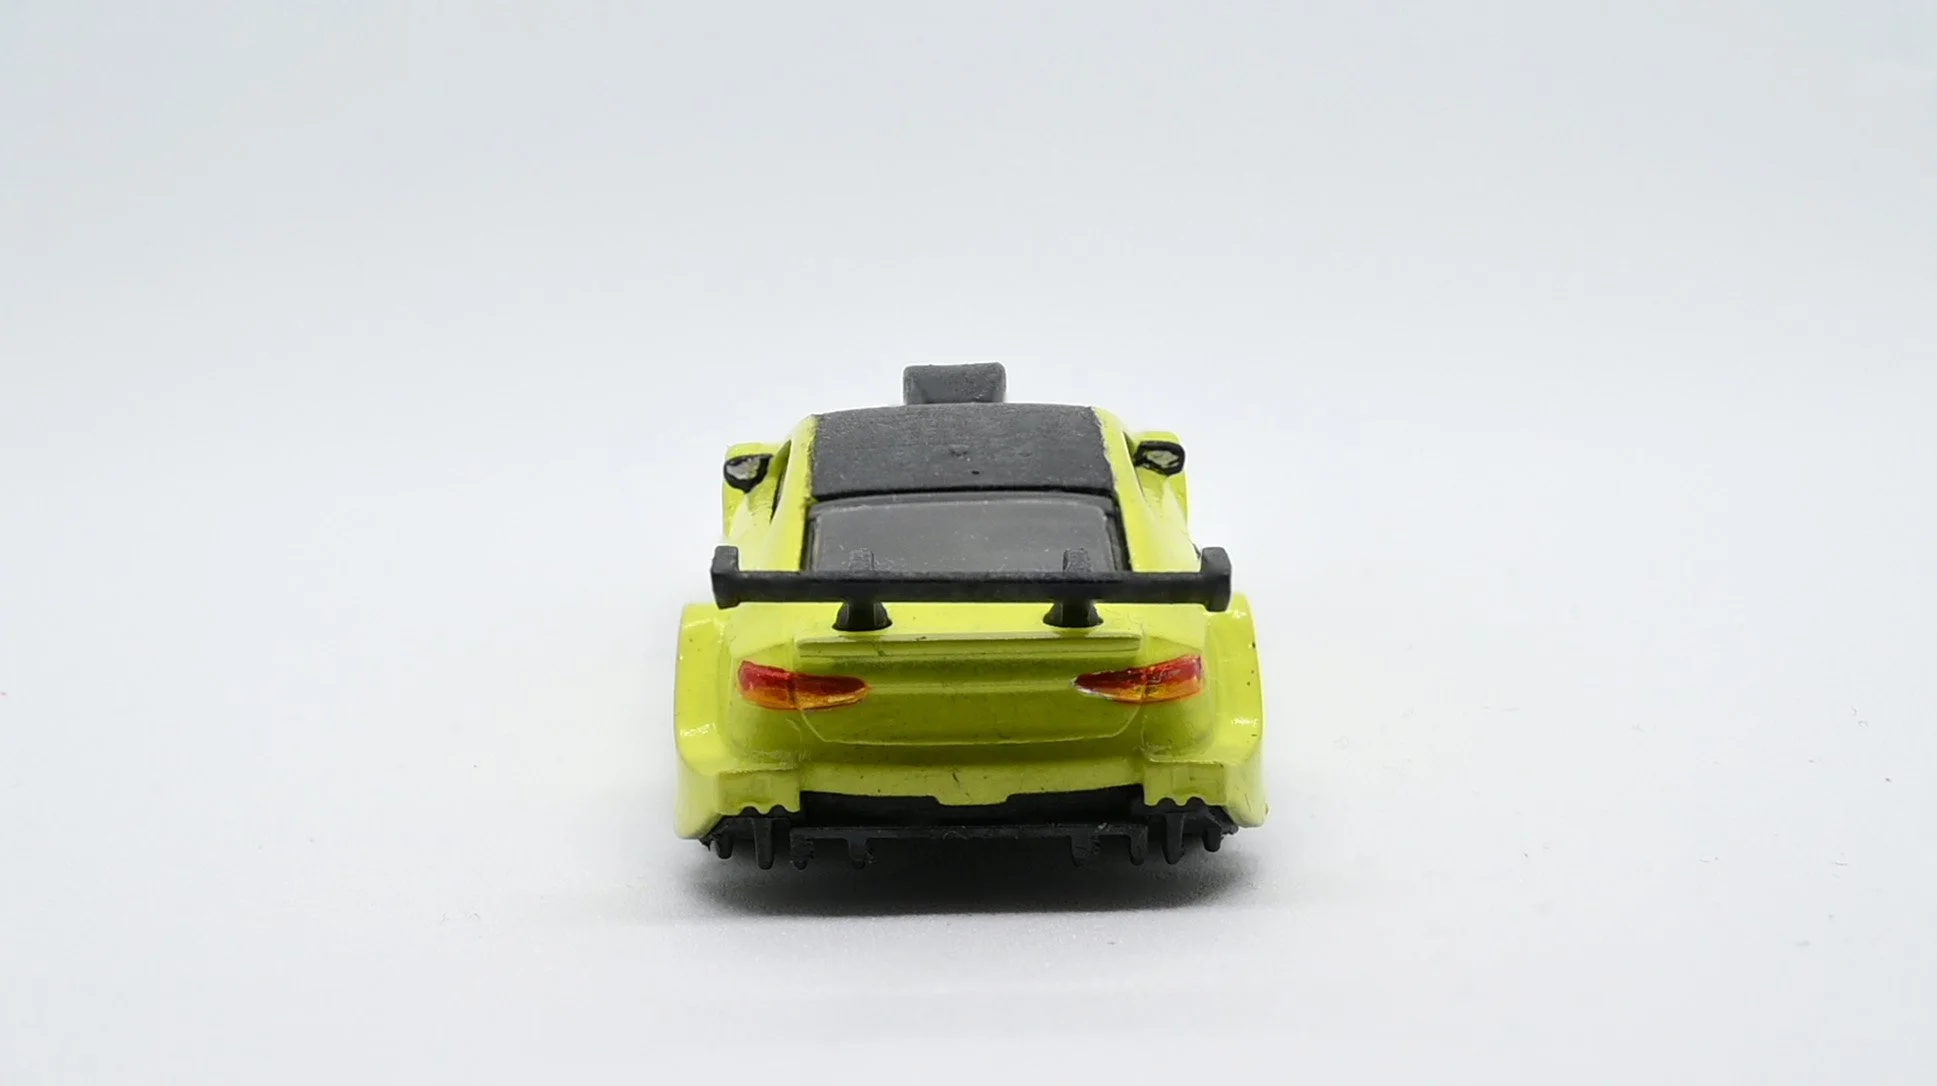
The original Audi RS5 Racing toy was a bright orange paintjob, with a black plastic spoiler and lip spoiler on the front. After I stripped the paint off, I found some details on it, which the original paintjob had obscured. There are some little details on the roof, and the body kit on the side of the car is a little more prominent. I drilled through the headlights and inserted some machinegun barrels. I actually had to drill into the plastic body to have the barrels sit well and stick in securely. I also added a hood scoop to the bonnet. I figured, since the machineguns are alongside the engine, they would overheat quickly if the engine is only being cooled by the front grille. For painting, I used TTCombat’s Putrid Green Pus, because I wanted to maintain the bright colour theme from the original car. I actually also used it on the lining of the driver’s seat, but I don’t think it’s visible in the front facing photo. On the lip spoiler, spoiler, roof and bonnet, I stippled grey and black to create a carbon fibre effect. For the lights and wing mirrors, I used Molotow Liquid Chrome, which gives a mirror finish. I also find that applying TTCombat Candy Paints over the Liquid Chrome creates excellent lights, since they maintain the properties of the paint below it. I finished the car with a few coats of Gloss varnish before I reassembled it.
Oldsmobile Toronado ‘66
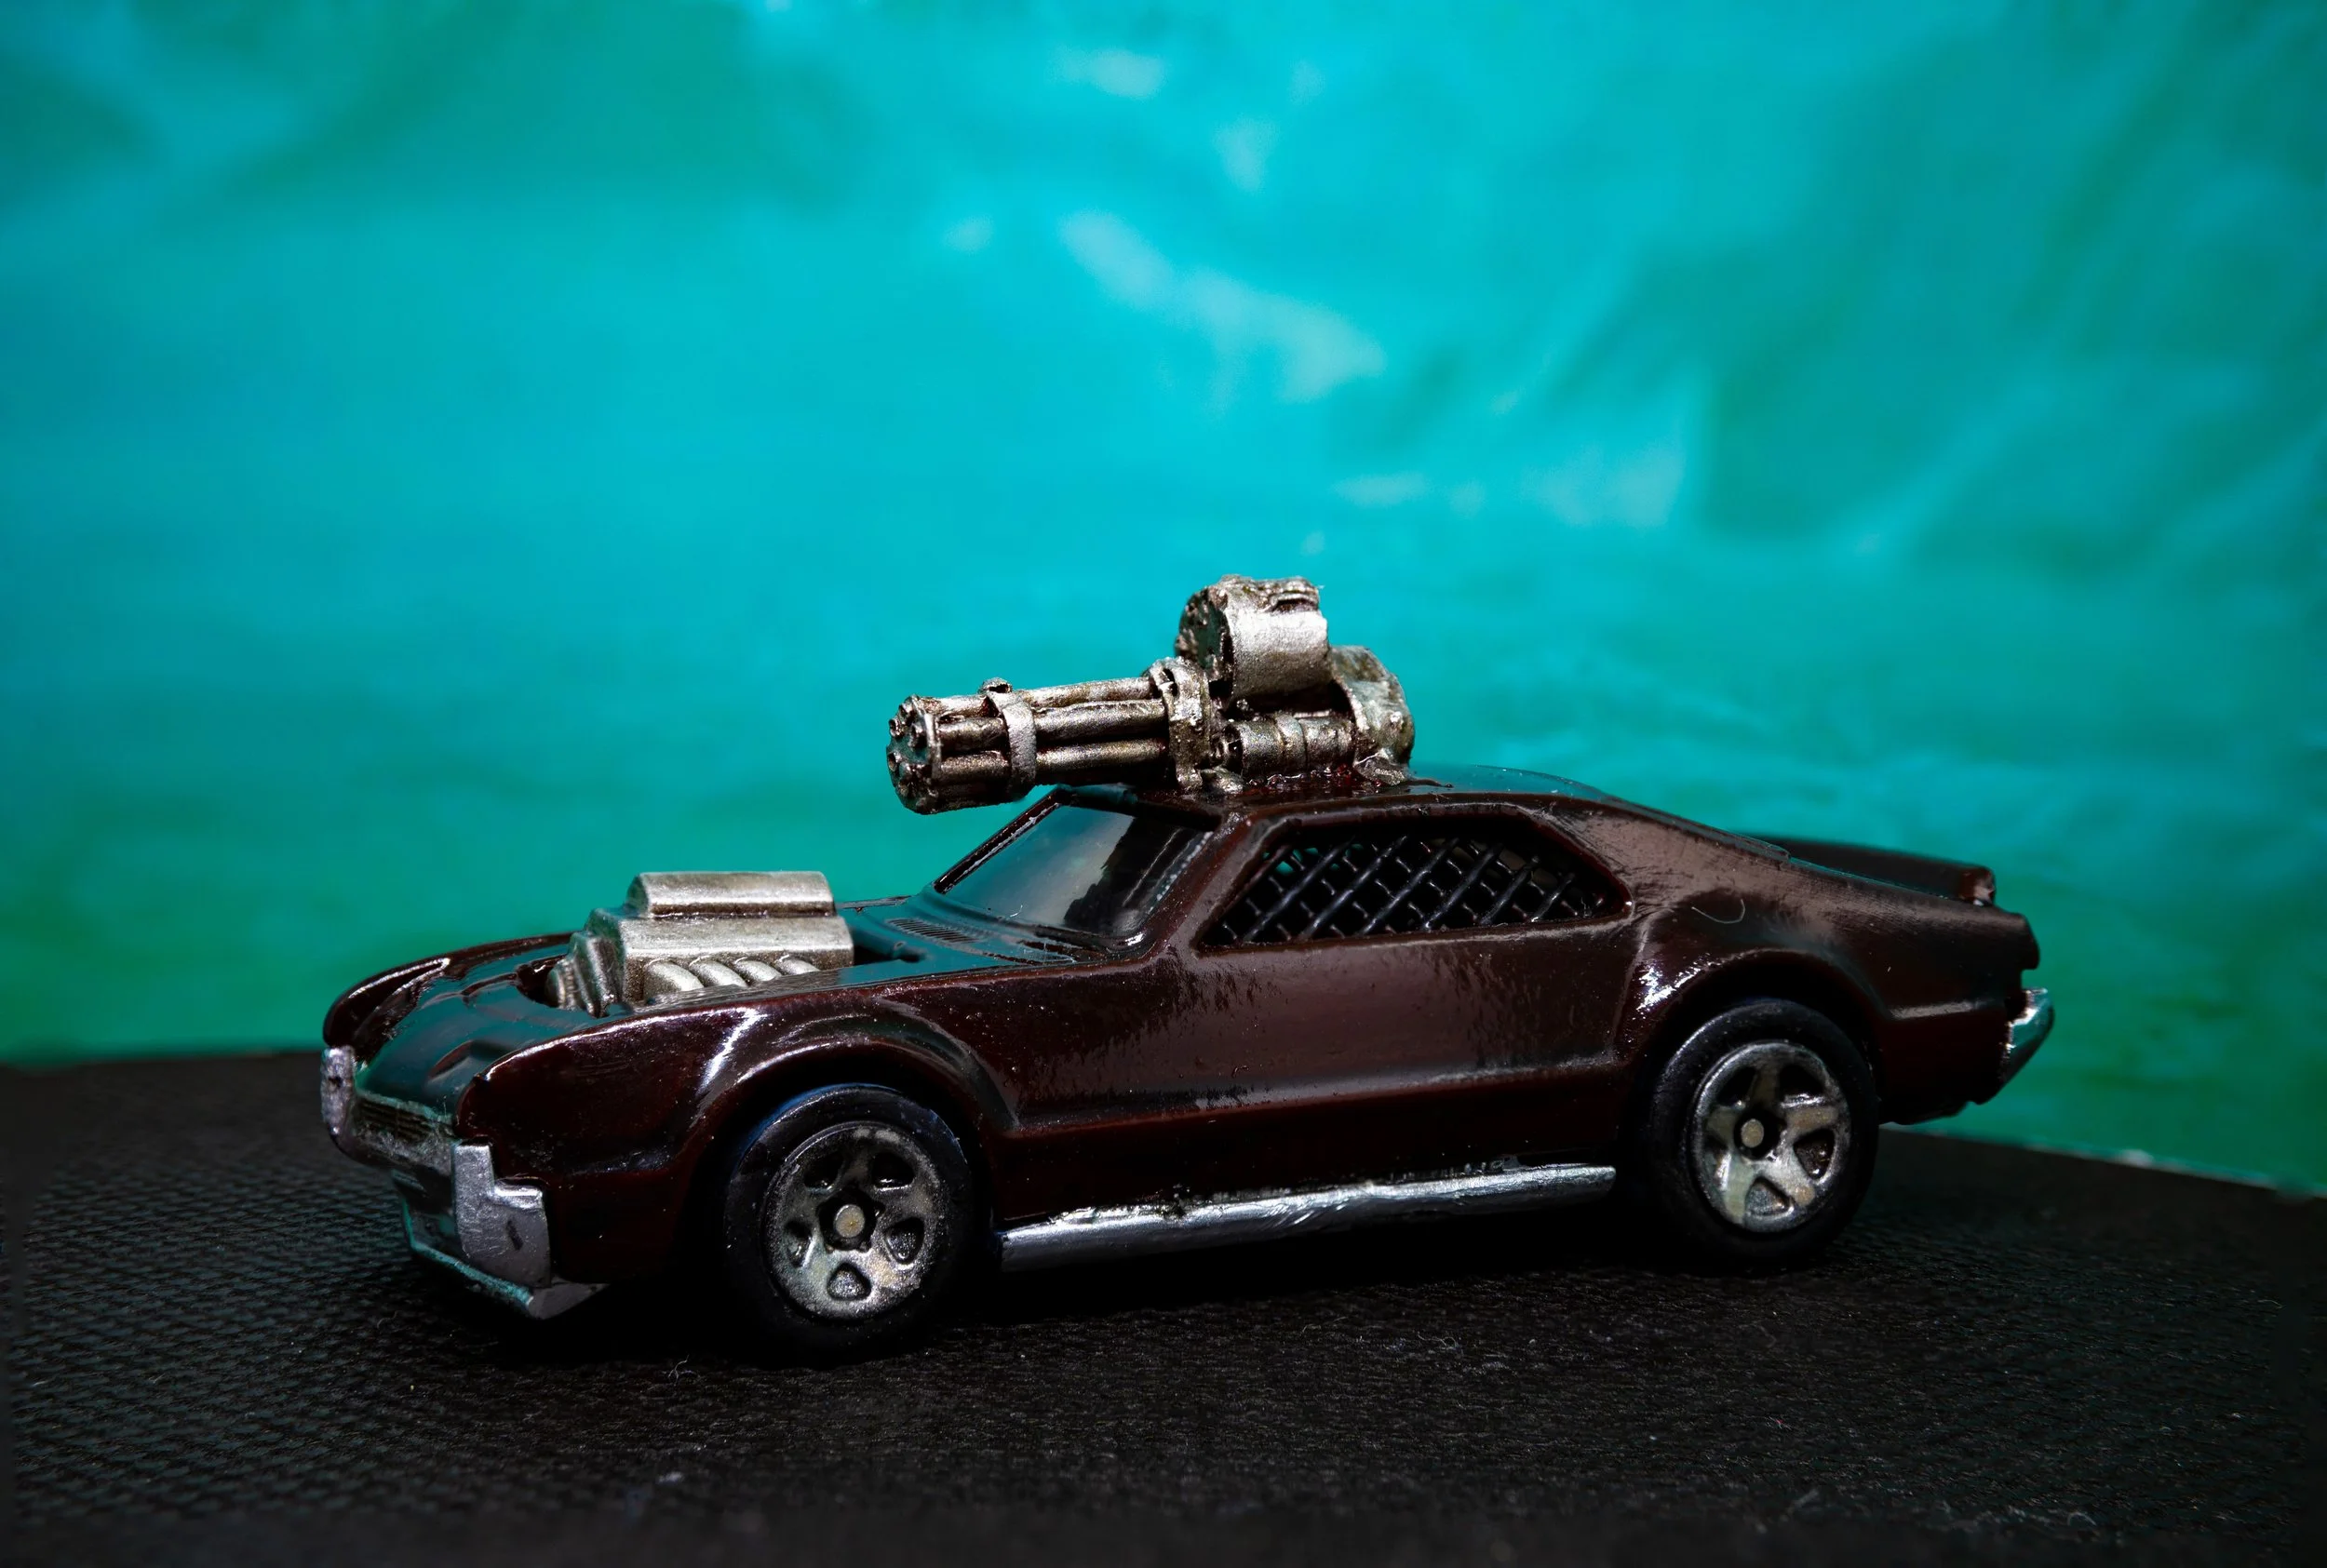
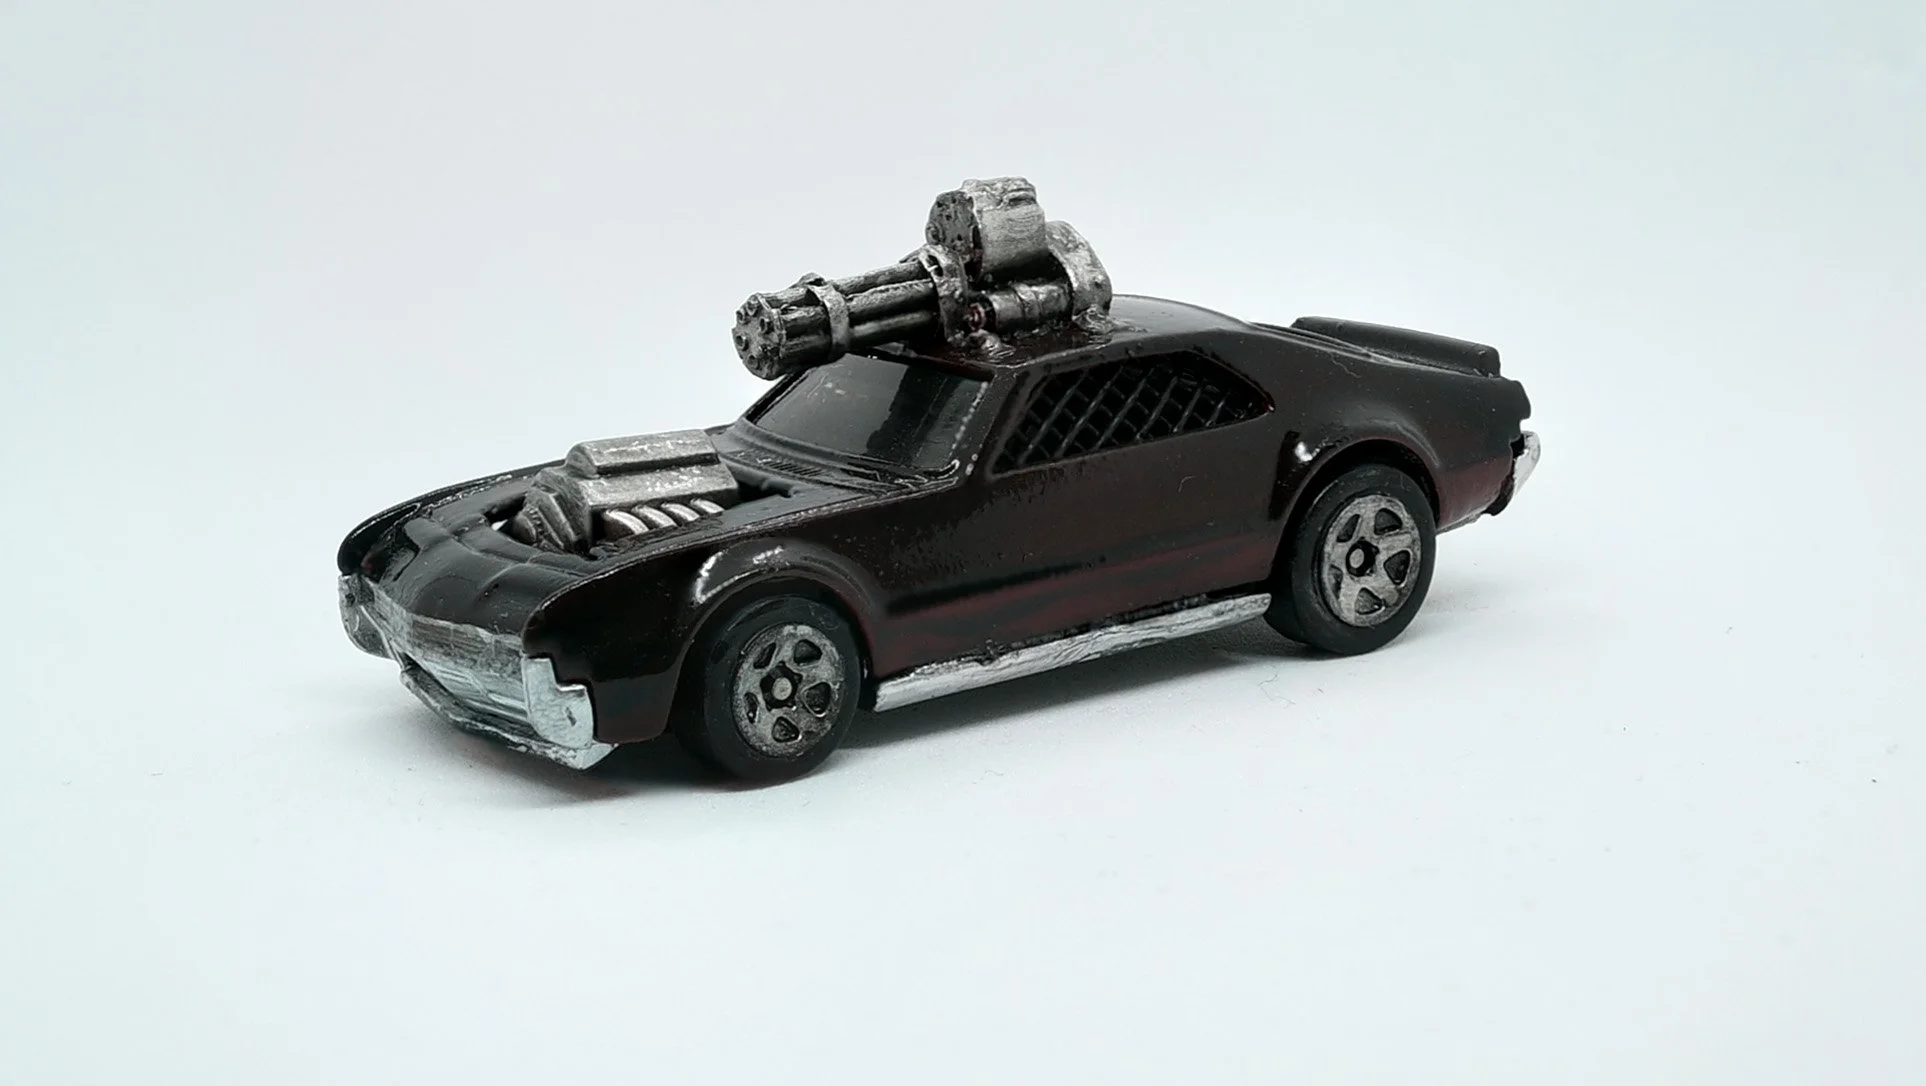
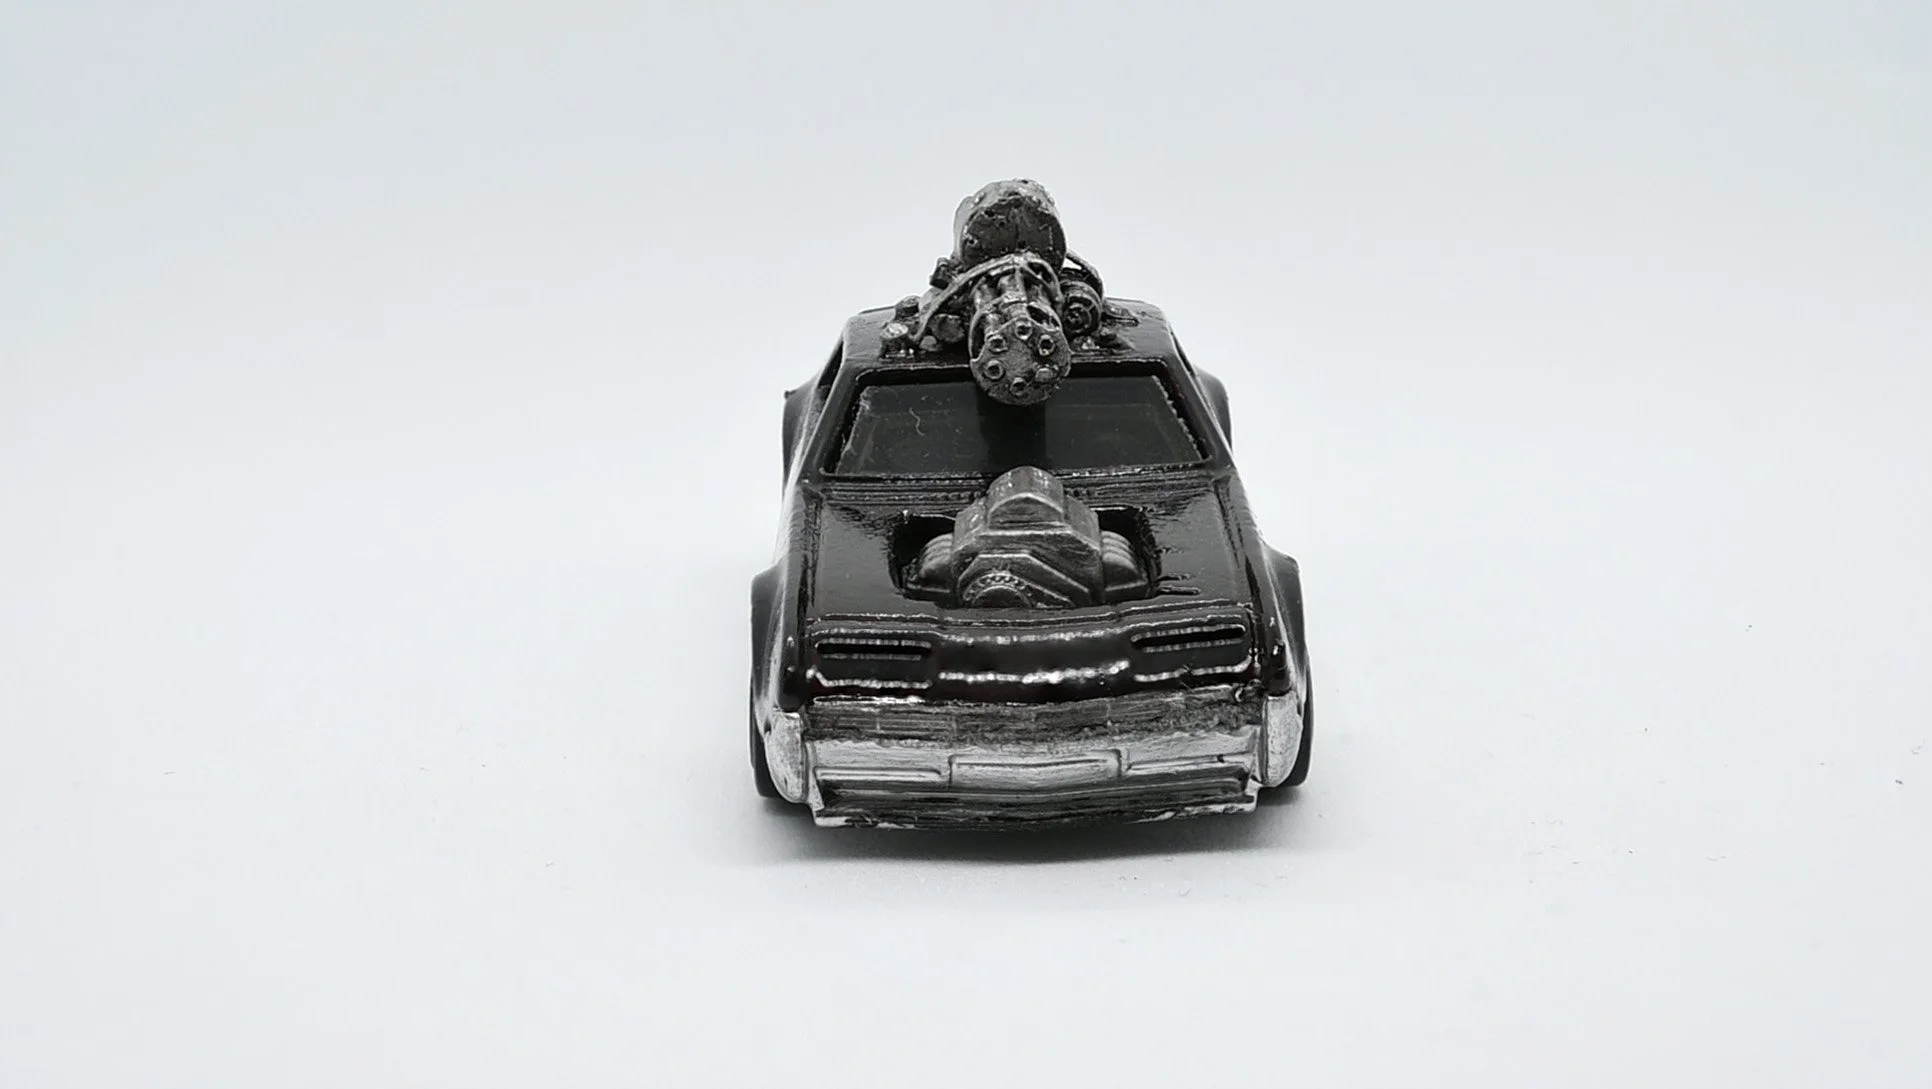
The Oldsmobile Toronado ‘66 is a personal luxury car, built for comfort and highway driving, not a muscle car. But if you want to combat the force of a minigun on the roof, you need a bit of a beefier engine. I used a cutting bit on my Dremel to cut out a section of the bonnet and added a souped up engine block. I had to use some spare bits of plasticard to raise it up to give the impression of the engine being bigger. The minigun is a Maxmini minigun I’ve had for years, and I used some Greenstuff to create metal braces, and some plasticard rivets to bolt it down. The side windows were open, so I used some plastic grille, I think came from a Walking Dead All Out War perimeter fence from the prison. The driver needs some protection!
For painting, I gave the body a silver spray over a black undercoat. That prepared for candy paints. I was initially trying to get a cherry red, so I was mixing the paints, which mix really well. At one point, I had a colour I was happy with, but I wanted to add a bit more depth to the colour, and ended up ruining the cherry red, so I pivoted to making a brown, then finishing it with just Onyx Black candy paint, which gave me a deep brown/black. Think like a Cola, or a black cat, when the light hits it right, it reveals a deep brown. This darker tone makes the silver trim of the car, engine and minigun really pop. It ended up being a really happy accident, which I don’t think the cherry red would have been able to enhance. Hit with a Gloss Varnish, and she was ready. Even the windscreen got a gloss varnish to really pop.
Dune Buggy
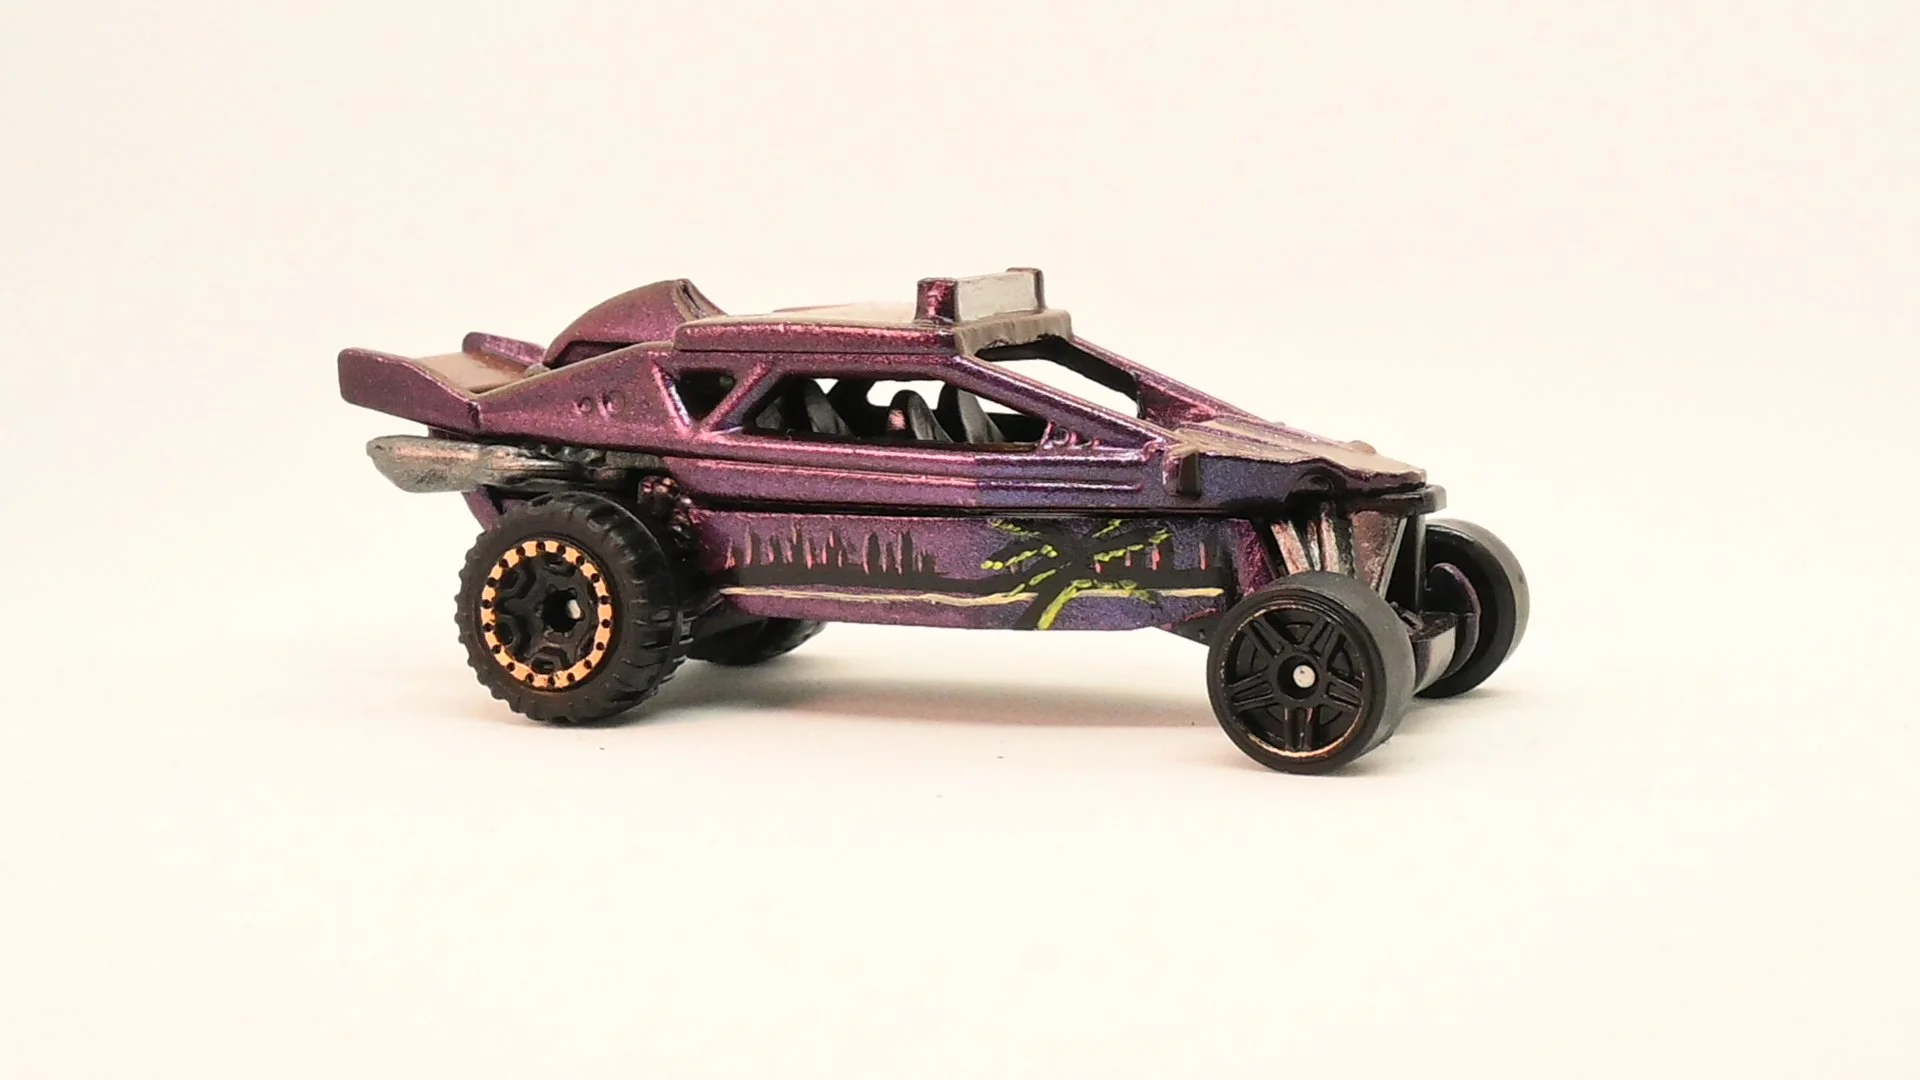
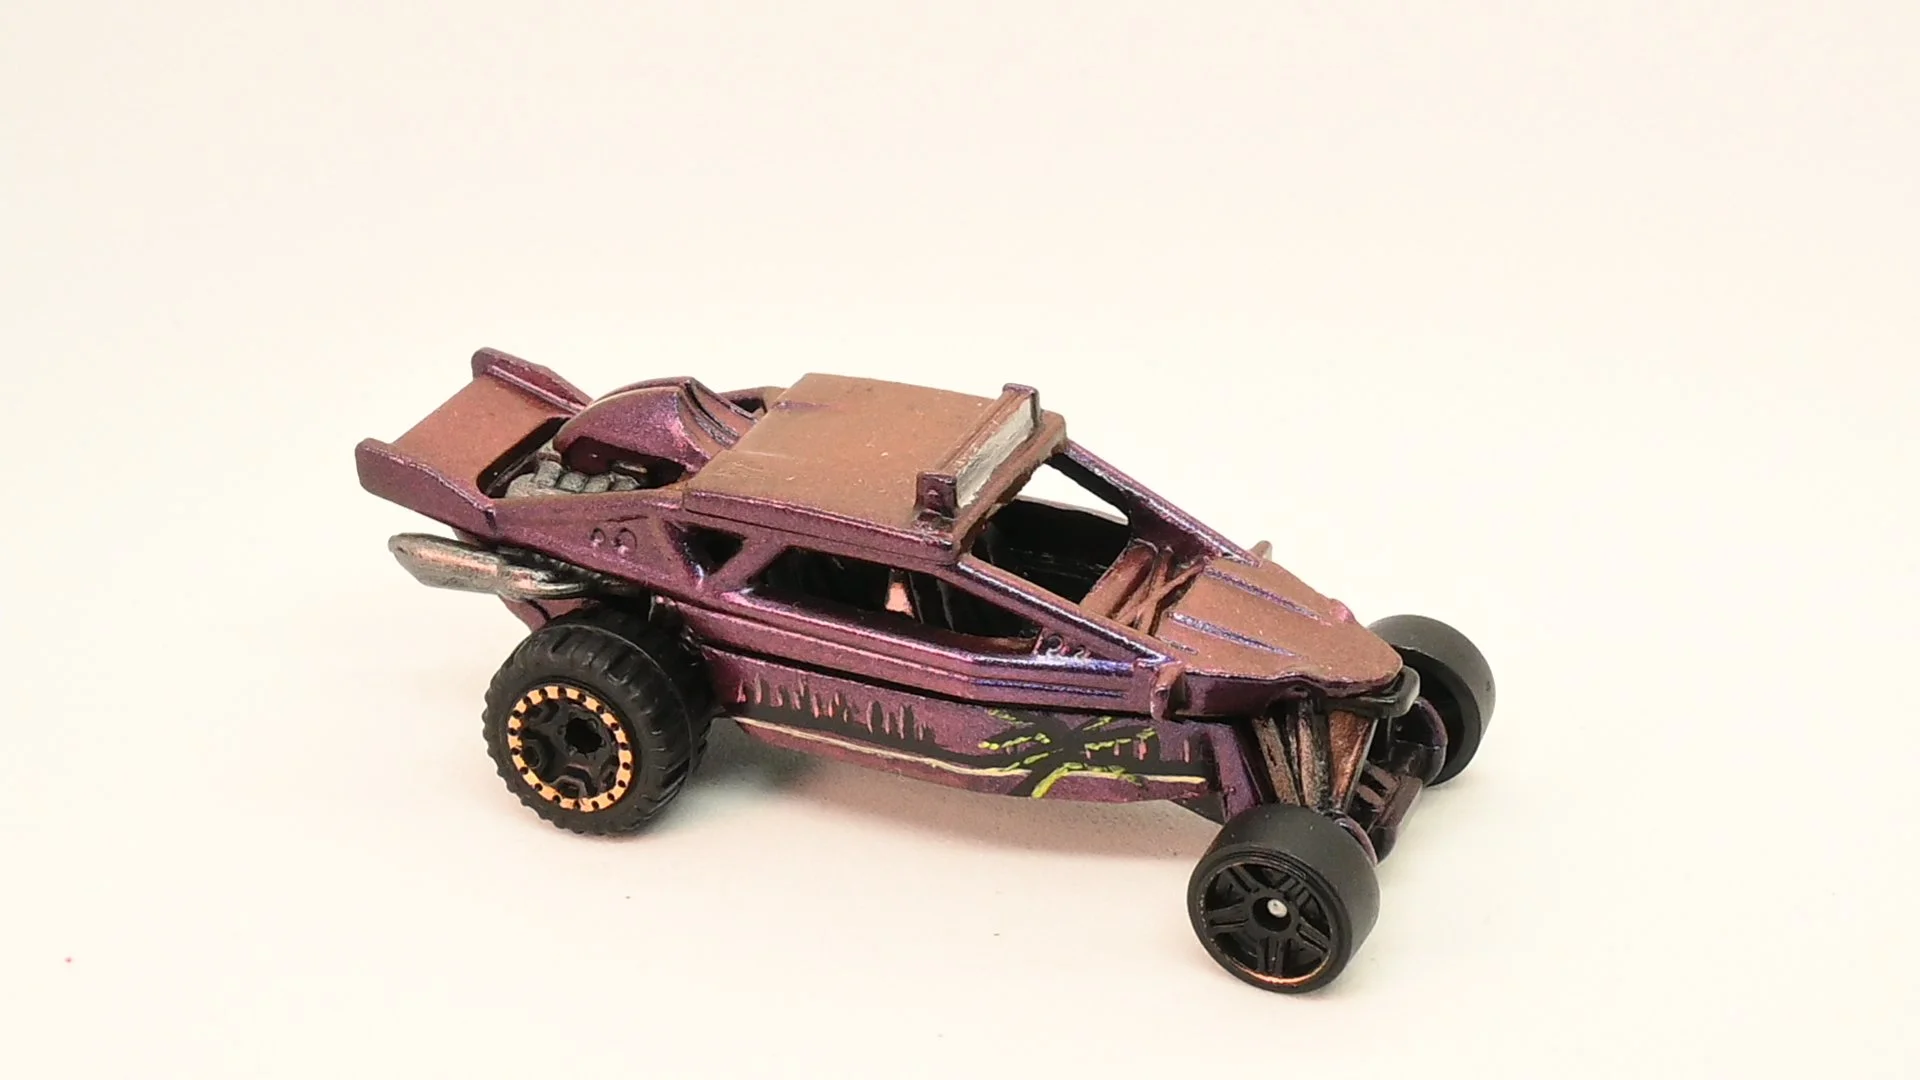
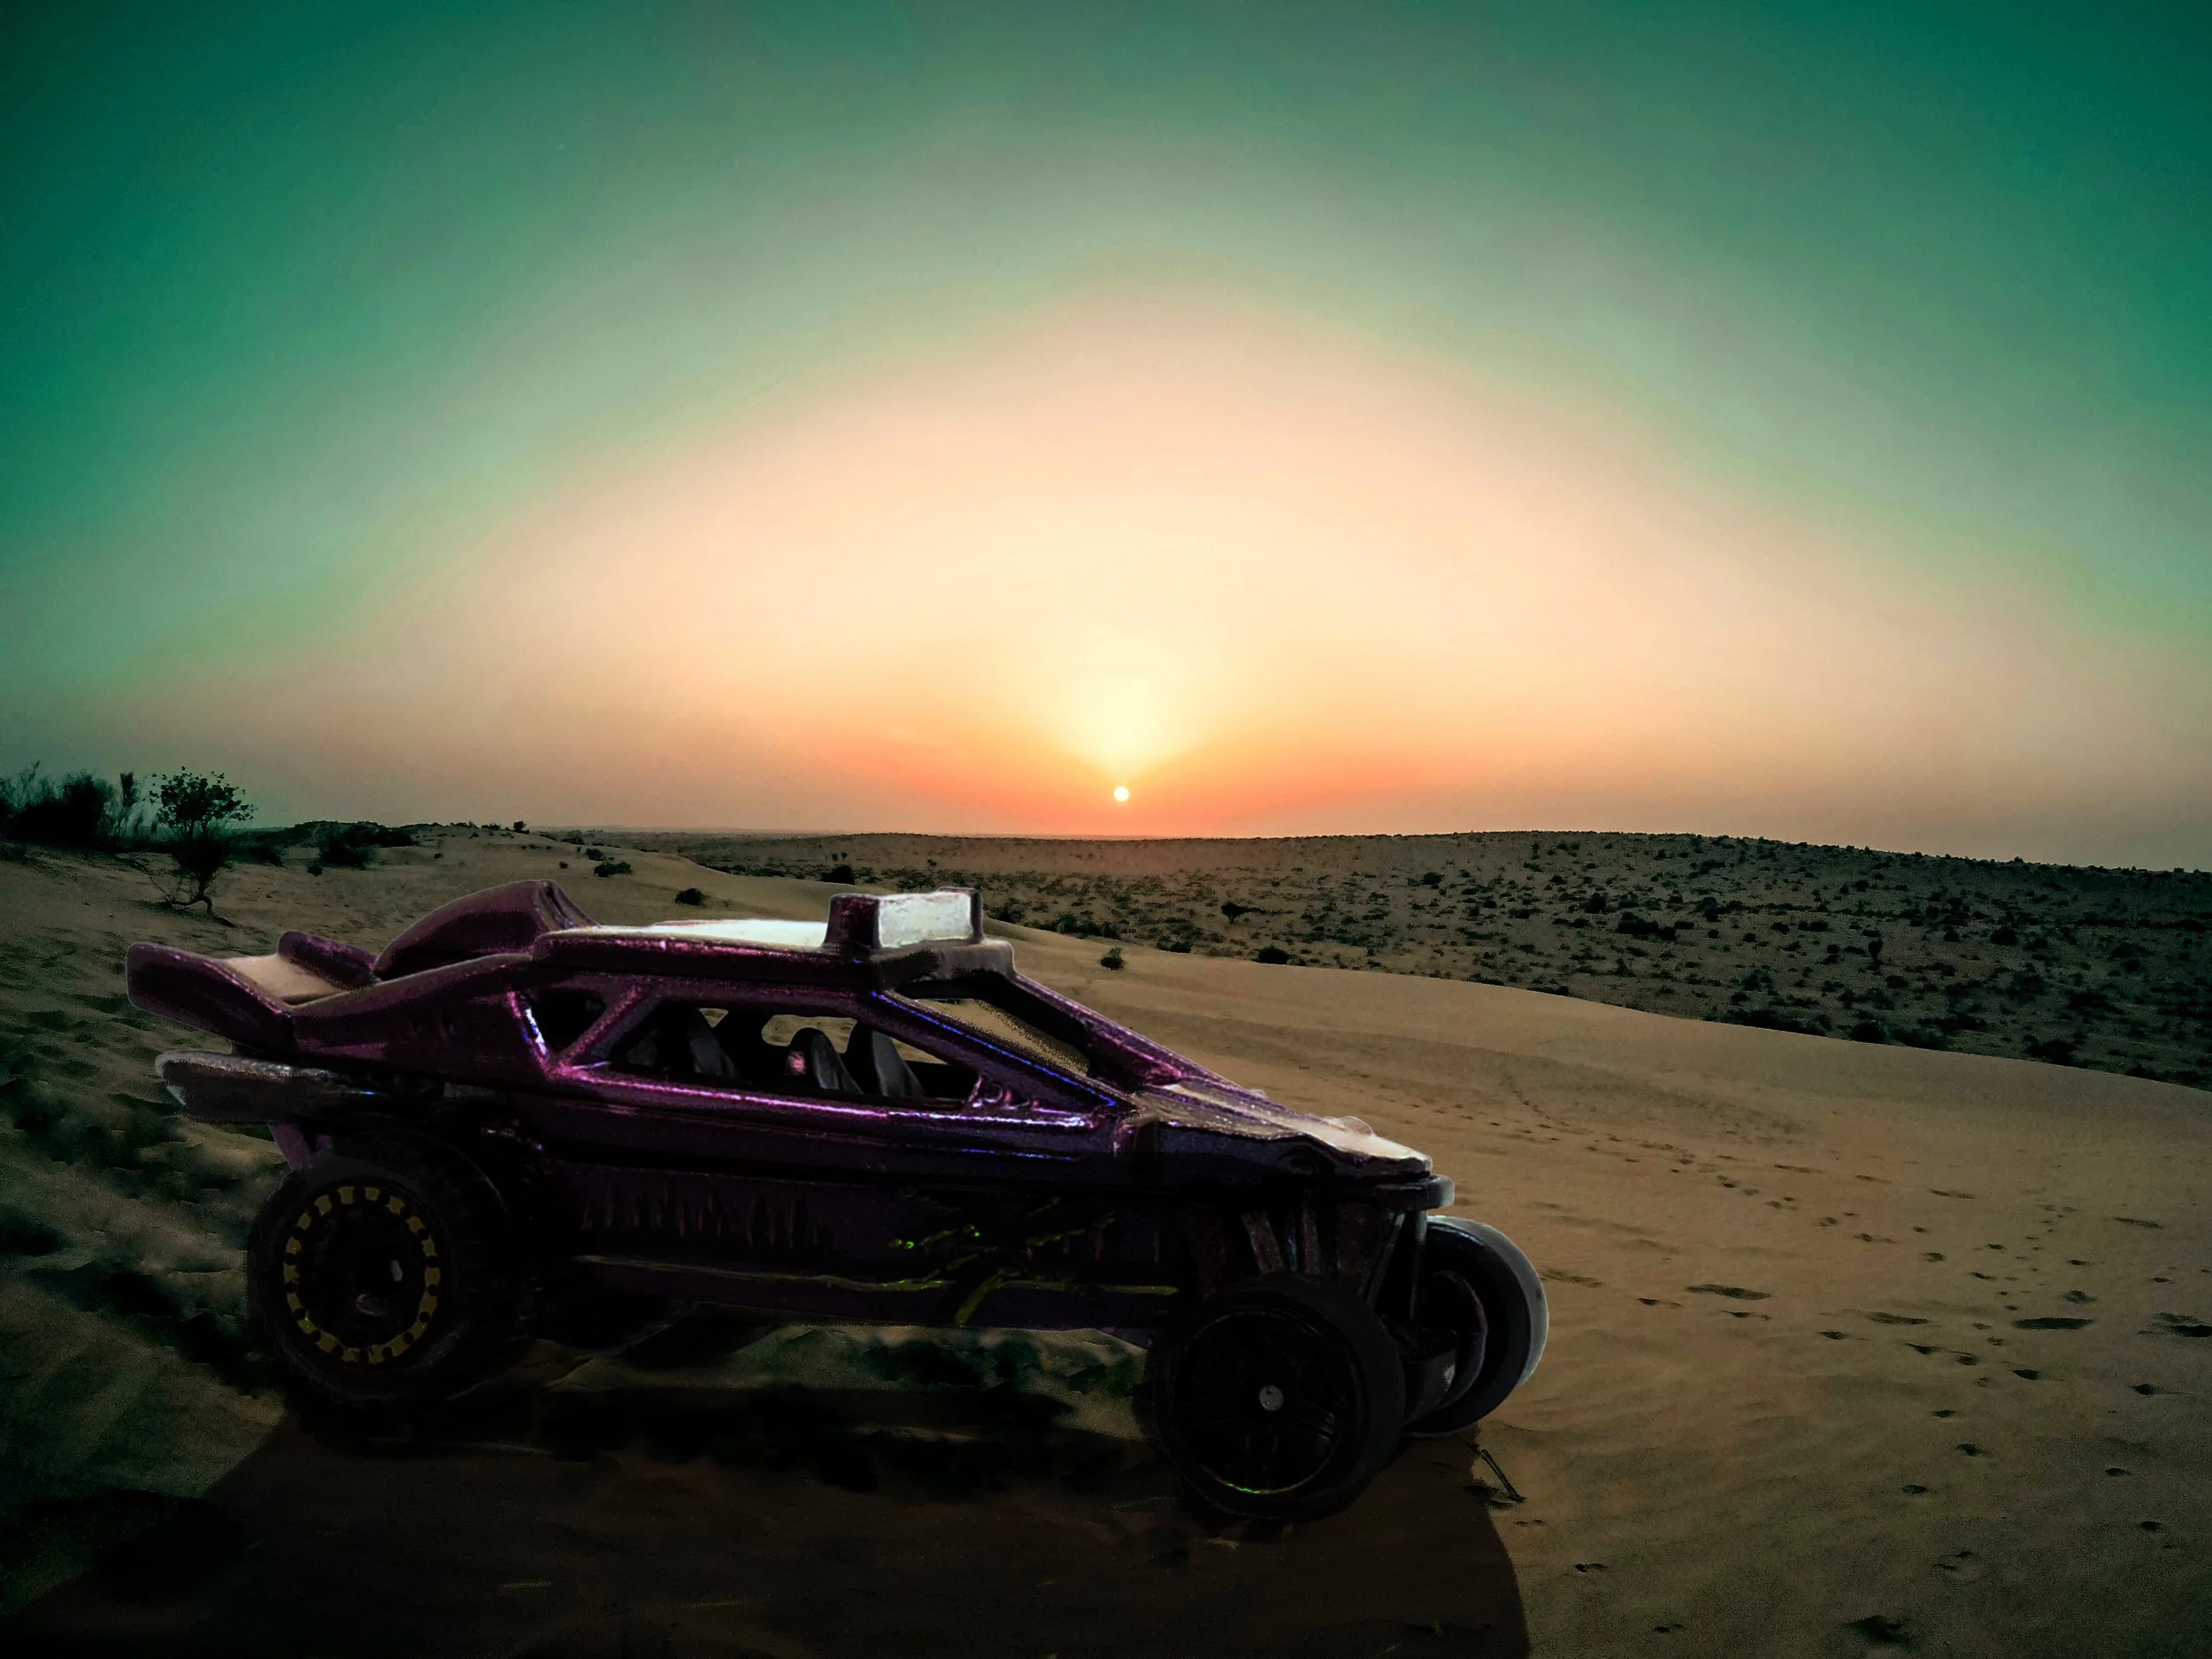
The Dune Buggy required very little work, which I am grateful for. The original paintjob was a simple white body, with a black plastic siding and a silver plastic engine. I wanted the Dune Buggy to be all about that off road speed. It’s not weighed down by miniguns or anything like that. This thing wants to be out front, so attacking from the front to keep that lead. The driver and the crew can handle the weapons if need be. Where this car stands out is that paintjob. I used Turbo Dork colour shifting paints which go from pink to yellow, like a sunset over the beach. That idea also inspired the graphic I painted onto the once black plastic siding. I painted it on both sides, and it’s a Miami skyline with a beach and a palm tree. Mostly black, with some outline of colour as a highlight, and an overhead lightbar done with Molotow Liquid Chrome. Gloss varnish and she was finished, nice and easy!
I wanted to try my hand at some toy photography/glamour shots, and with the Dune Buggy, I tried my hand at a digital composition. Out of the few different attempts using different cars, I actually quite like this one.
ROAD RASH
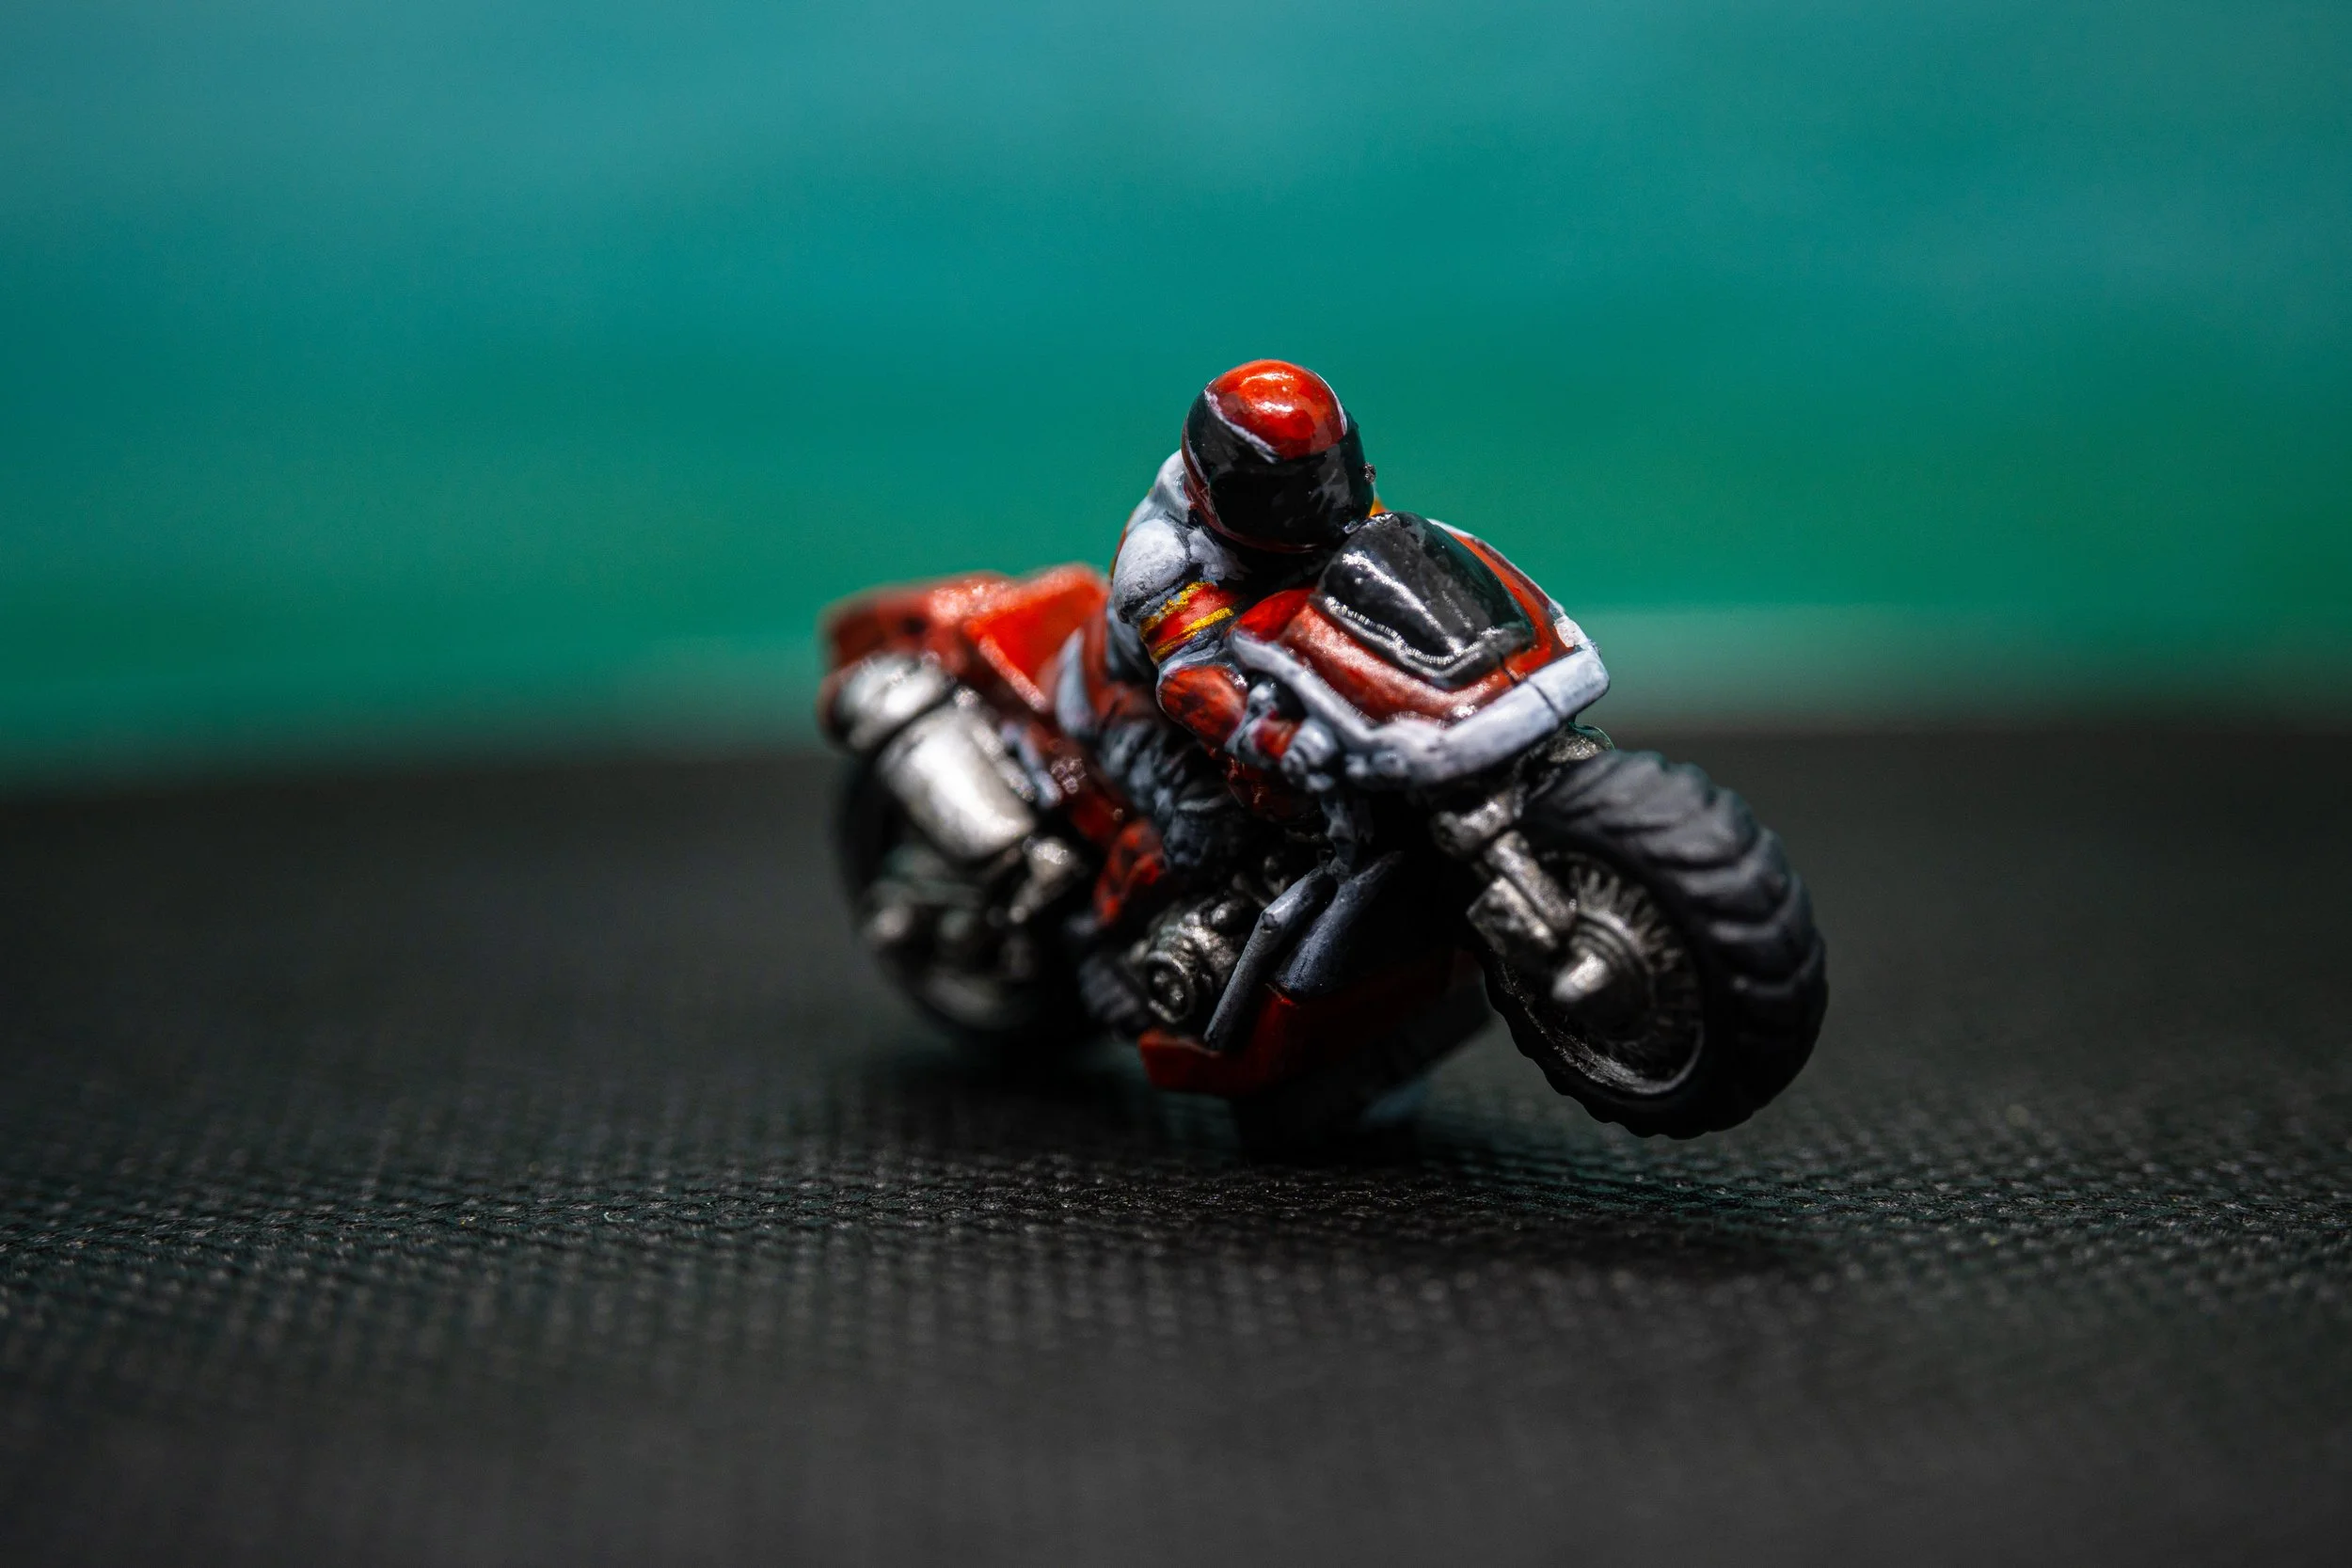
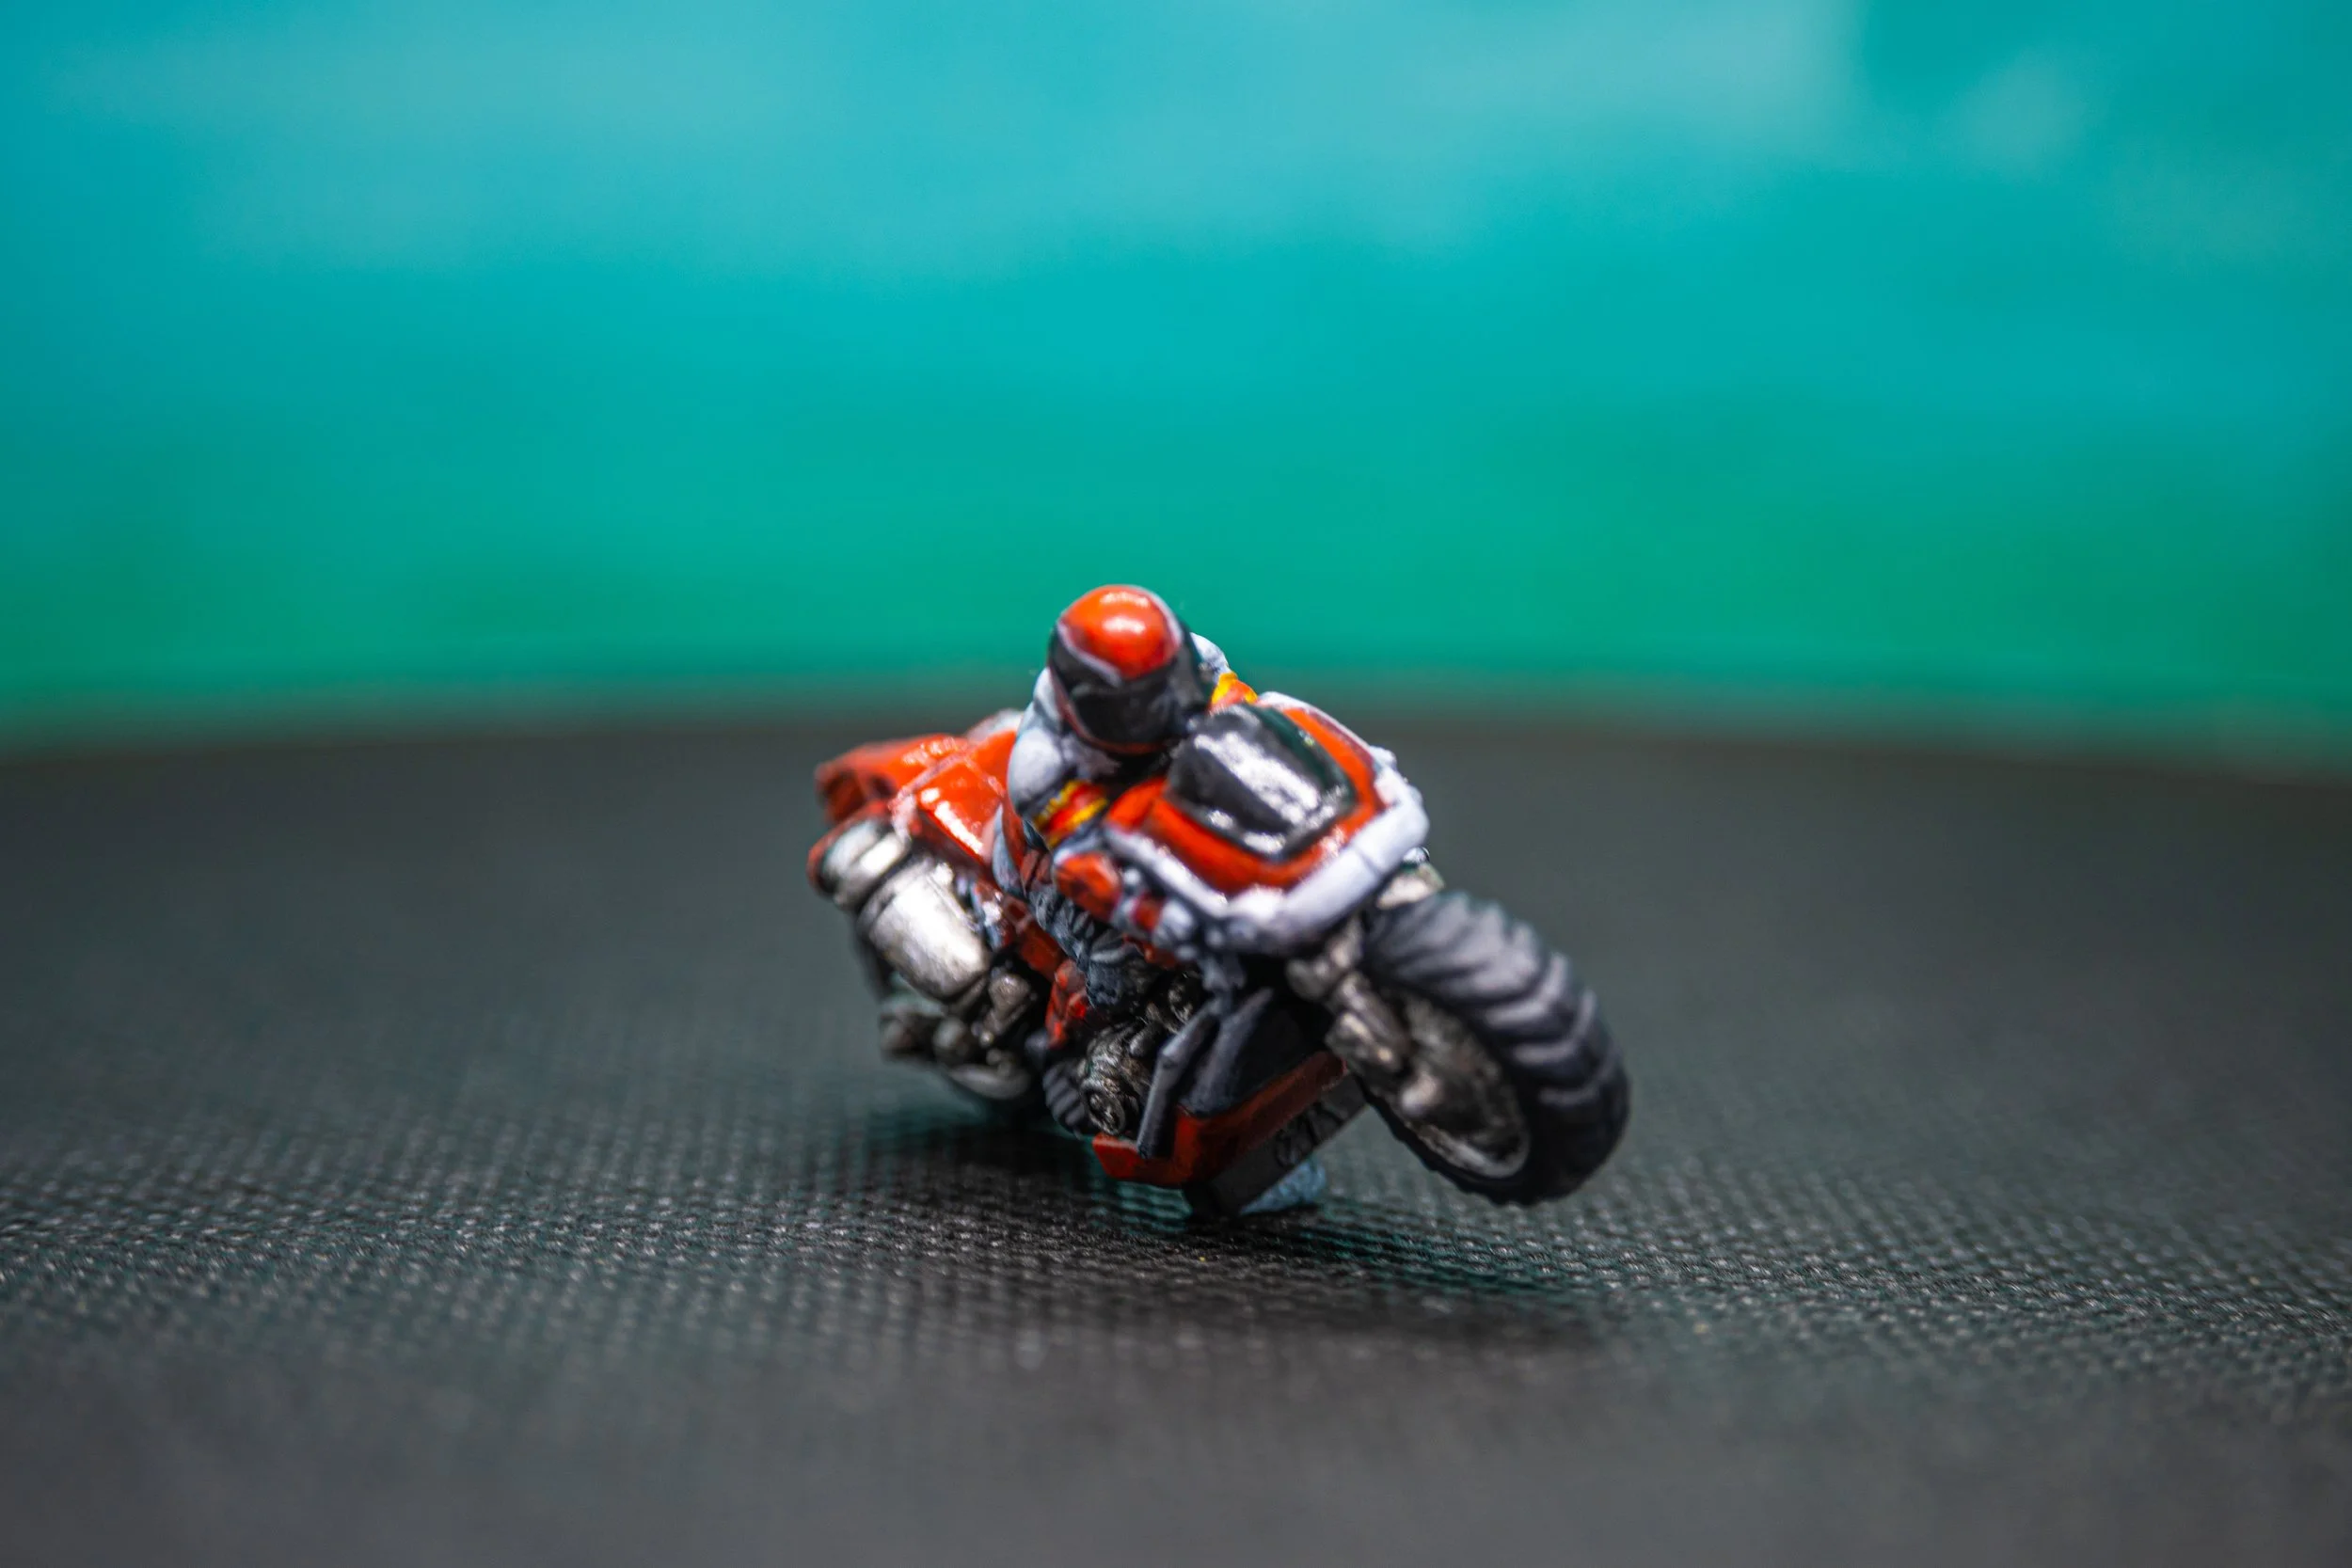
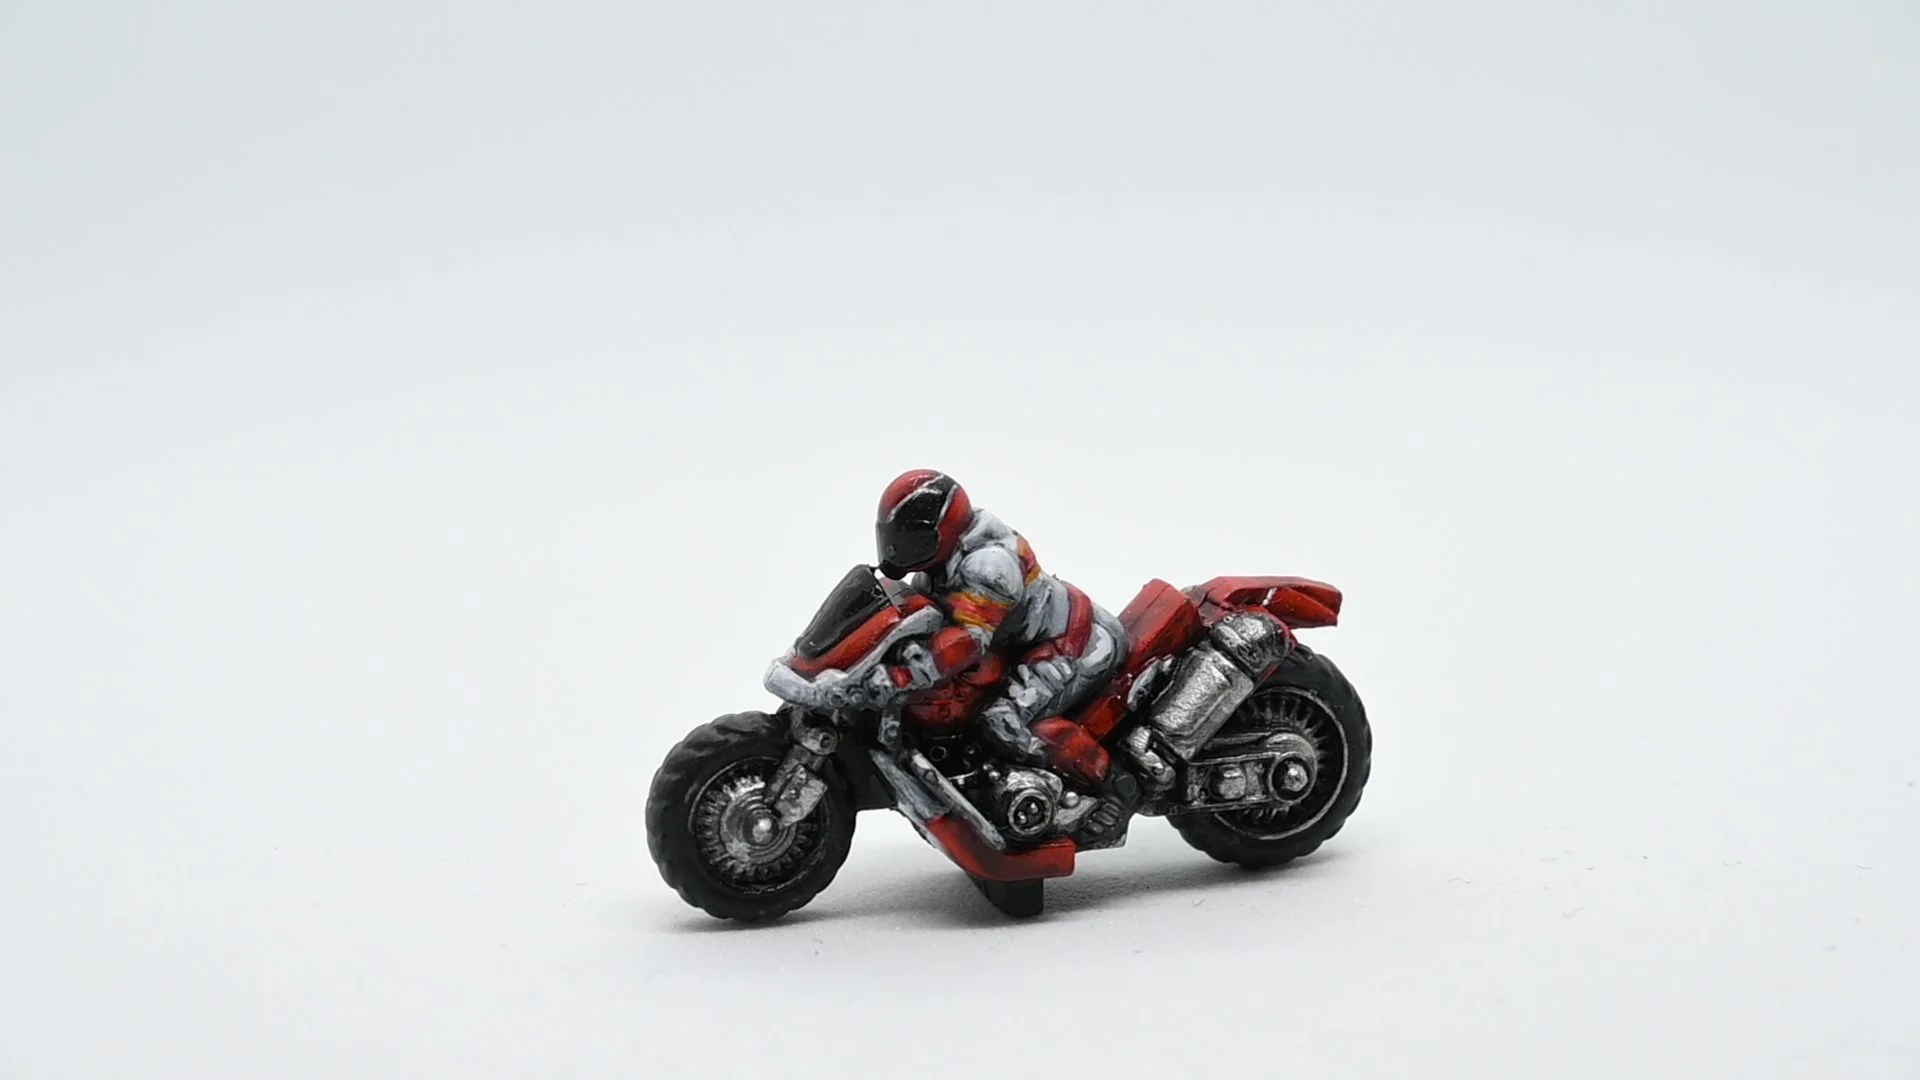
The motorbike in Gaslands isn’t a powerhouse. It’s not a tank (that would be the tank). But what it is, is fast. And when I was a kid, if you wanted fast, you loaded up either the Amiga or the Megadrive and you loaded up Road Rash. In honour of an iconic game, I painted the bike to look like the red and white bike from the cover art. Even the biker’s leathers and helmet harken back to that. And what we know from Road Rash, bikers can throw a hell of a punch.
Volkswerker
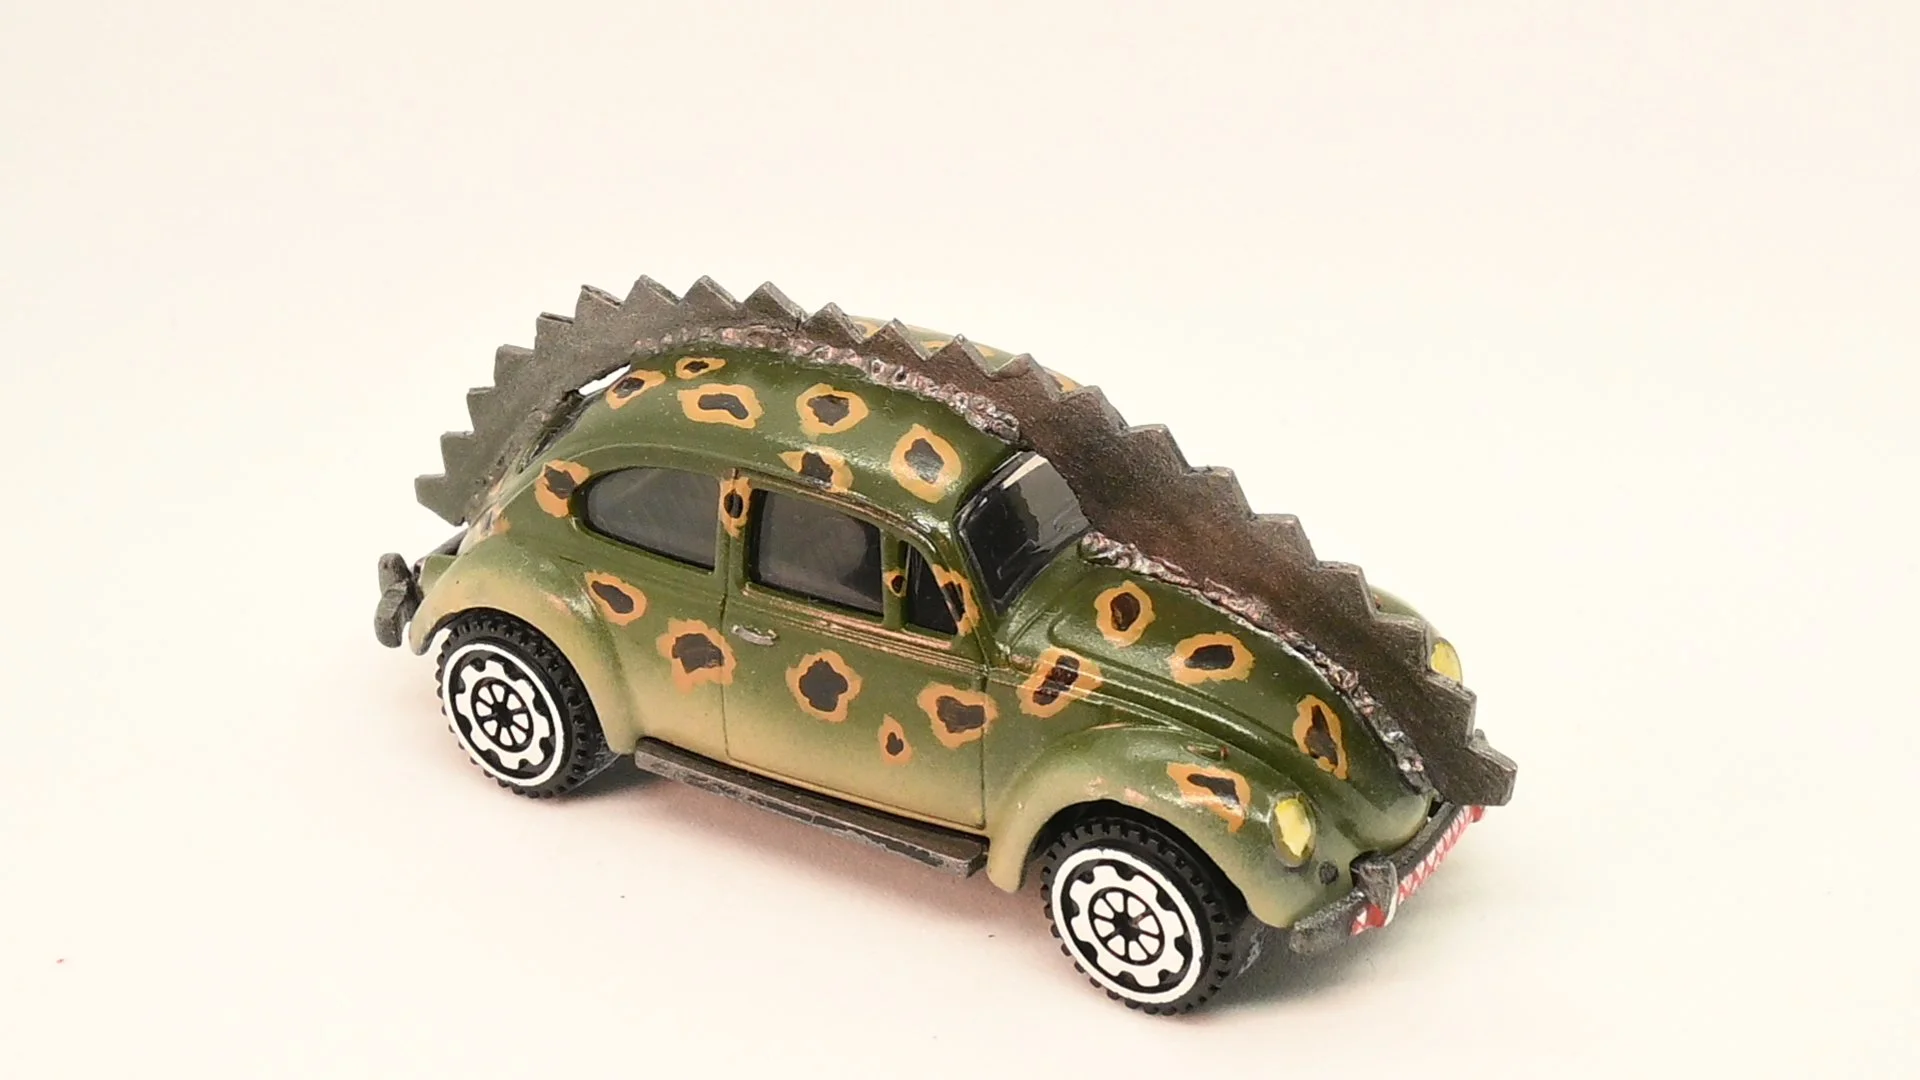
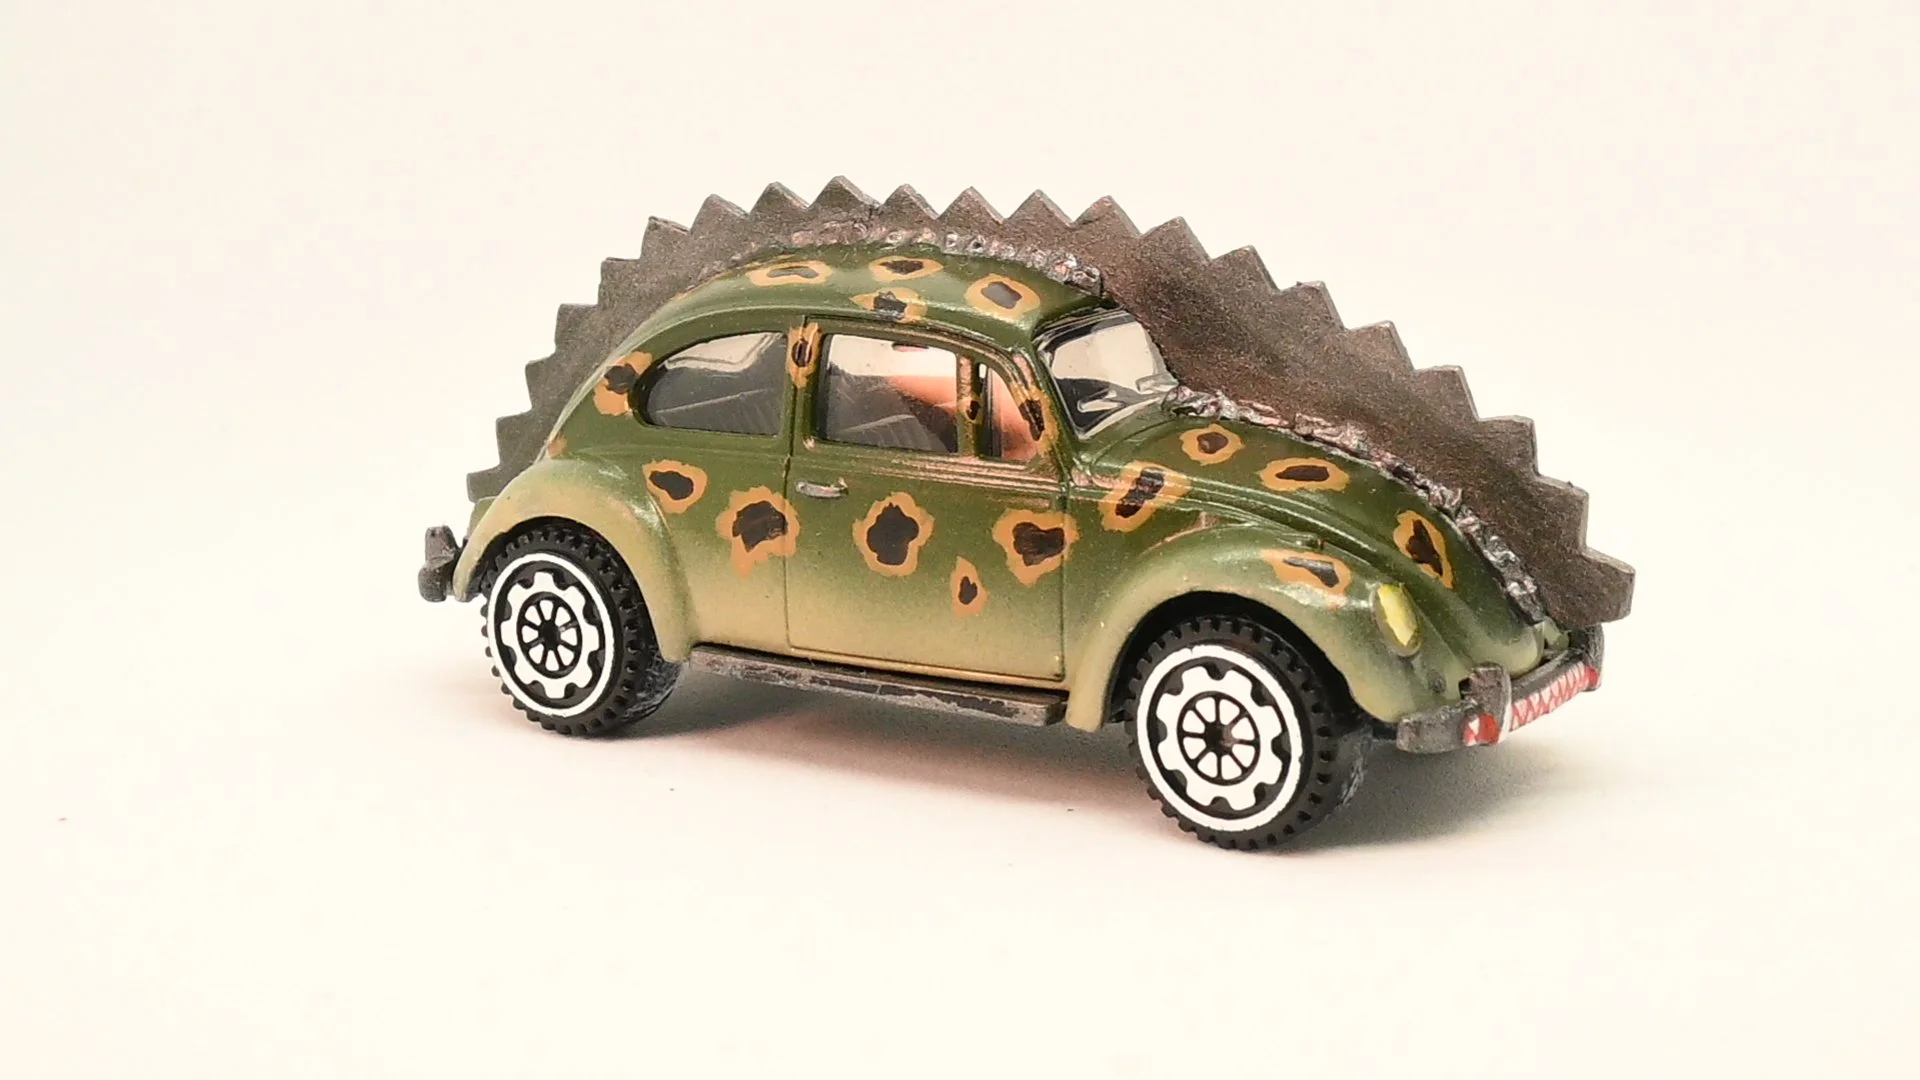
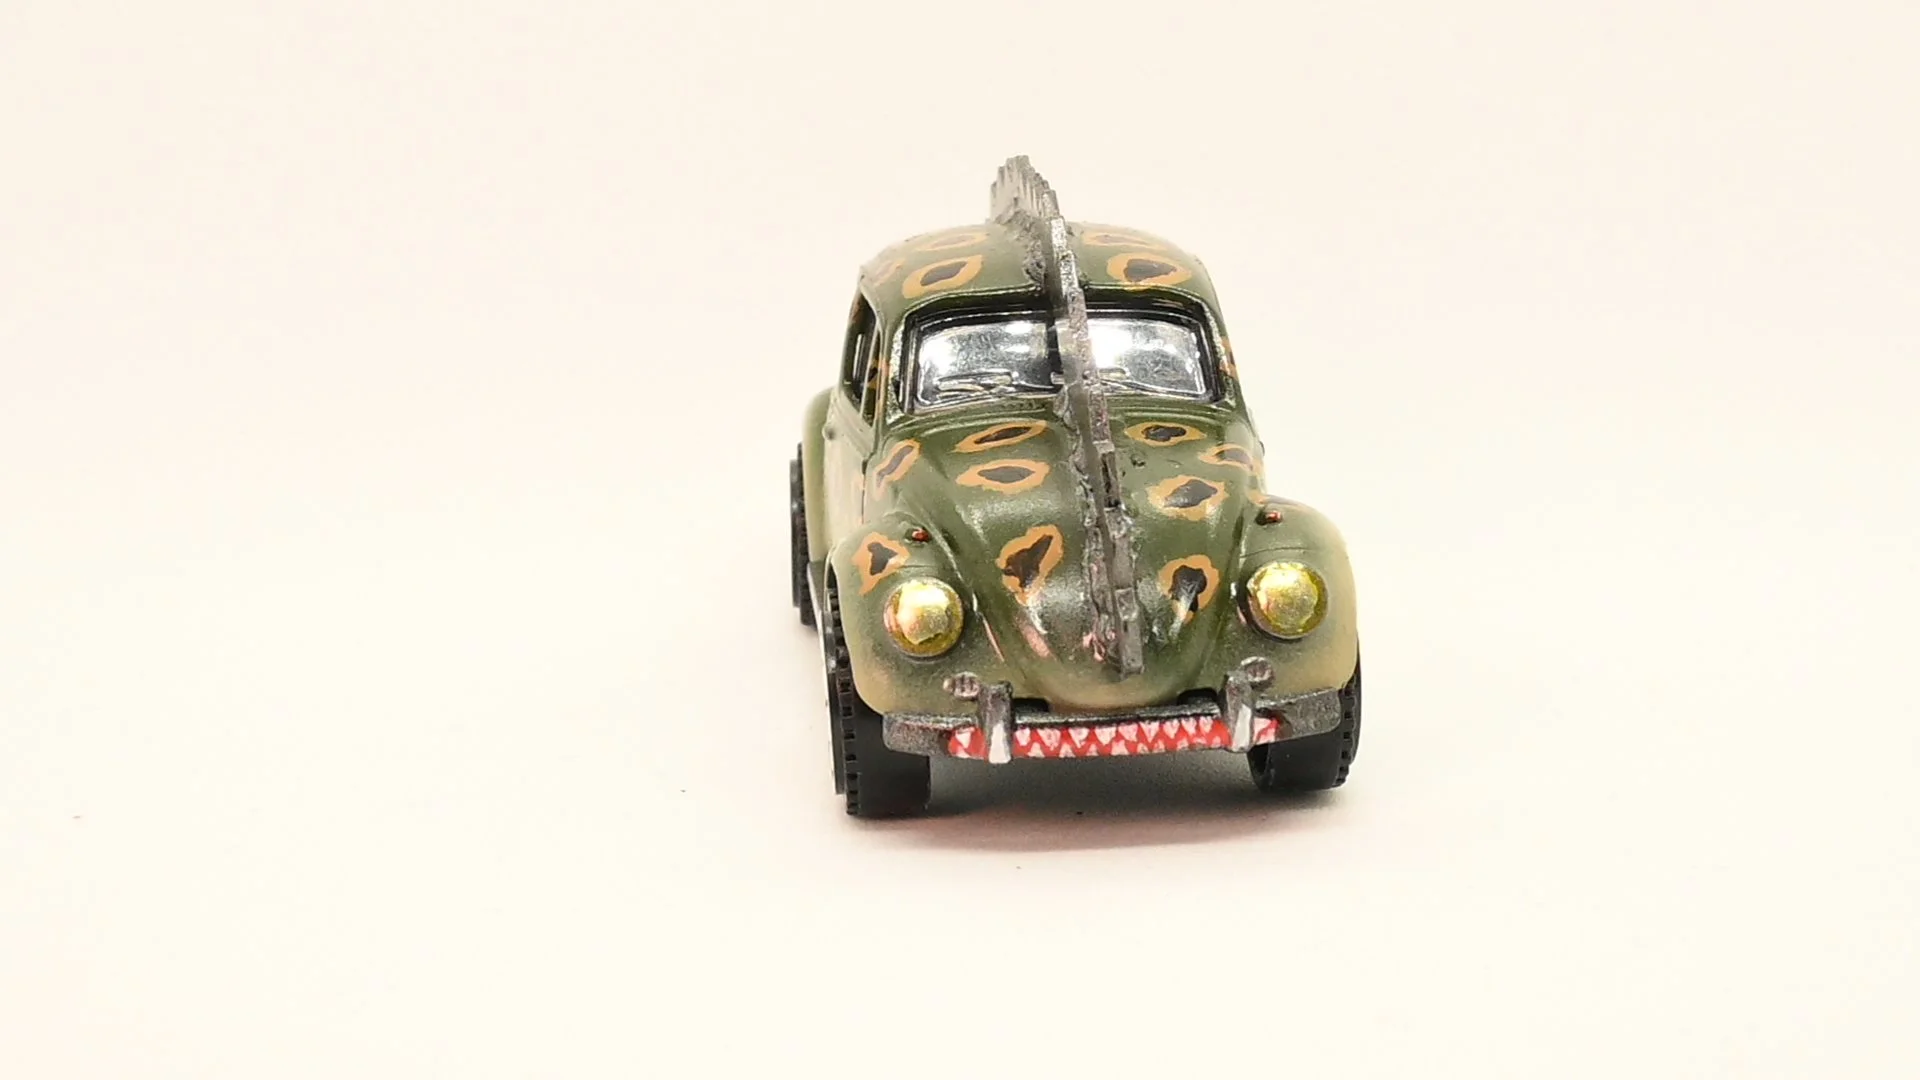
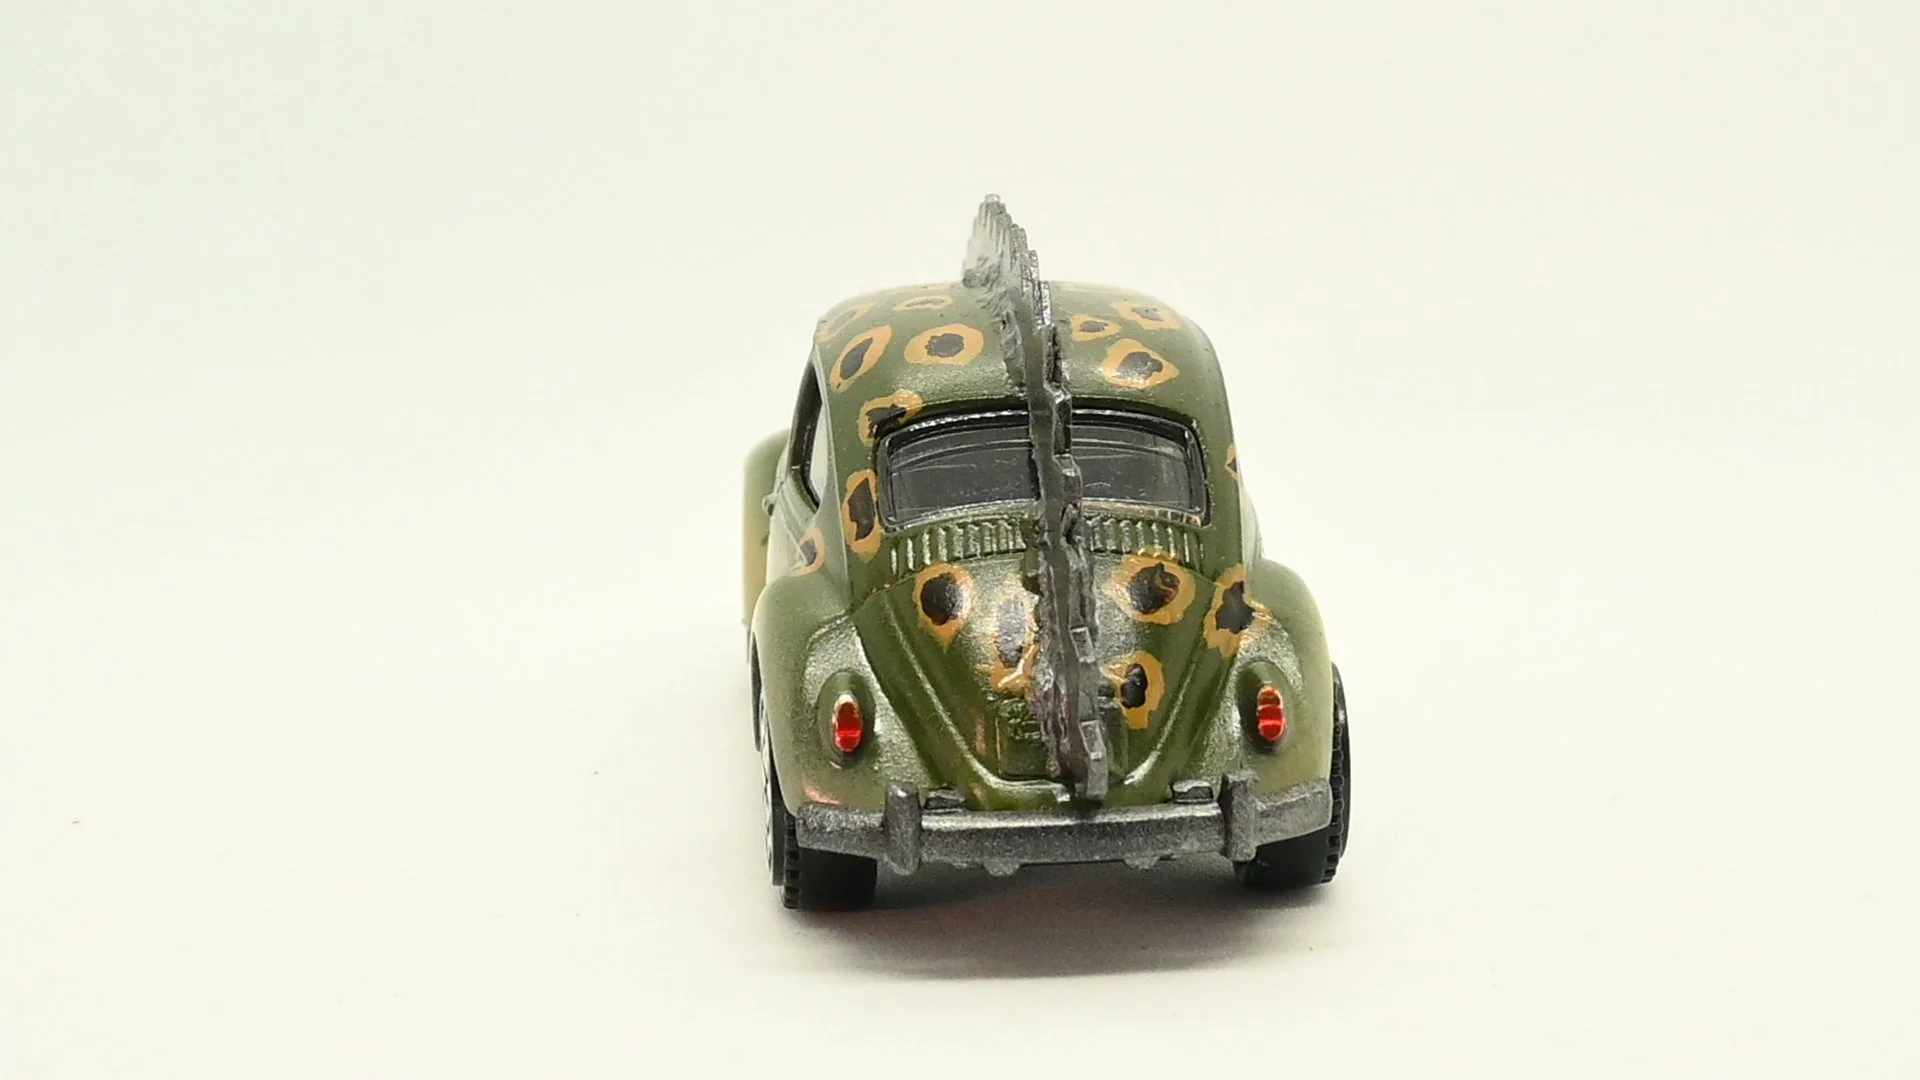
When I saw a toy VW Beetle, I knew exactly what I needed to do. I had to create an updated version of the Volkswerker from Carmageddon! I have a pair of scissors that cuts in a zig-zag. I used it on some plasticard to create the spine, then using greenstuff, I made the weld lines either side of the spine. The actual editing on the car was minimal. On the spine, I cut a tab which could fit into a slot I cut into the roof. This gave the spine stability, and the greenstuff helps, but also makes sense. The basecoat green and the tan were done with the airbrush to get that transition nice and smooth. The coloured spots were all done with a brush. The metal is TTCombat’s Tungsten Steel, which is a nice dark metal. The lights are done using Liquid Chrome and candy paints, but the front bumper got a sharp toothed mouth painted on, to complete the Volkswerker.
That was all of the Gaslands I had to worth with, but I decided that painting cars was fun, so why not continue on with a bunch of vehicles I had sitting in my collection for tabletop gaming?
DeGraw Security
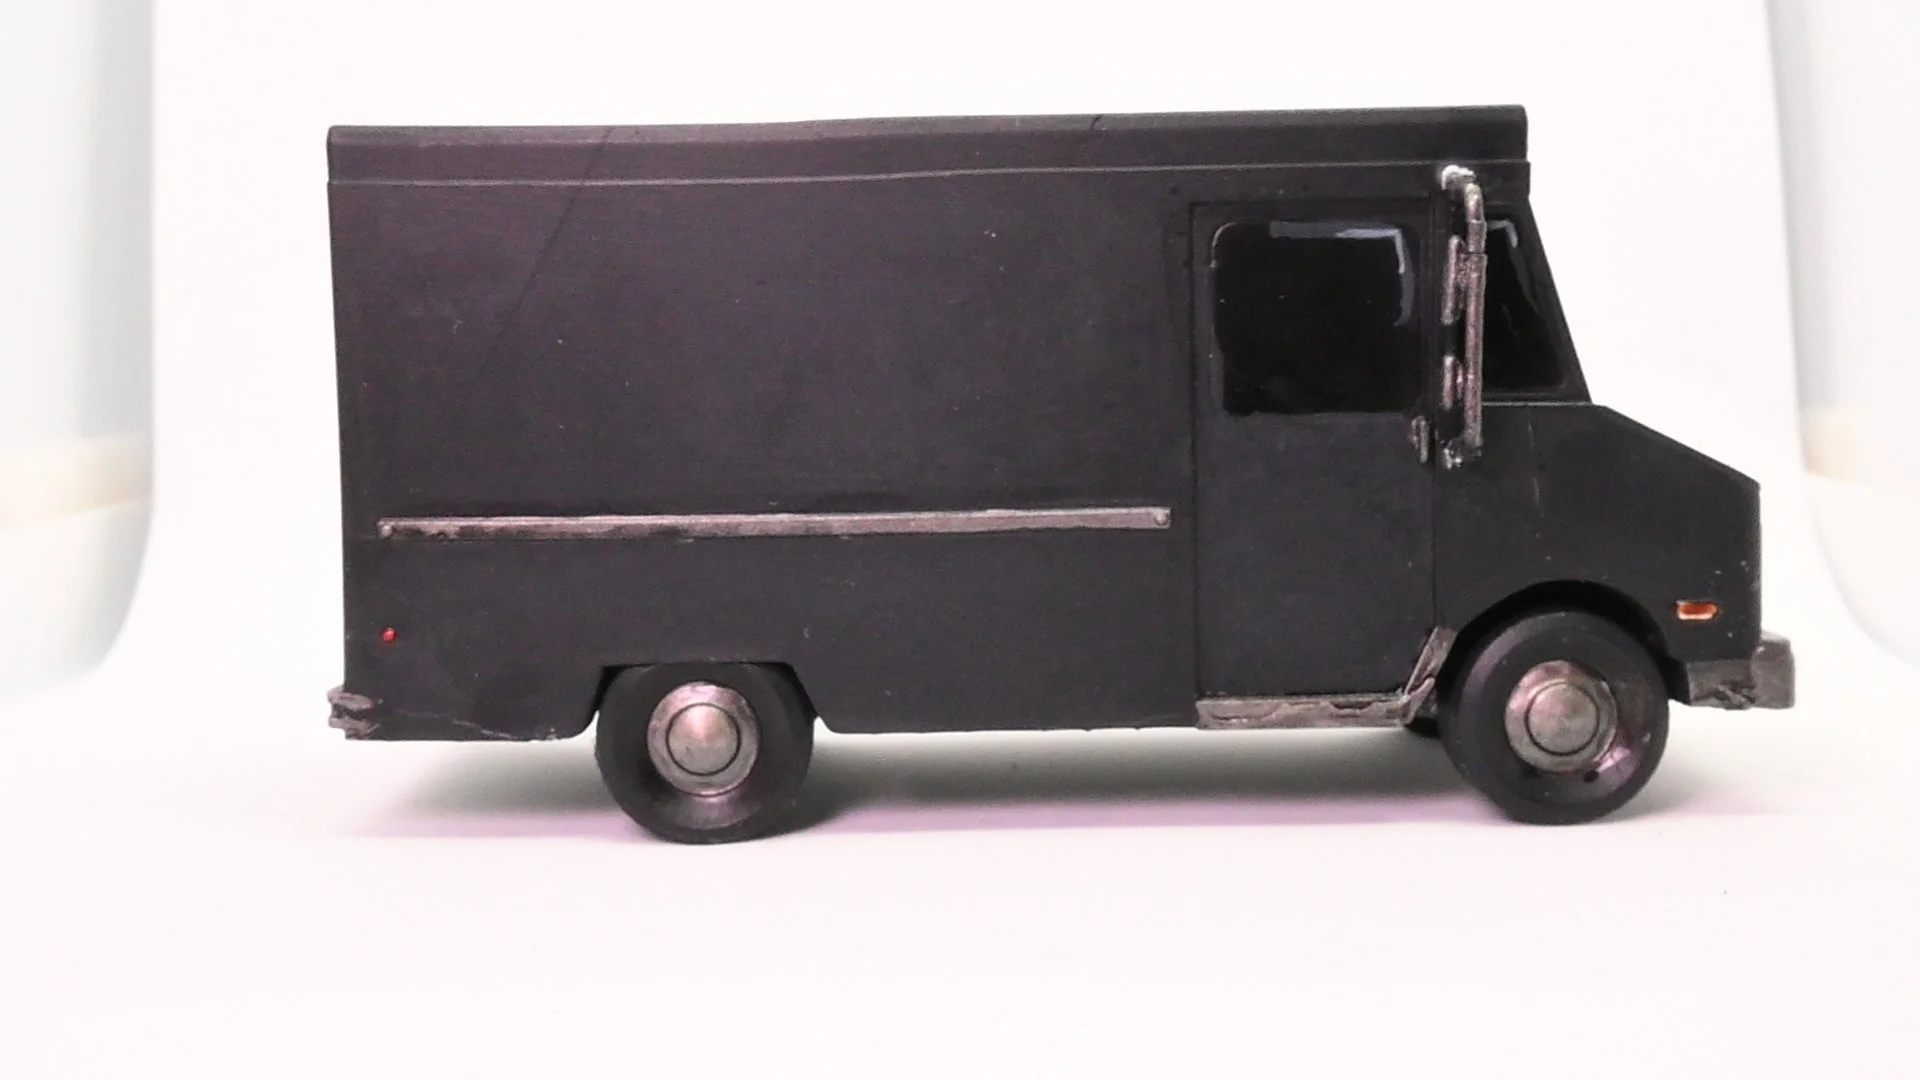
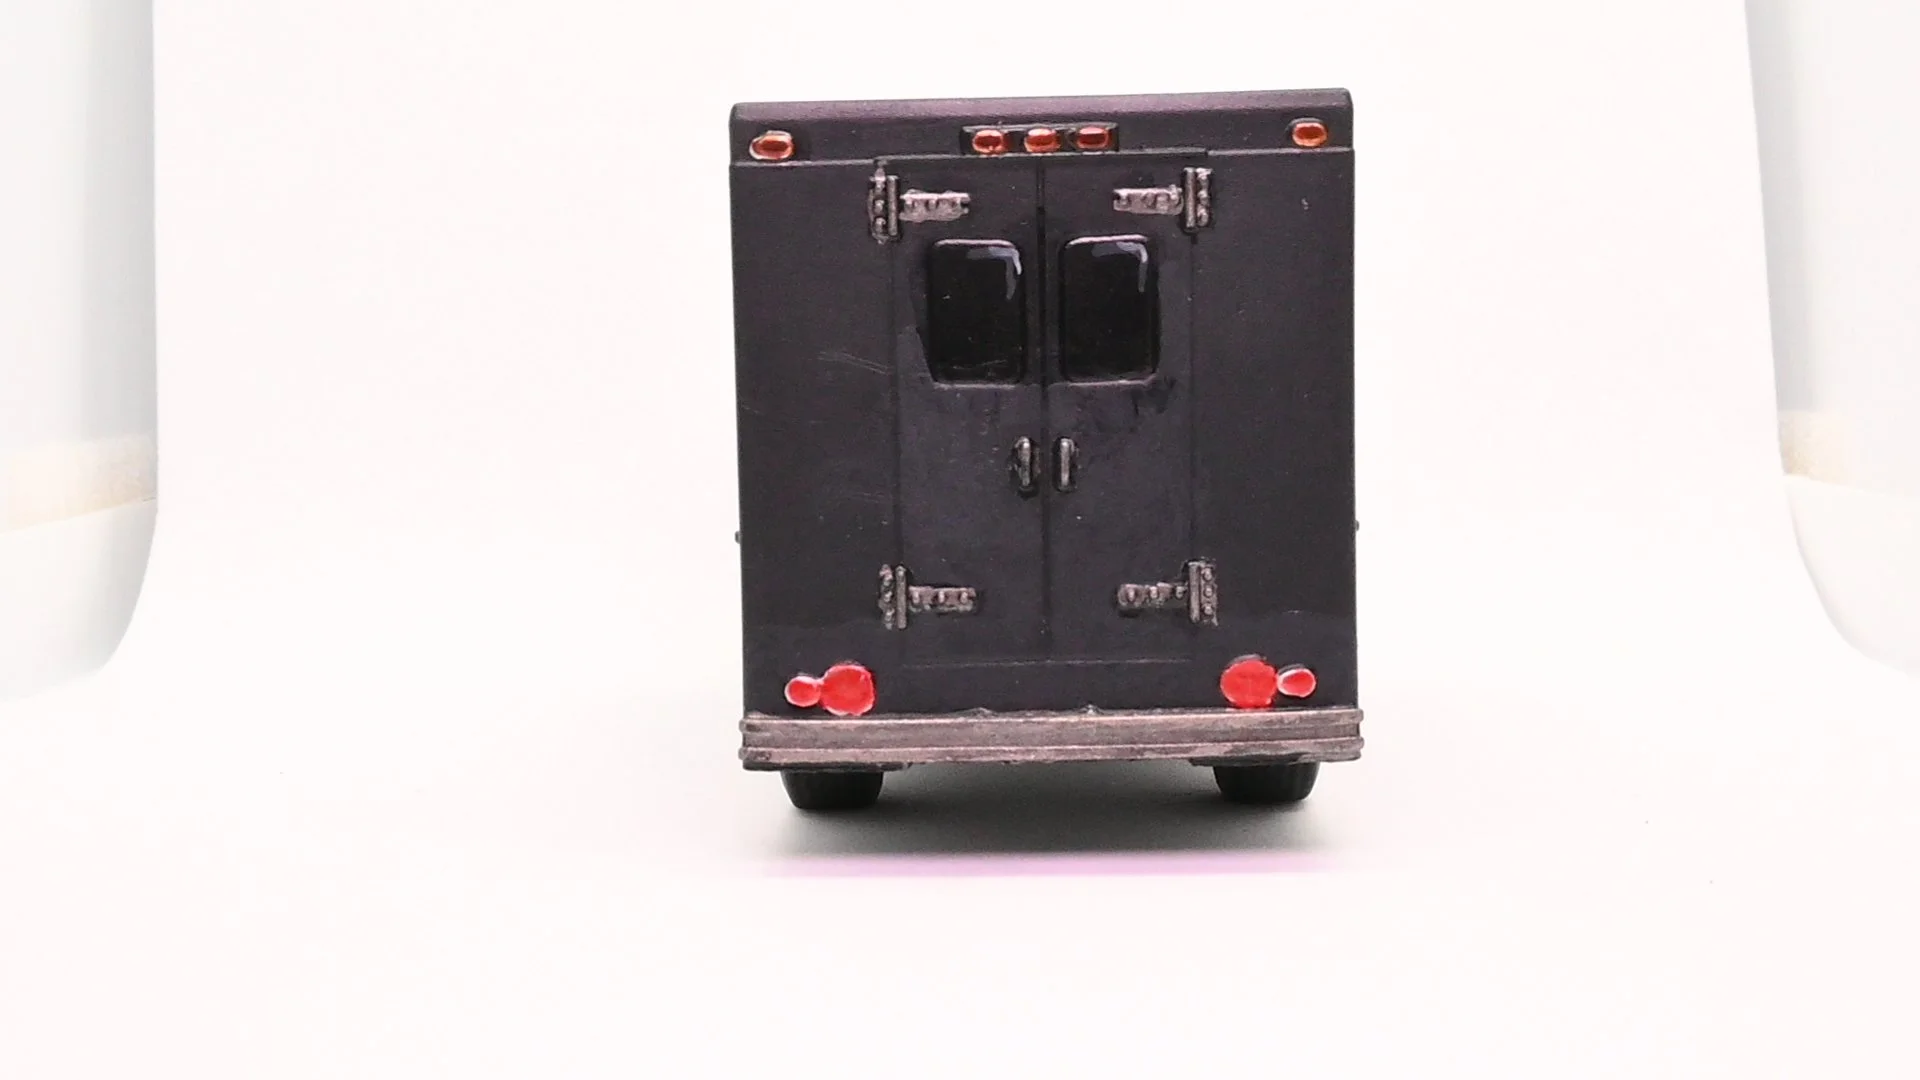
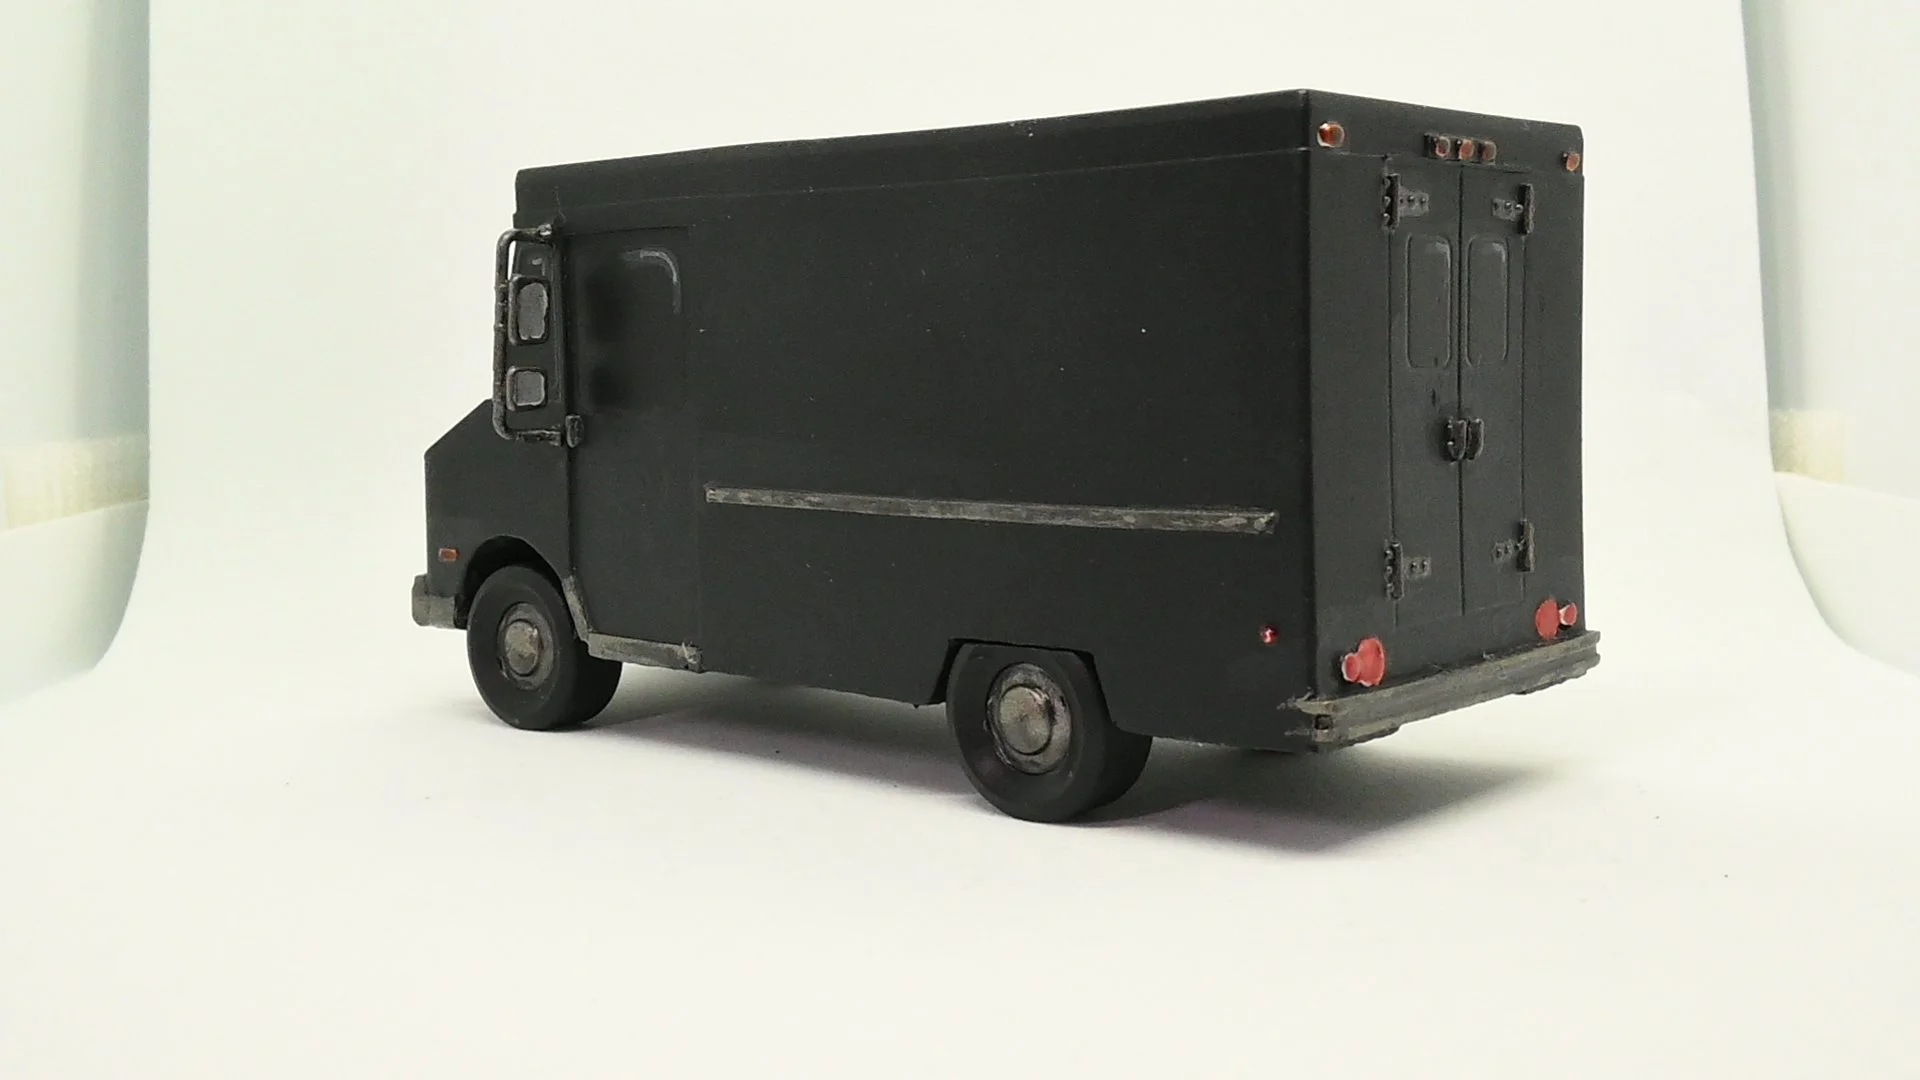
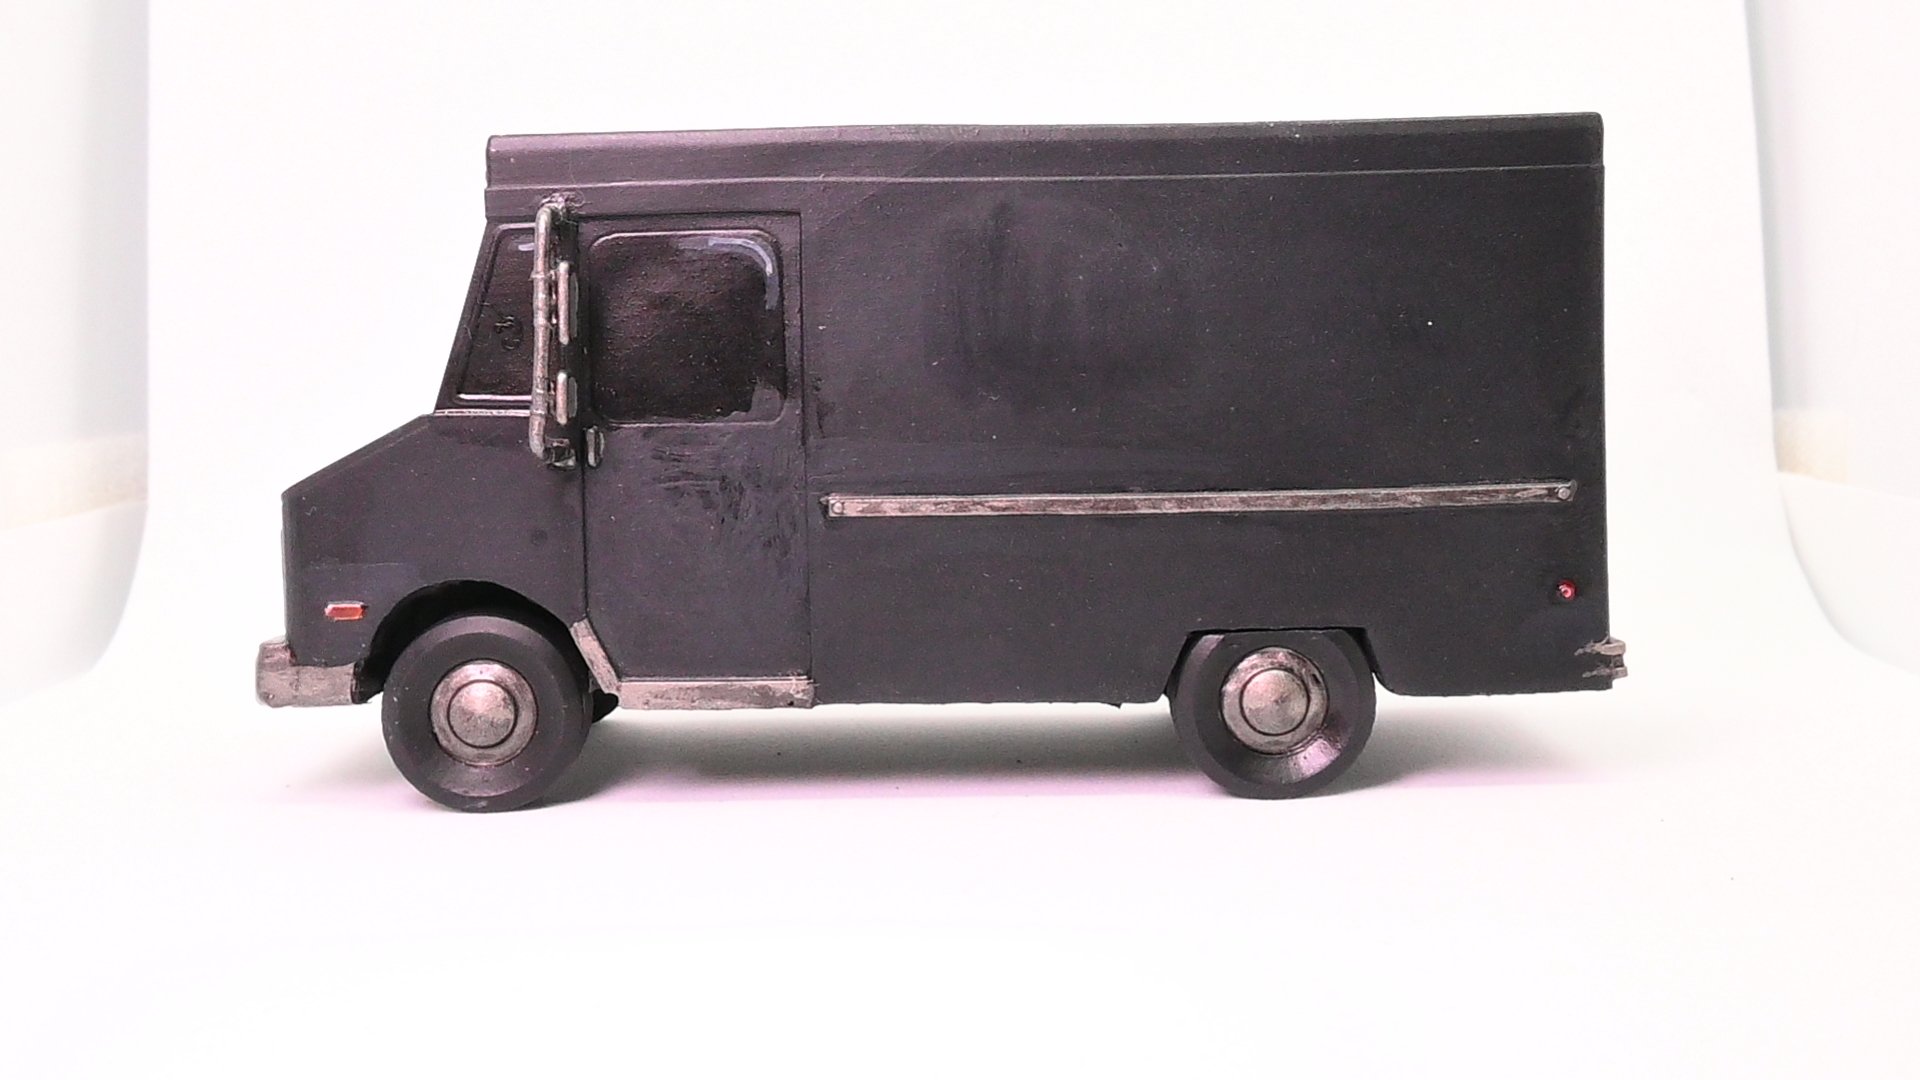
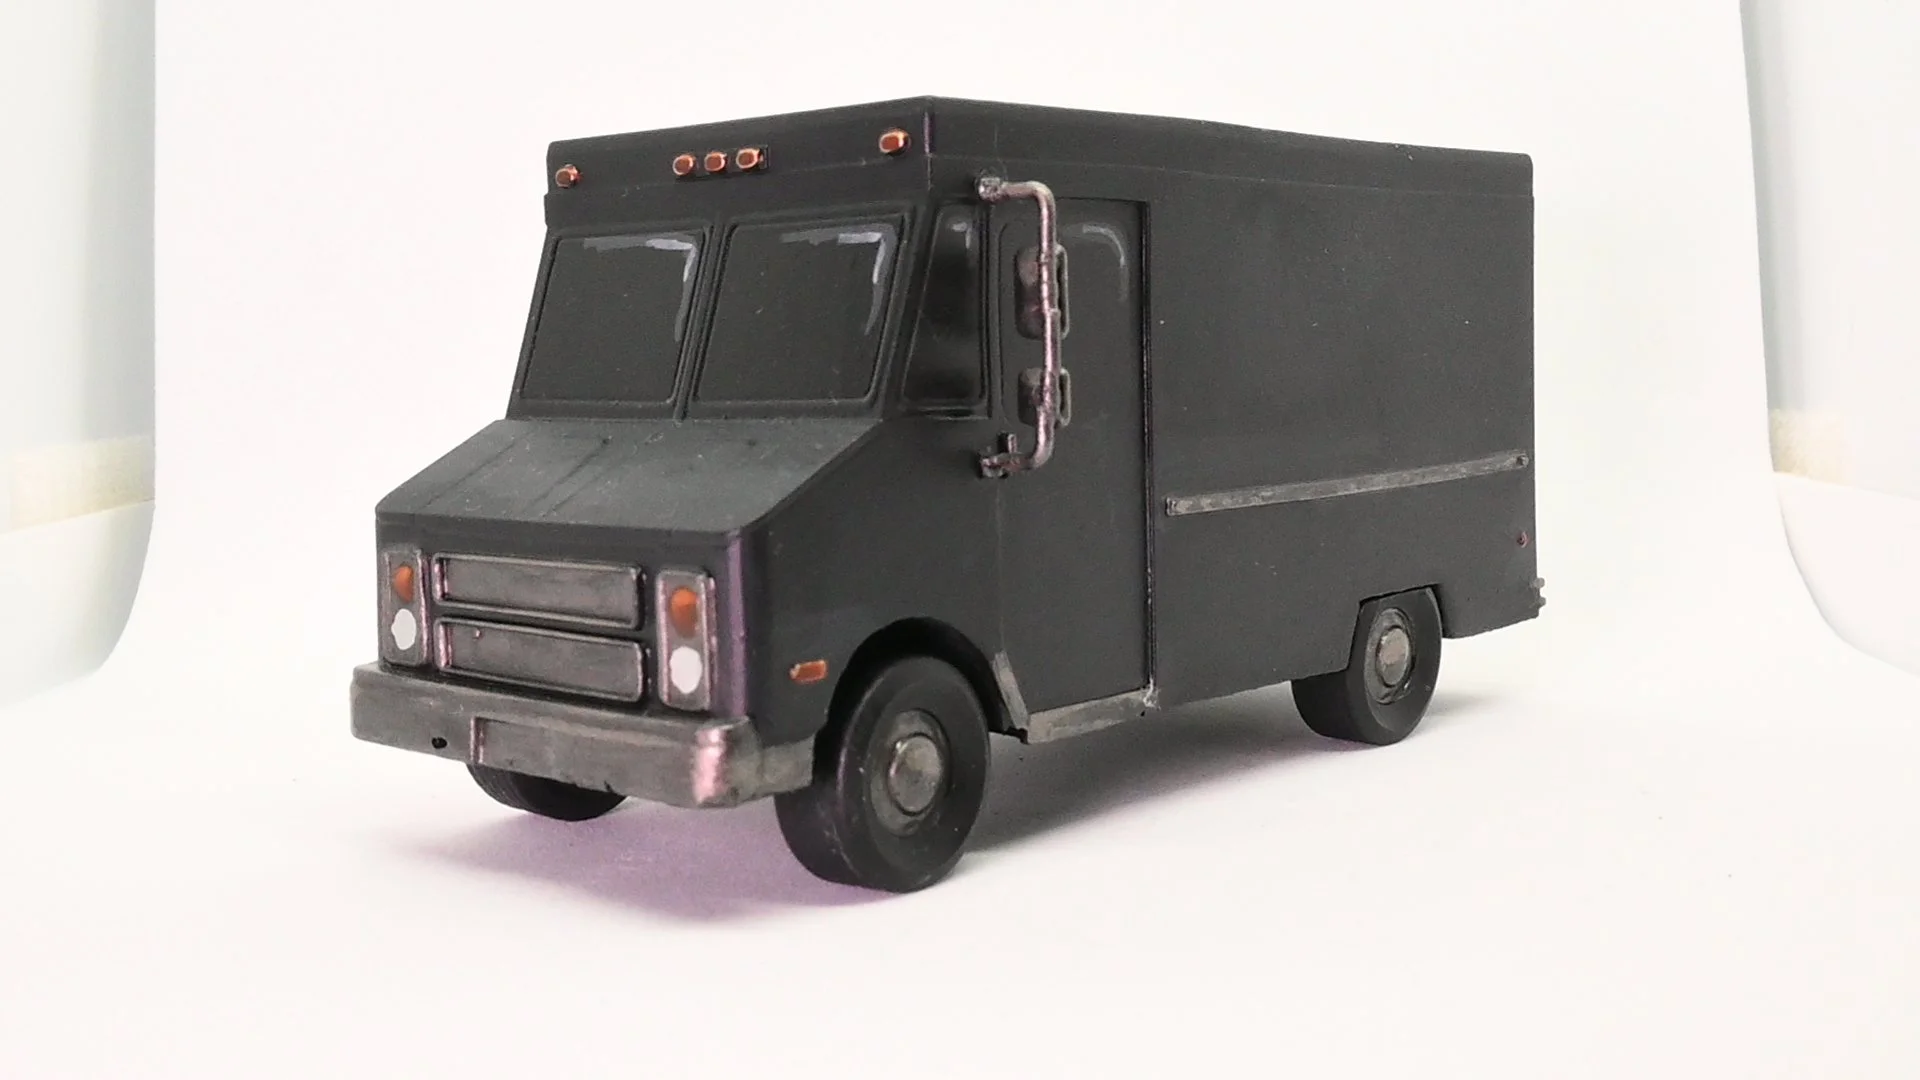
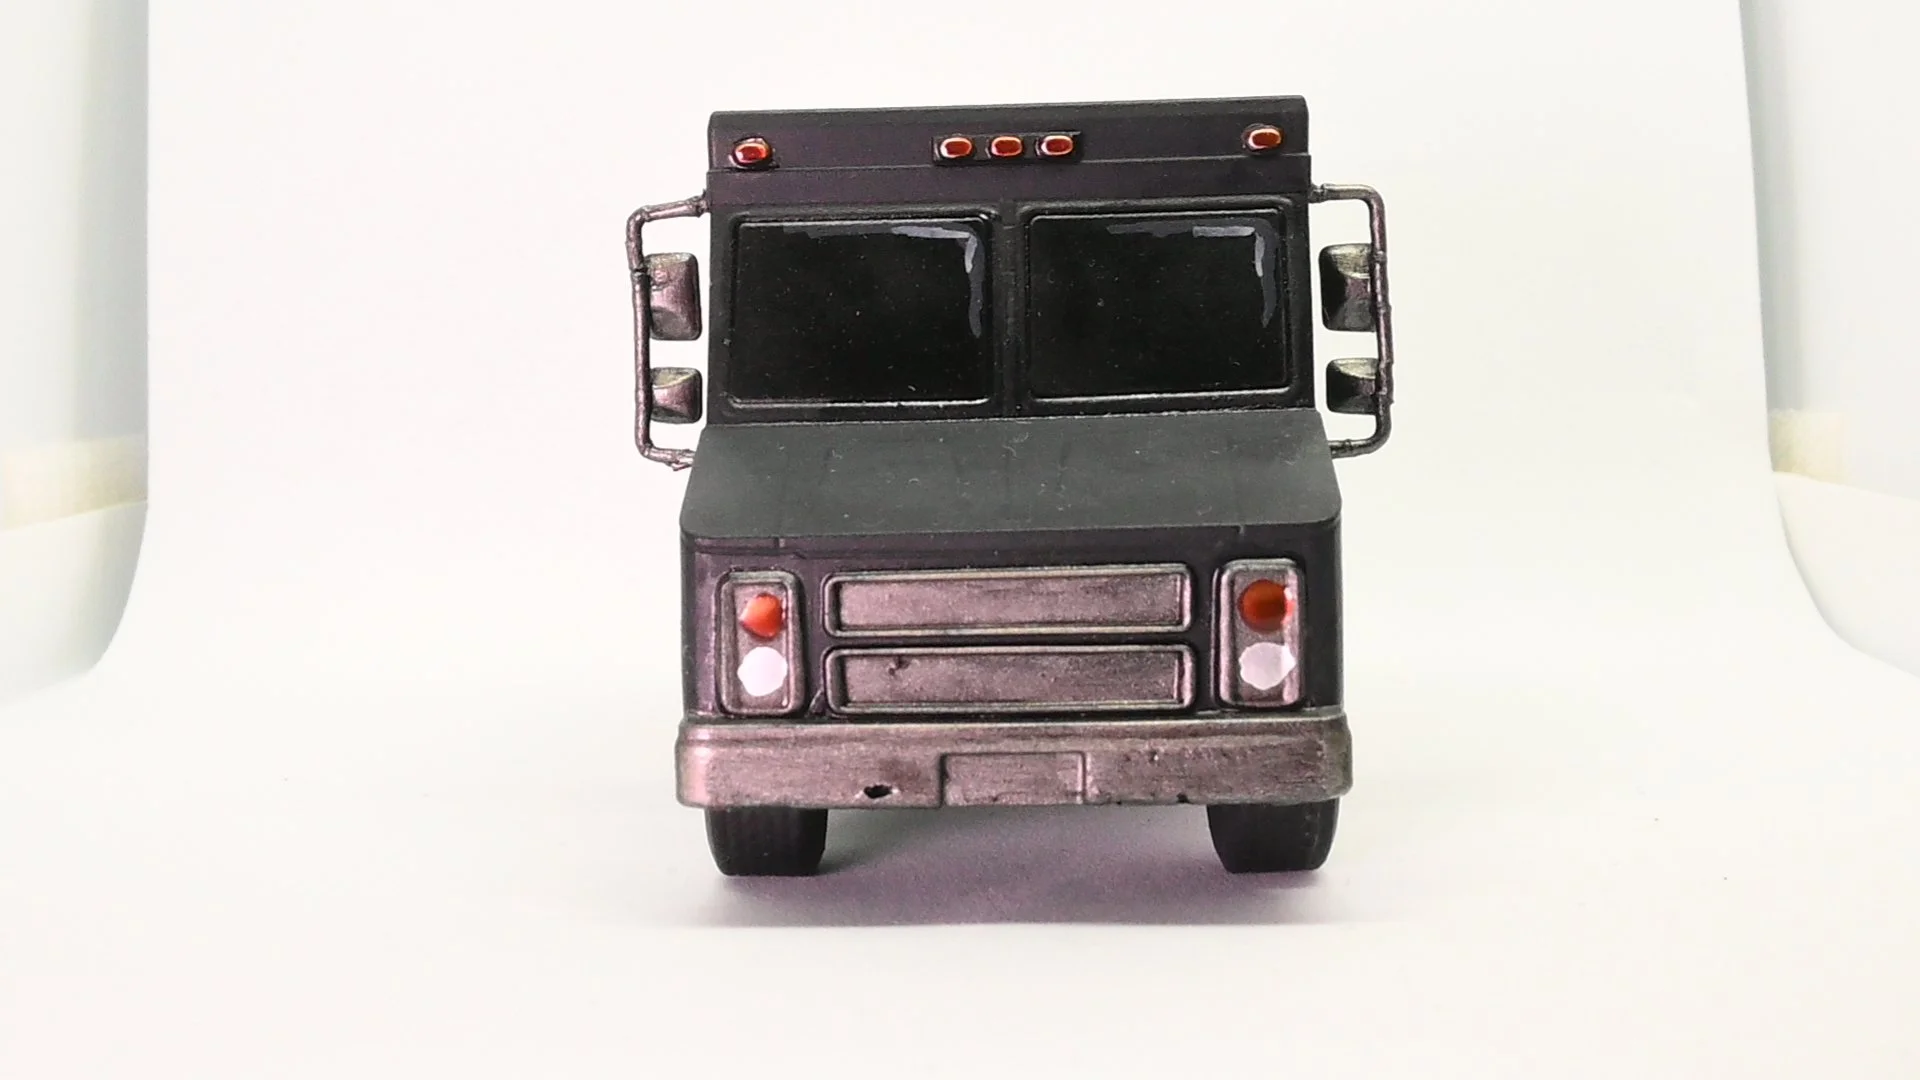
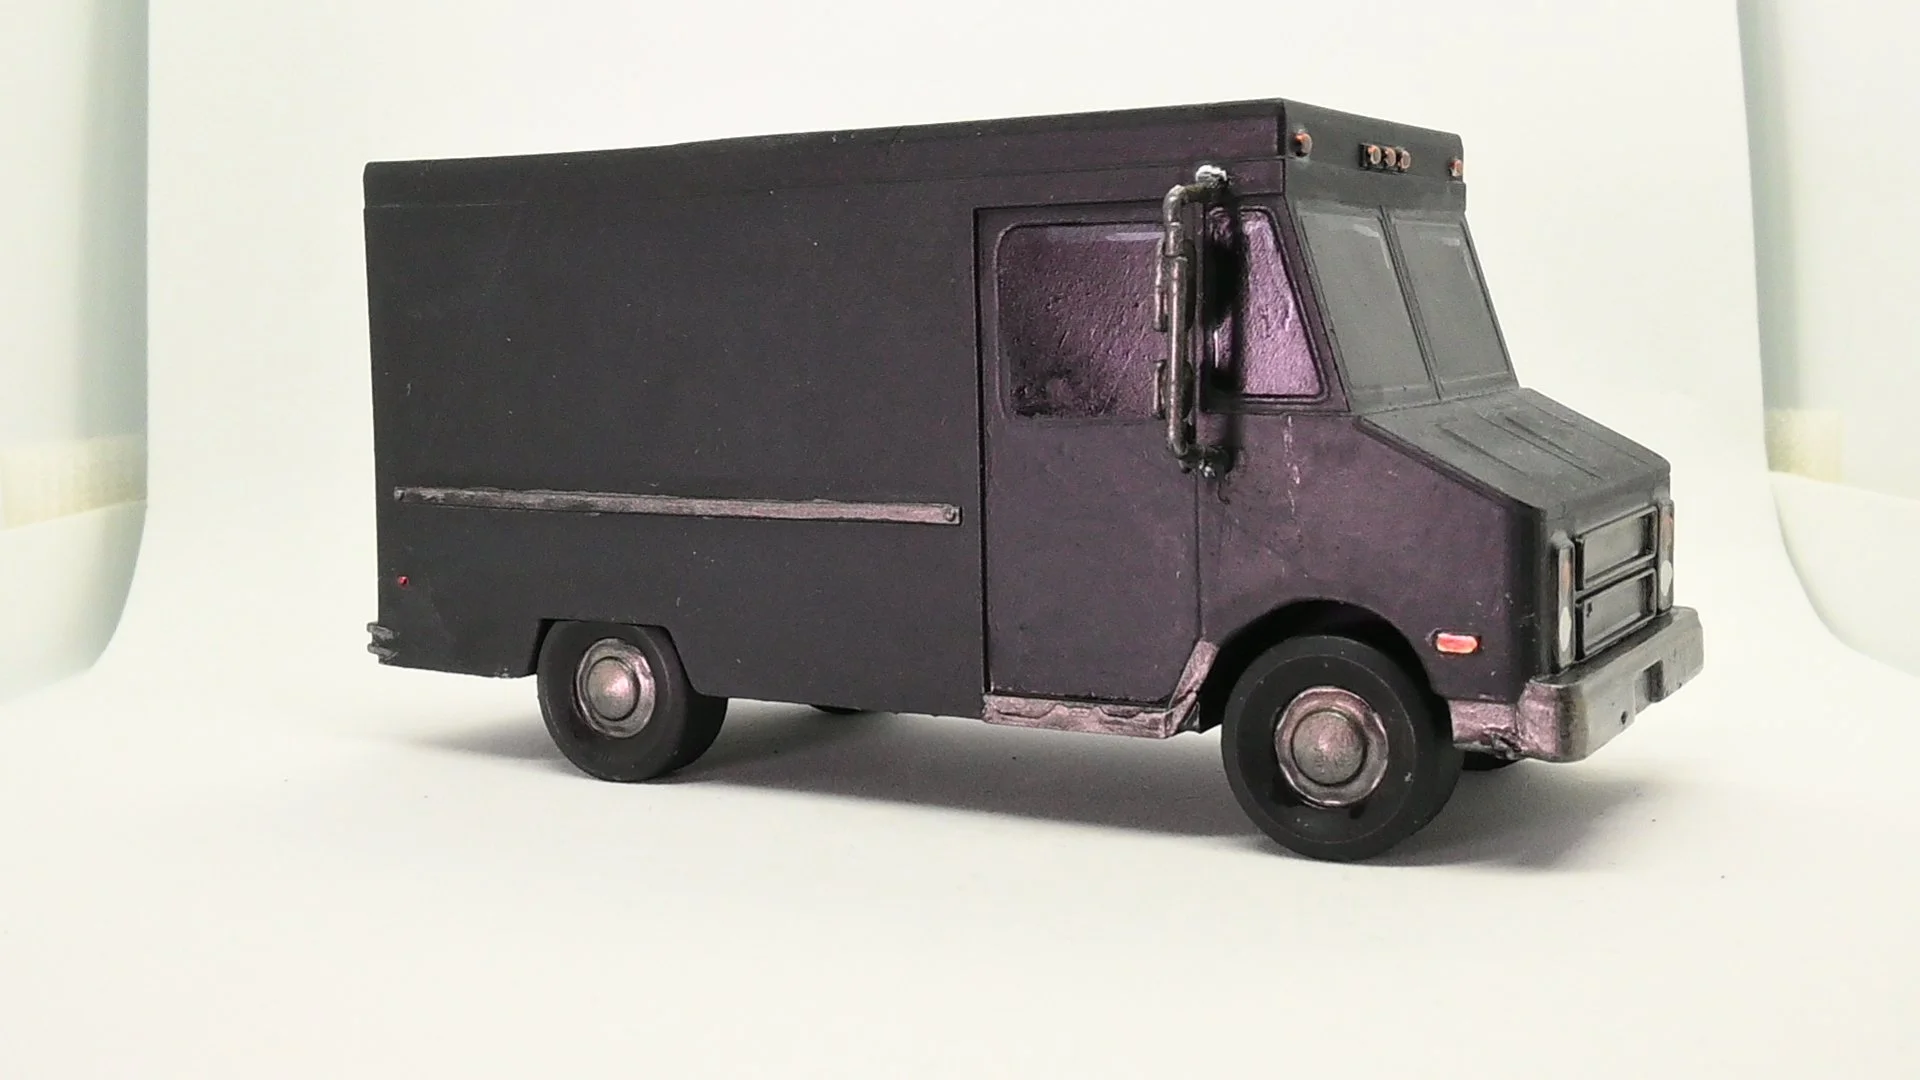
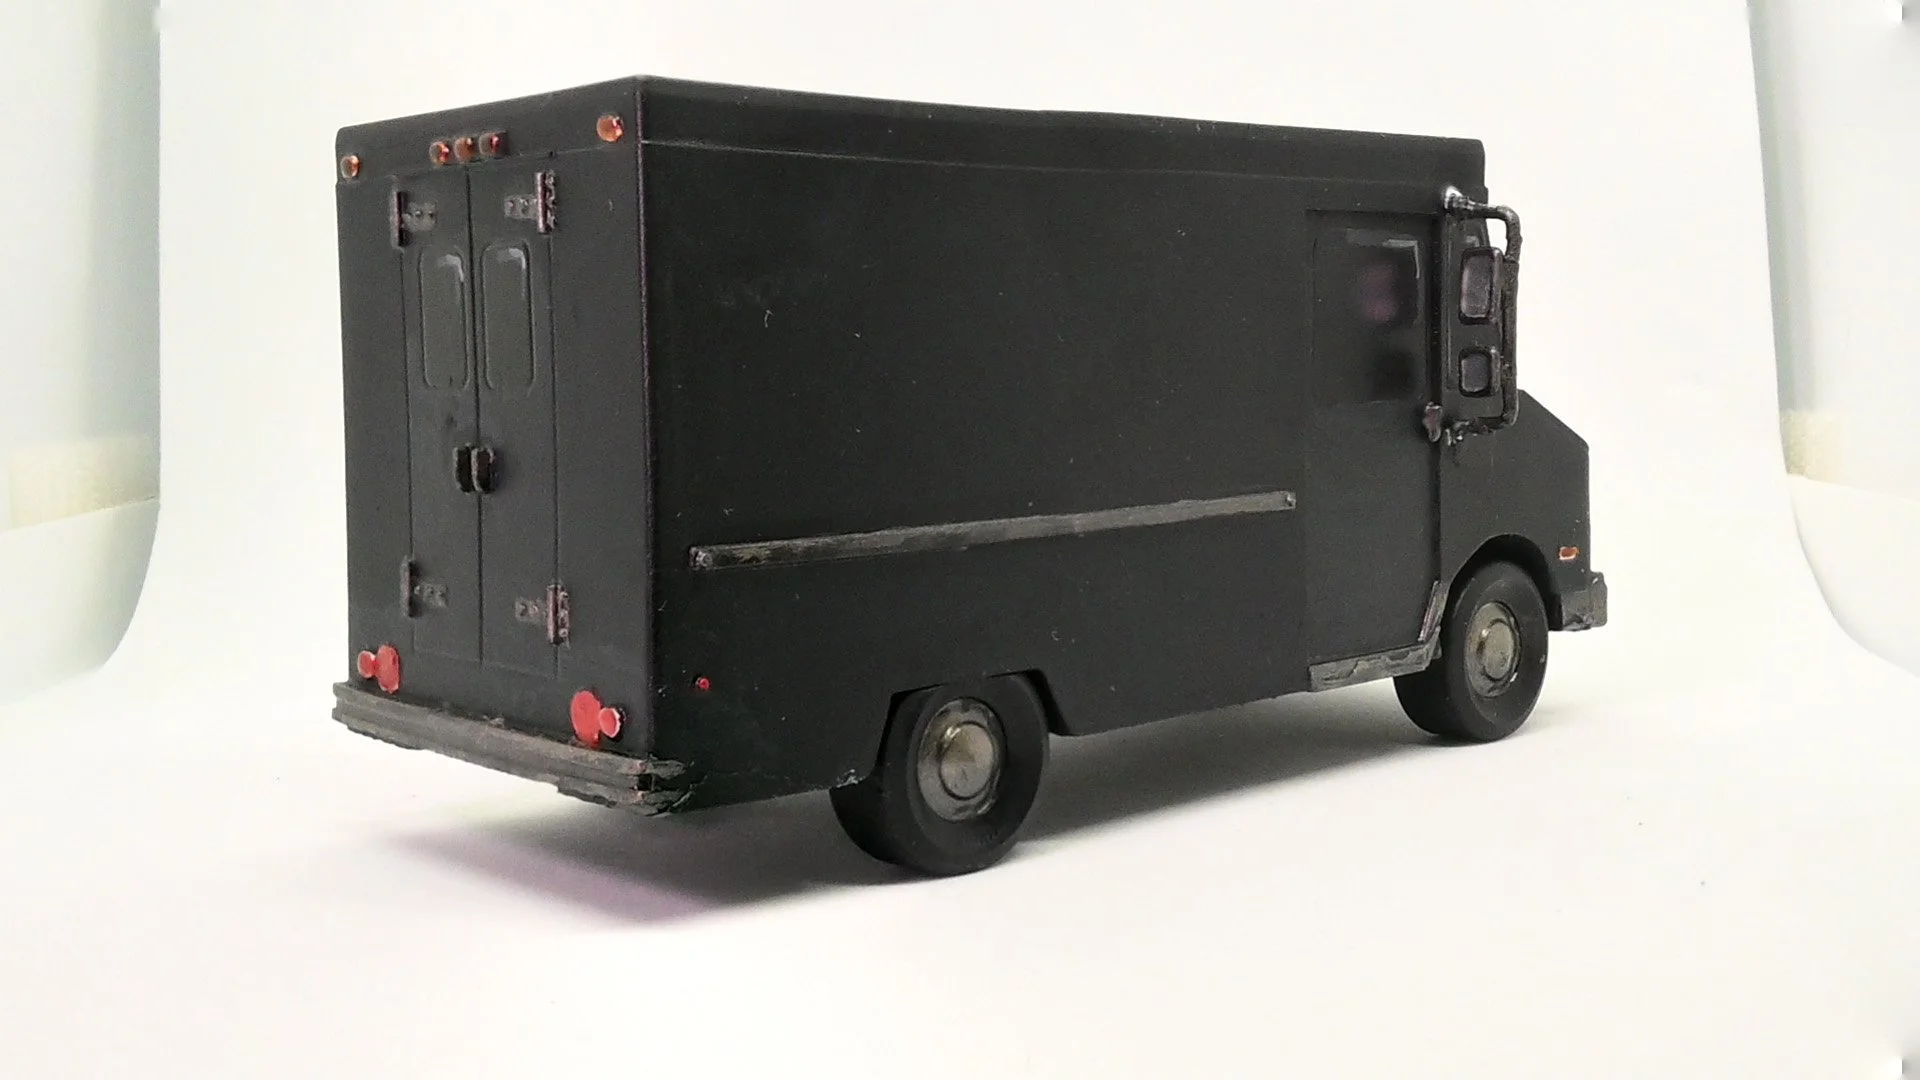
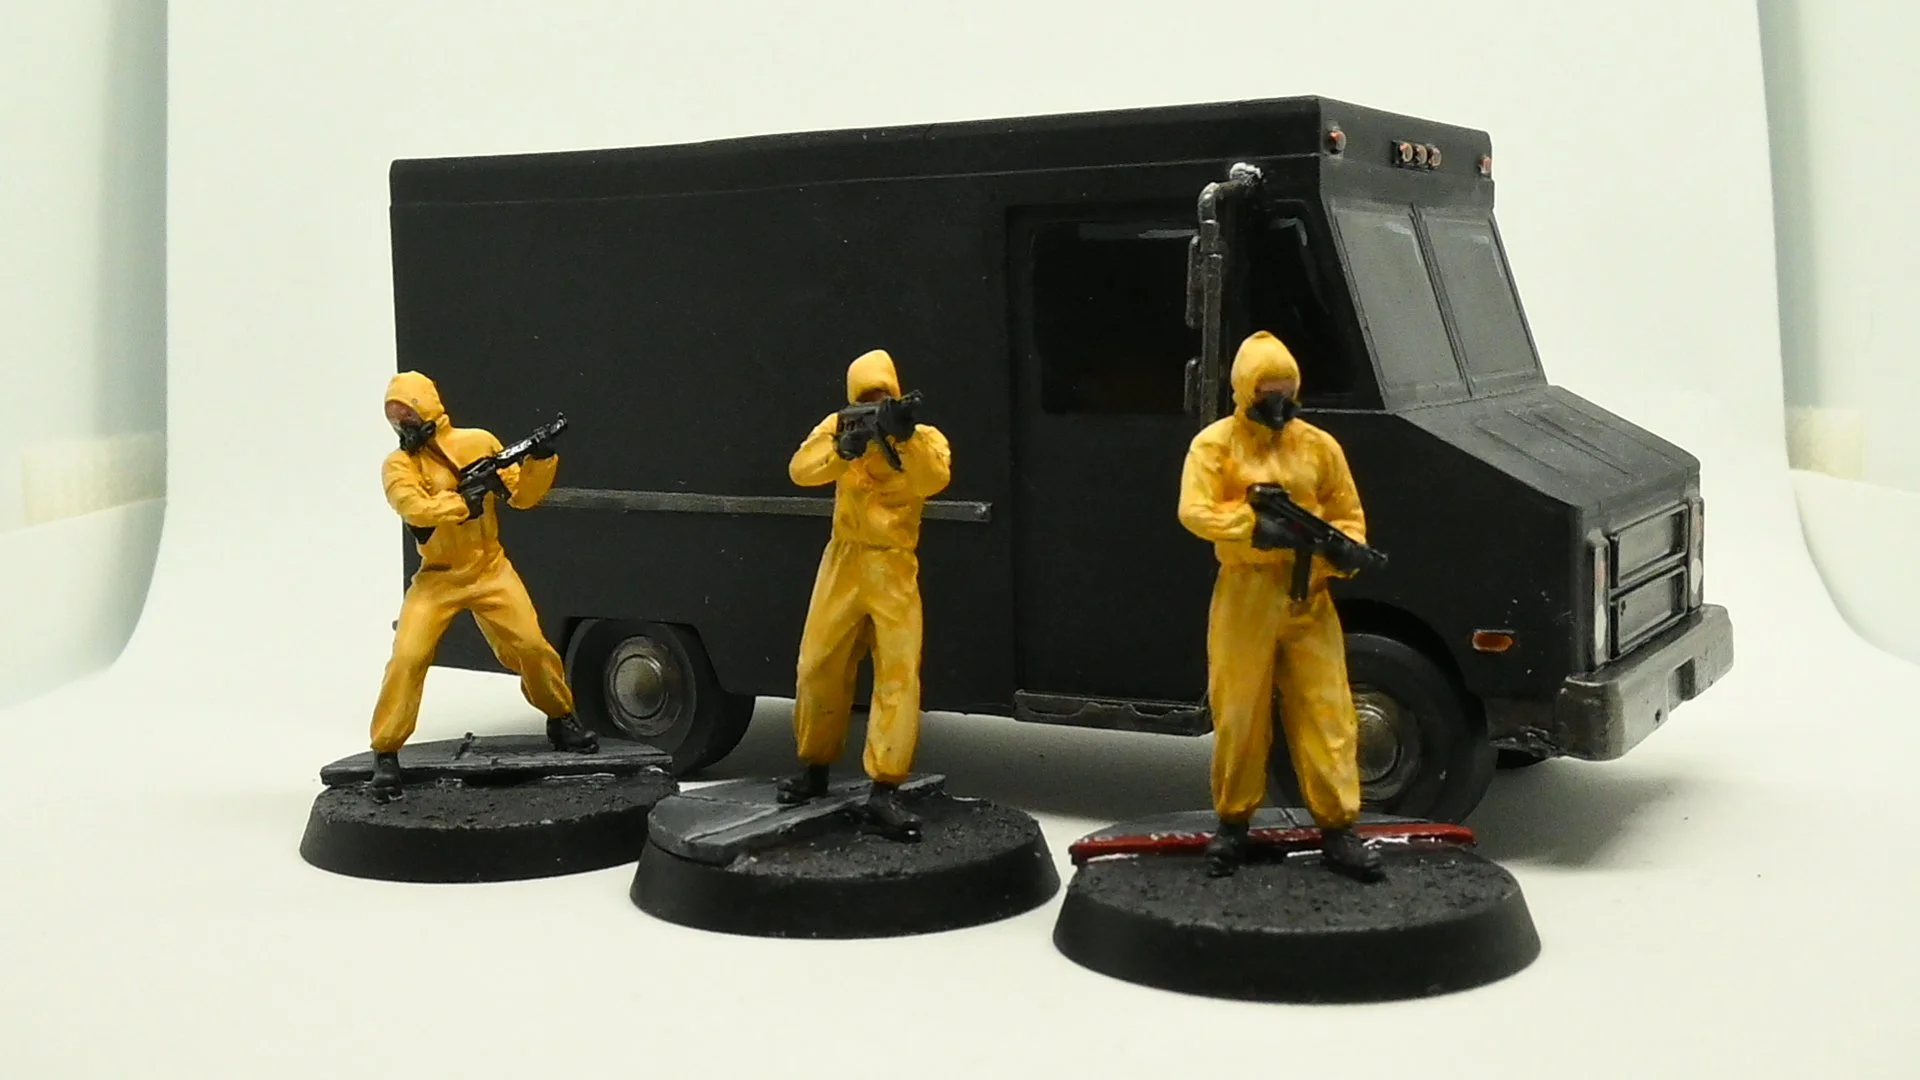
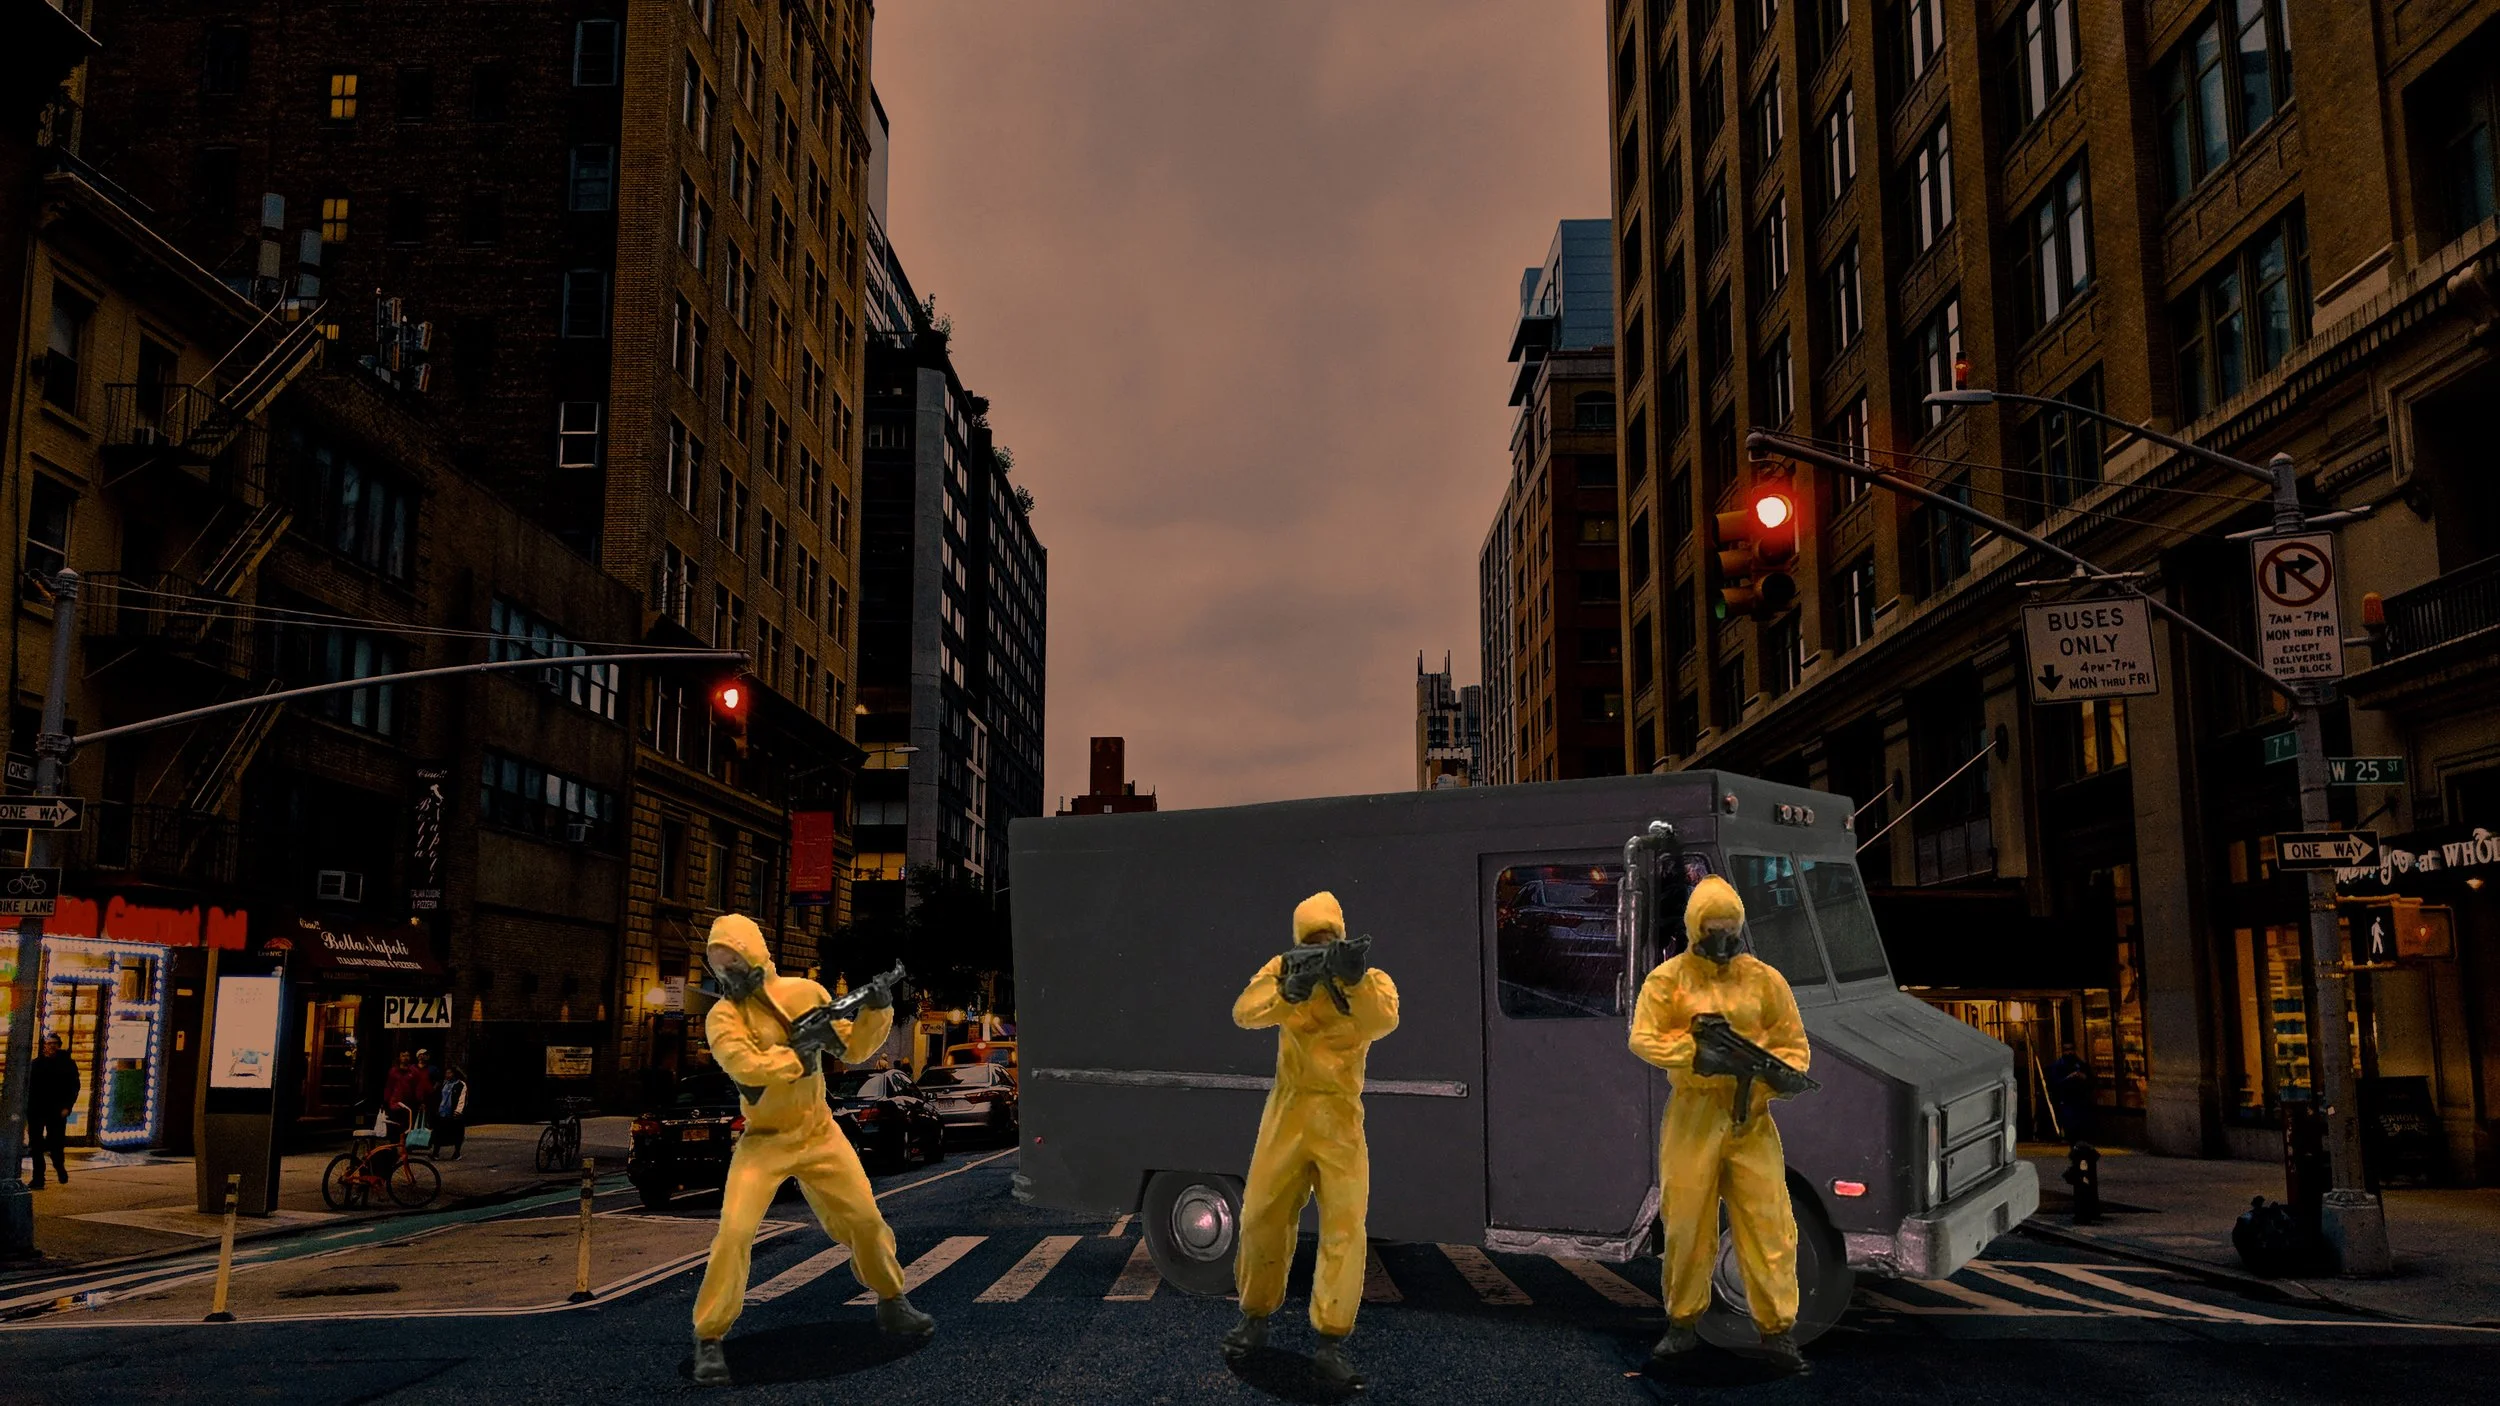
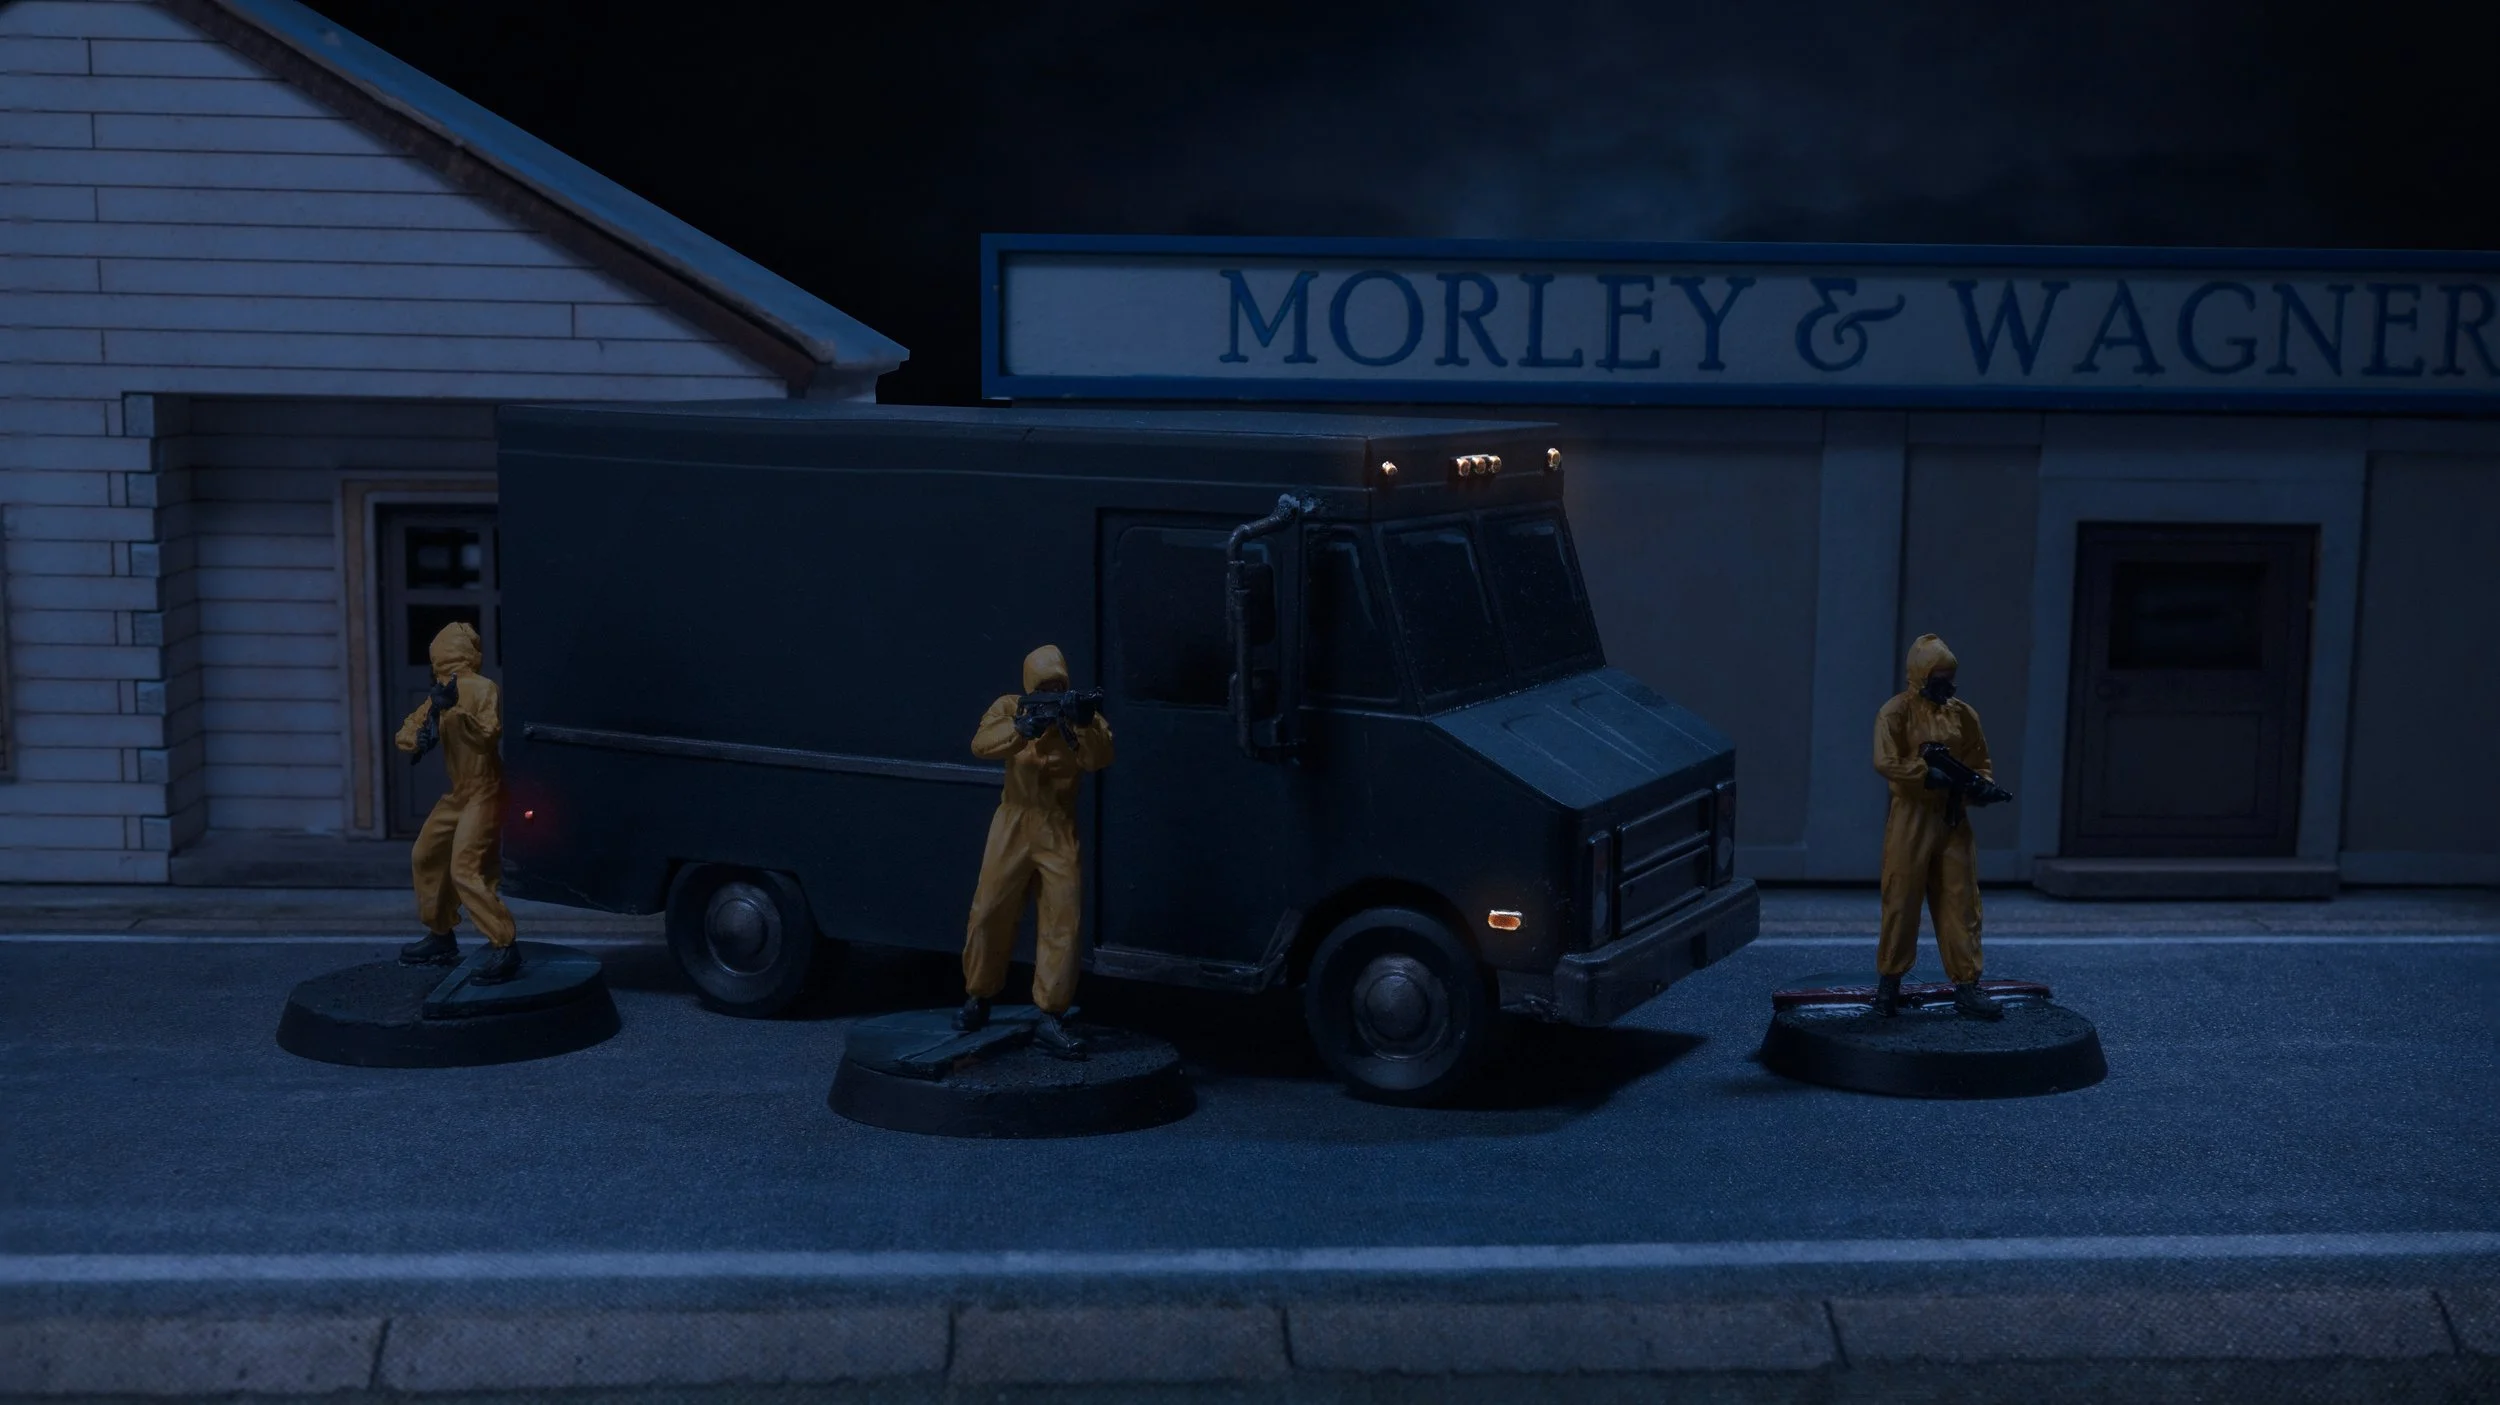
The Degraw Security van is from Don’t Look Back, by Matt Burns, produced by Black Site Studios. Last year, I painted the security squad in Biohazard suits, as they are essentially cleaners for the company’s secret labs, hunting down and eliminating any escaped test subjects or any loose lips, they need a non-descript paintjob, and what is more forgetful than a matt black van with no branding? When it came to the toy photography, I tried another digital composite, which I don’t really think looks good, but I wanted to show what I put together. On the other hand, the scene set up which was all prepared in front of the camera, and only got a couple digital touch ups, I think looks a hell of a lot better.
Chevy Caprice Wagon
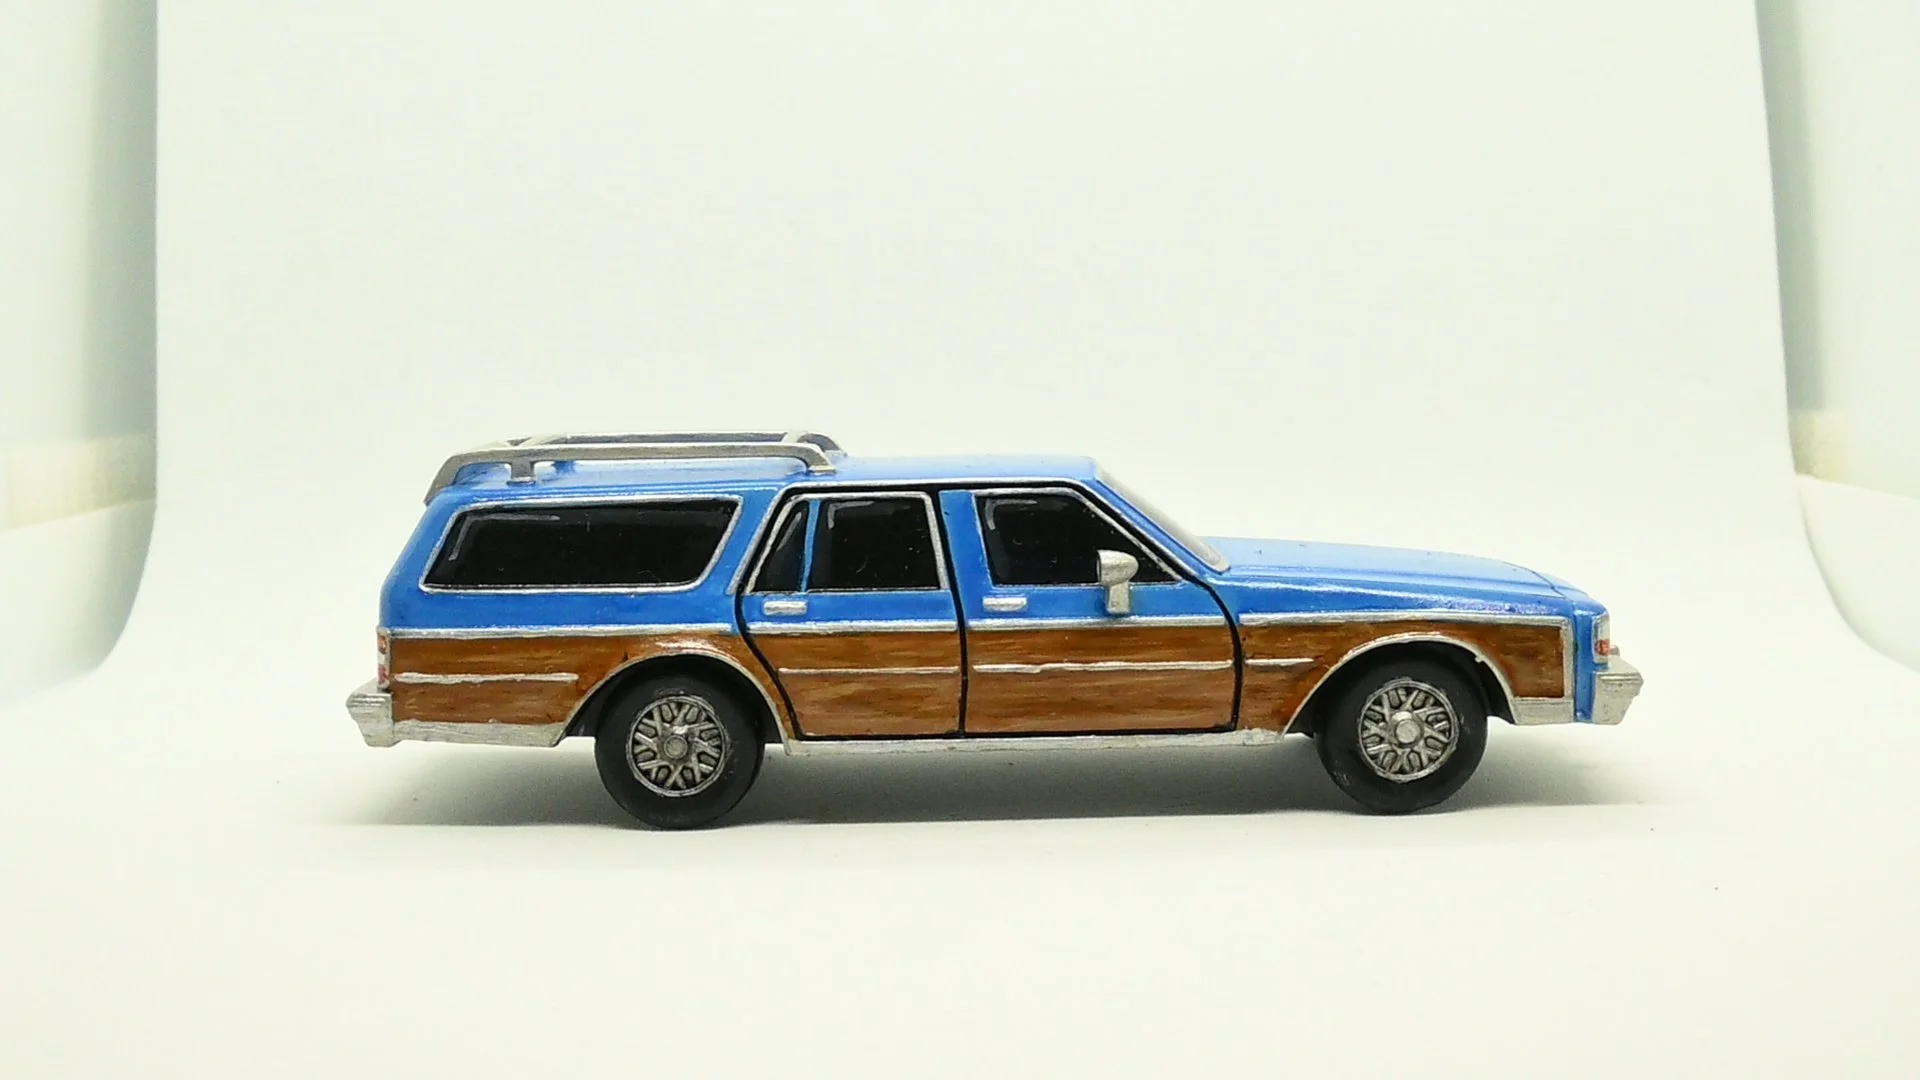
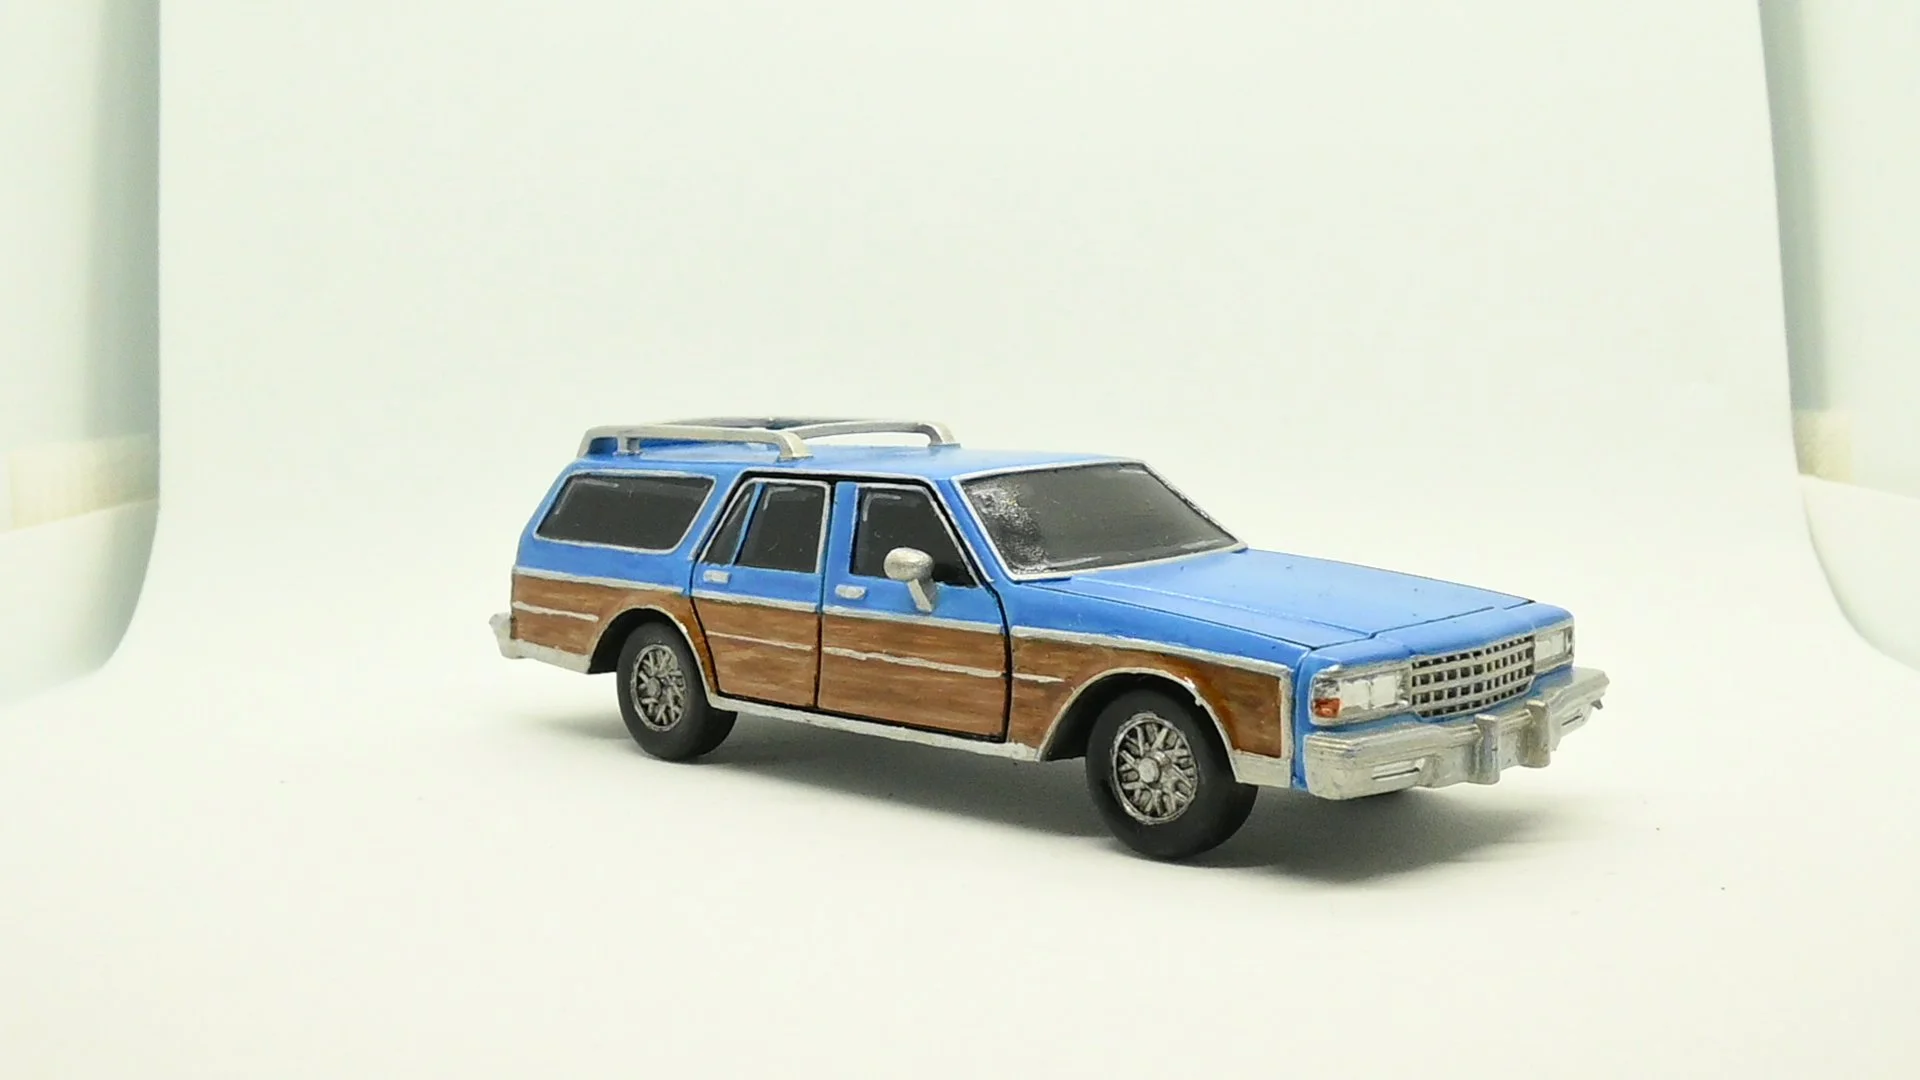
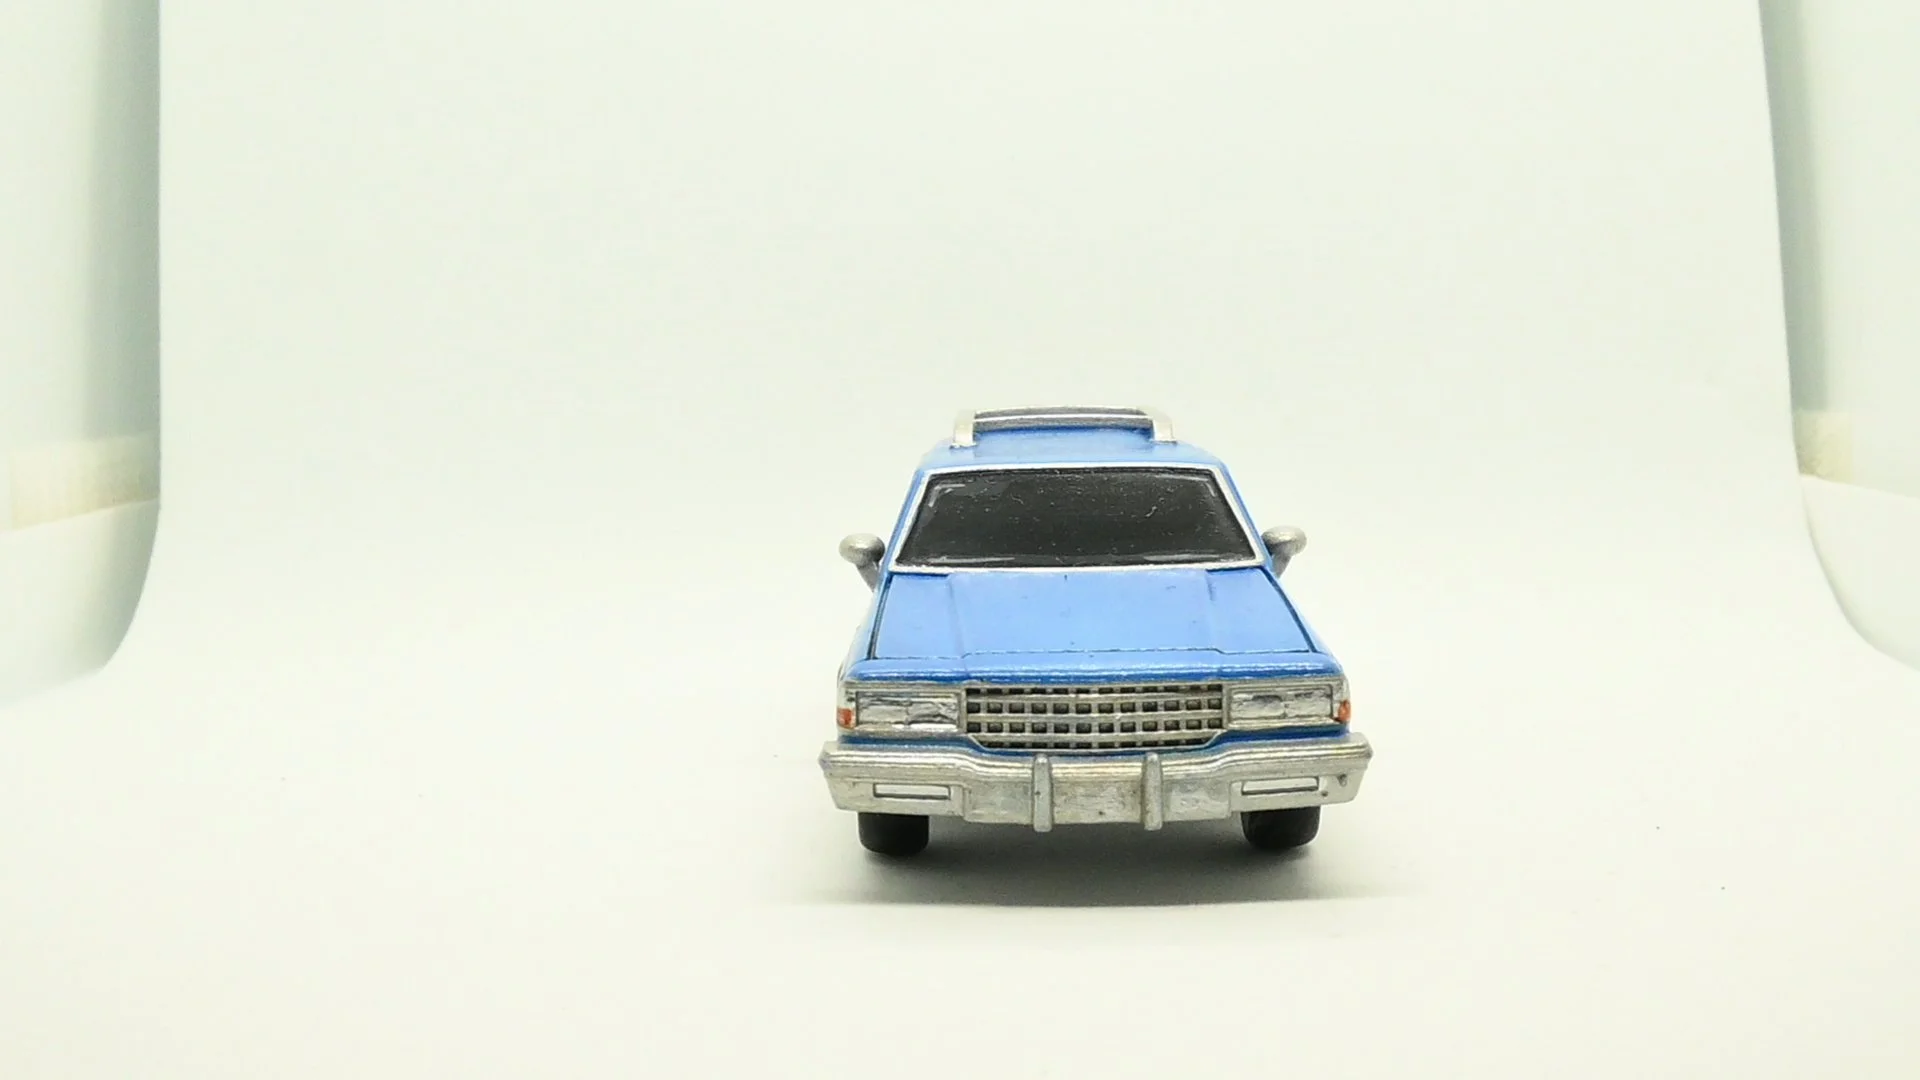
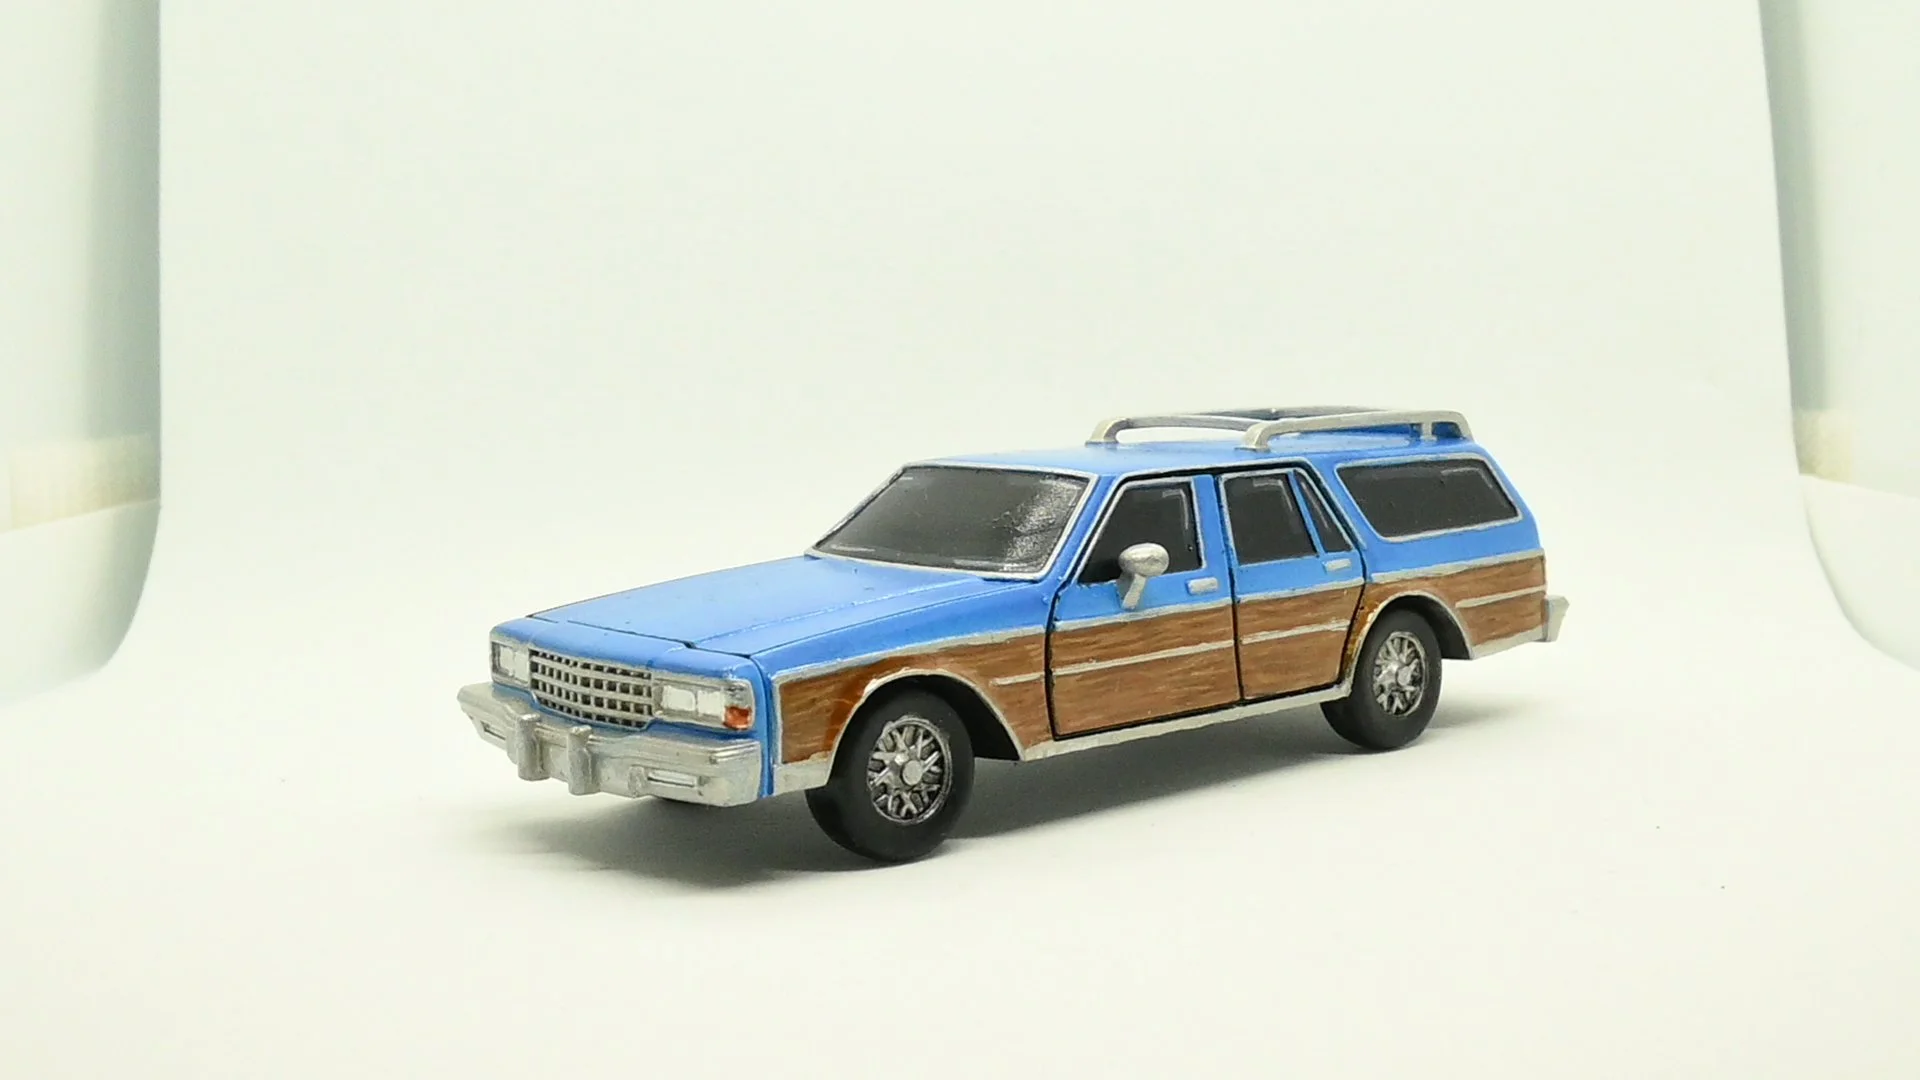
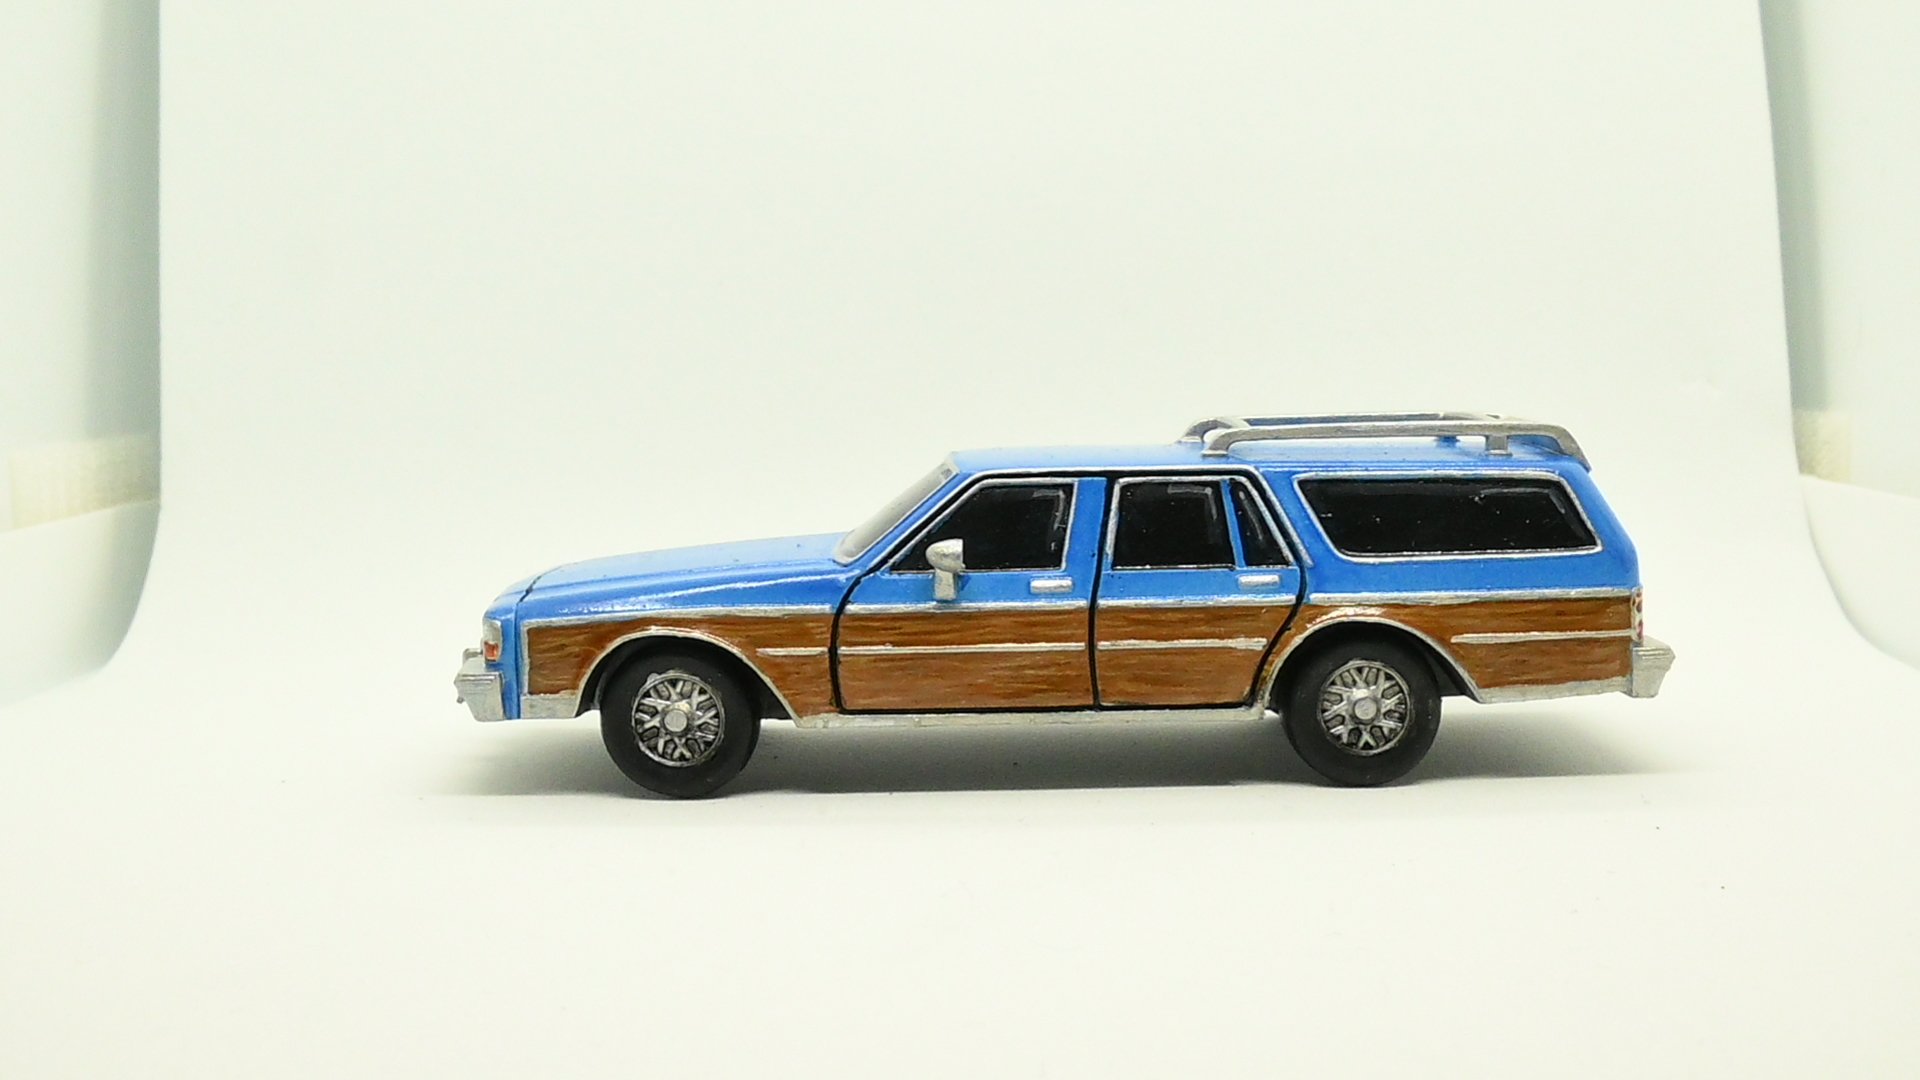
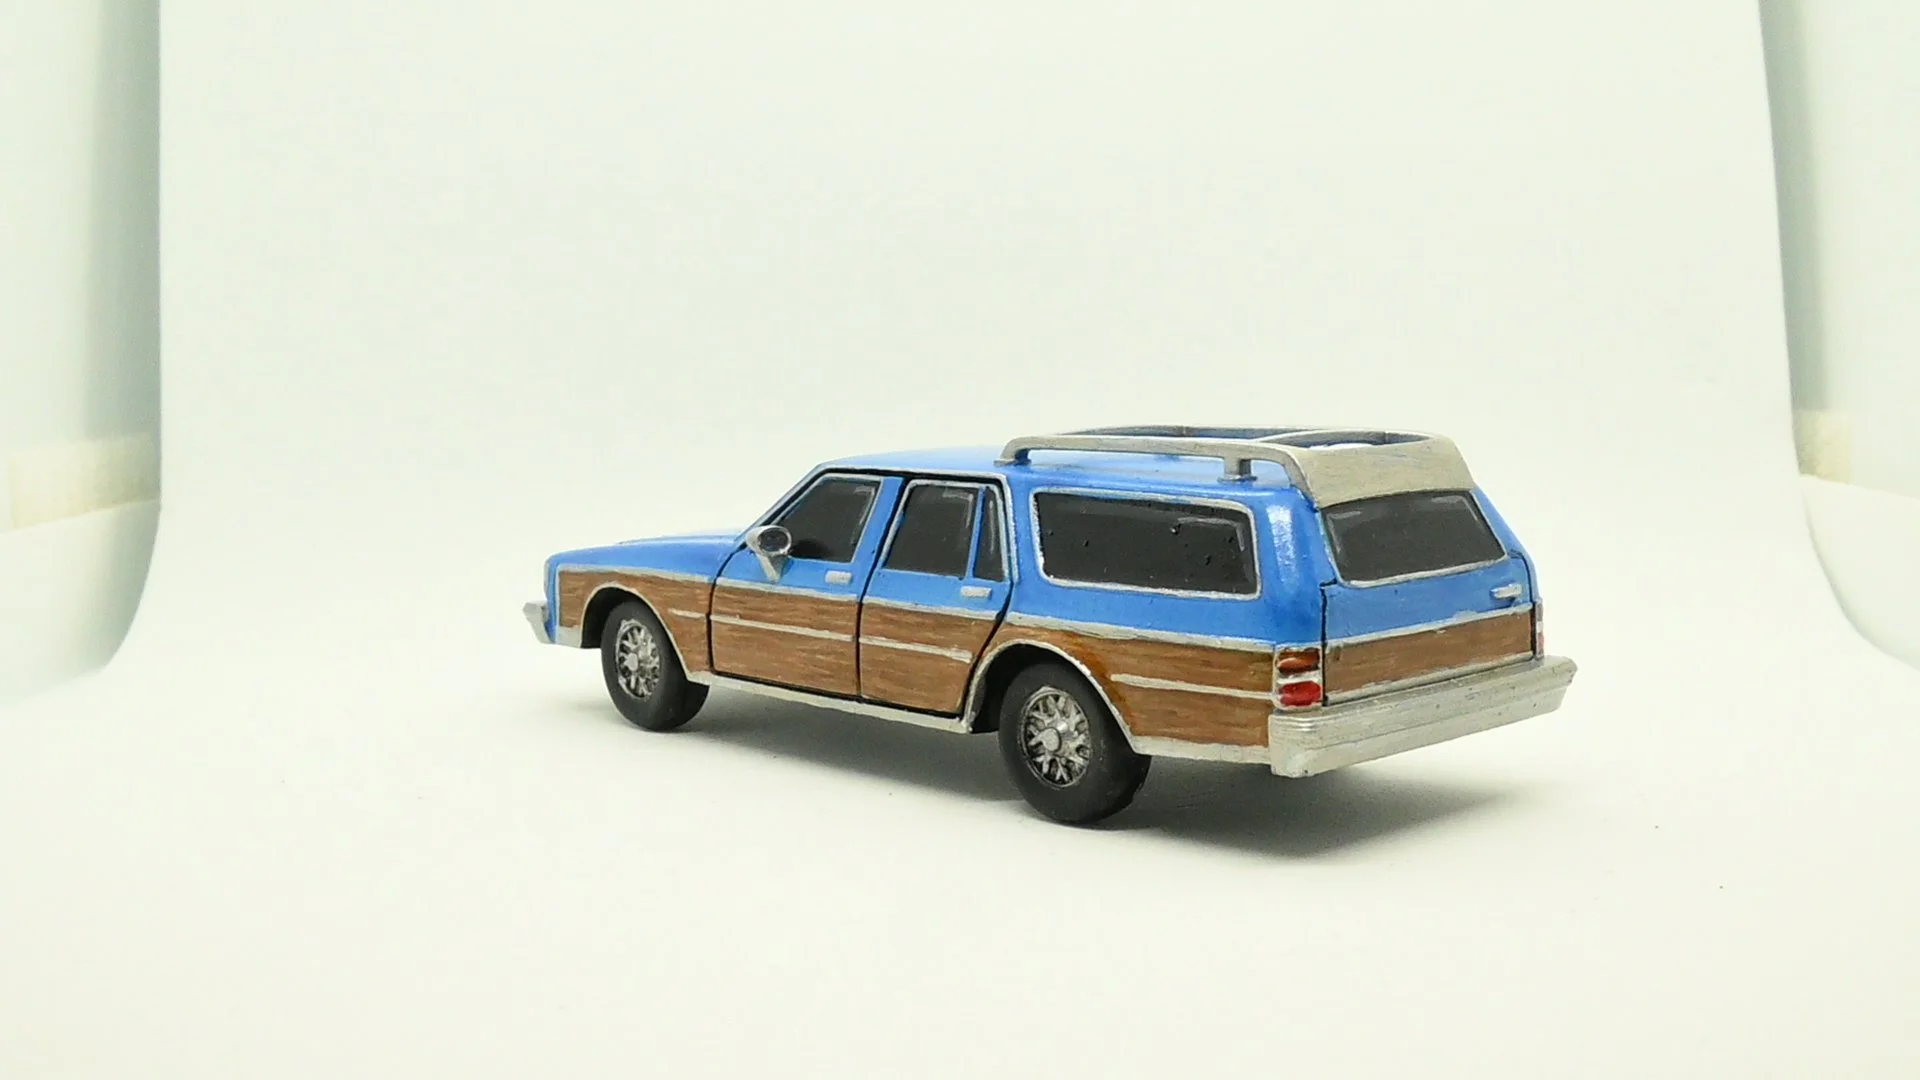
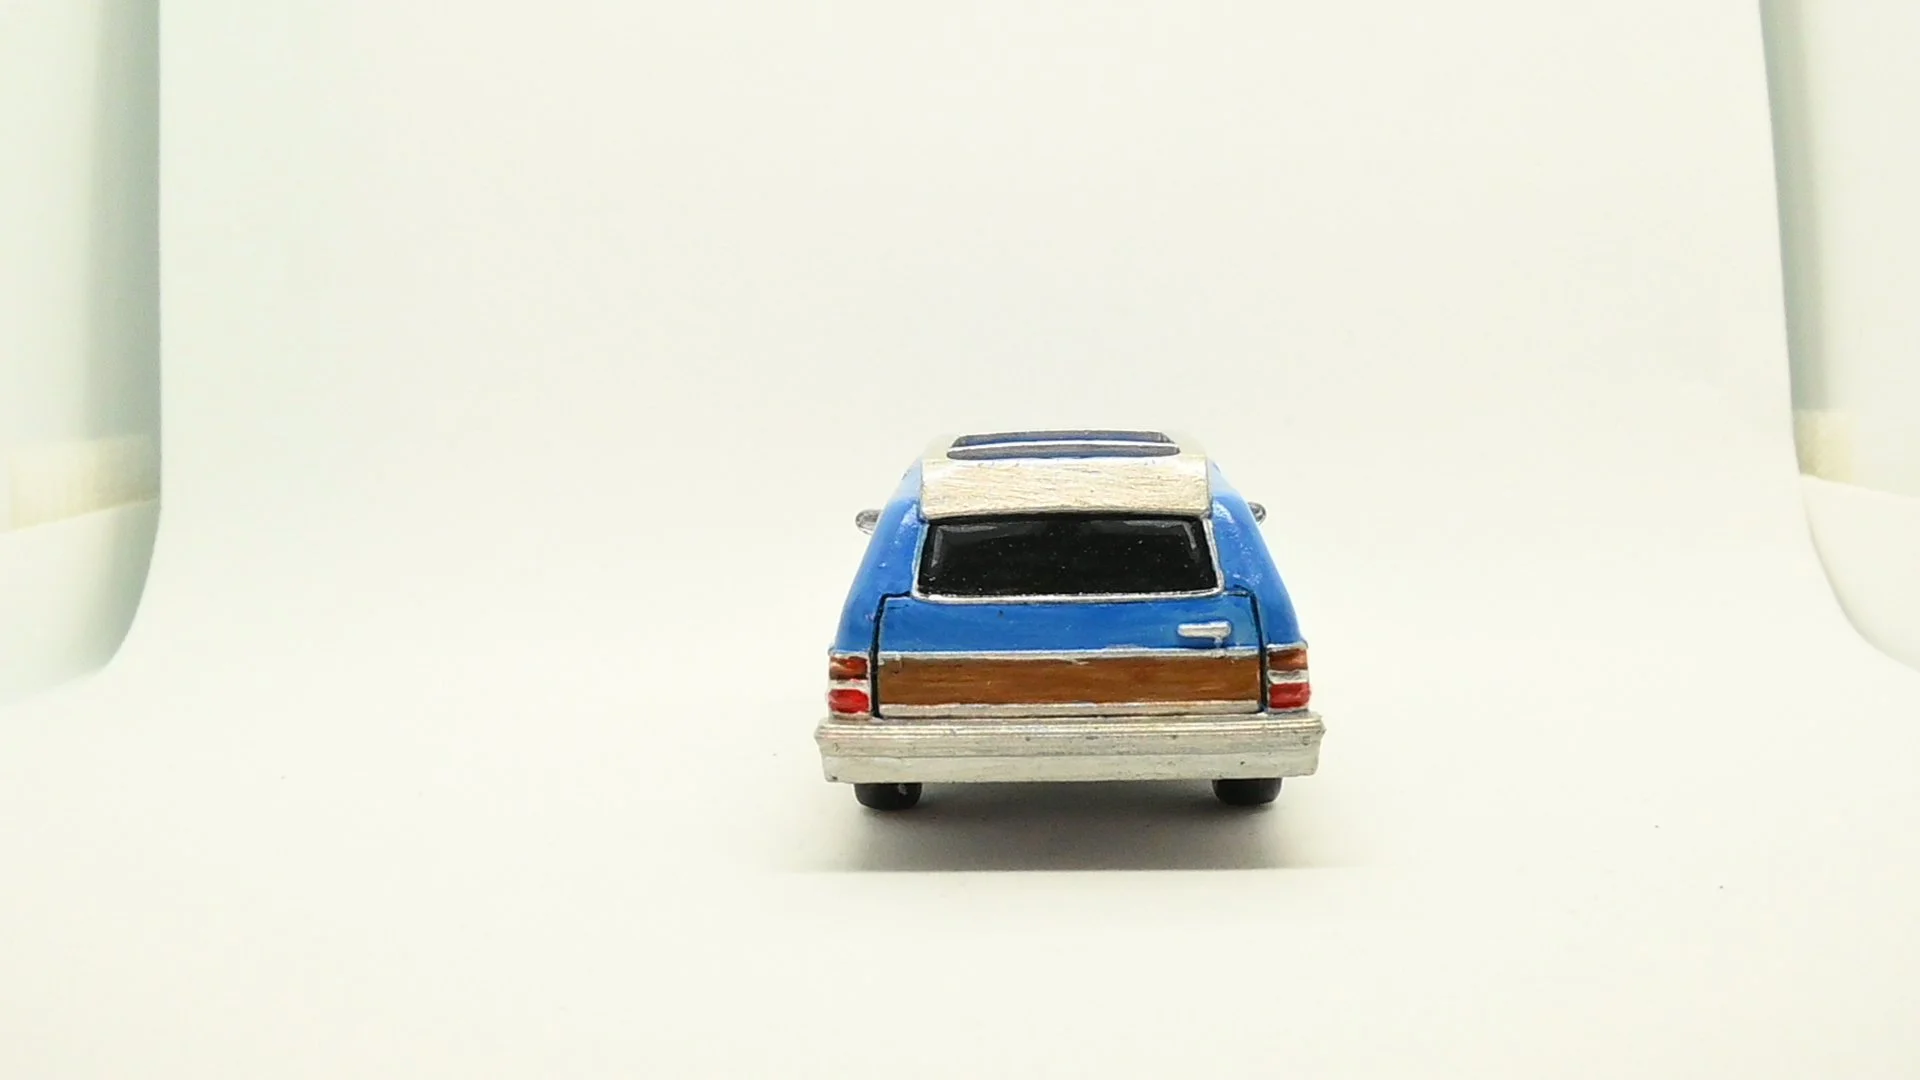
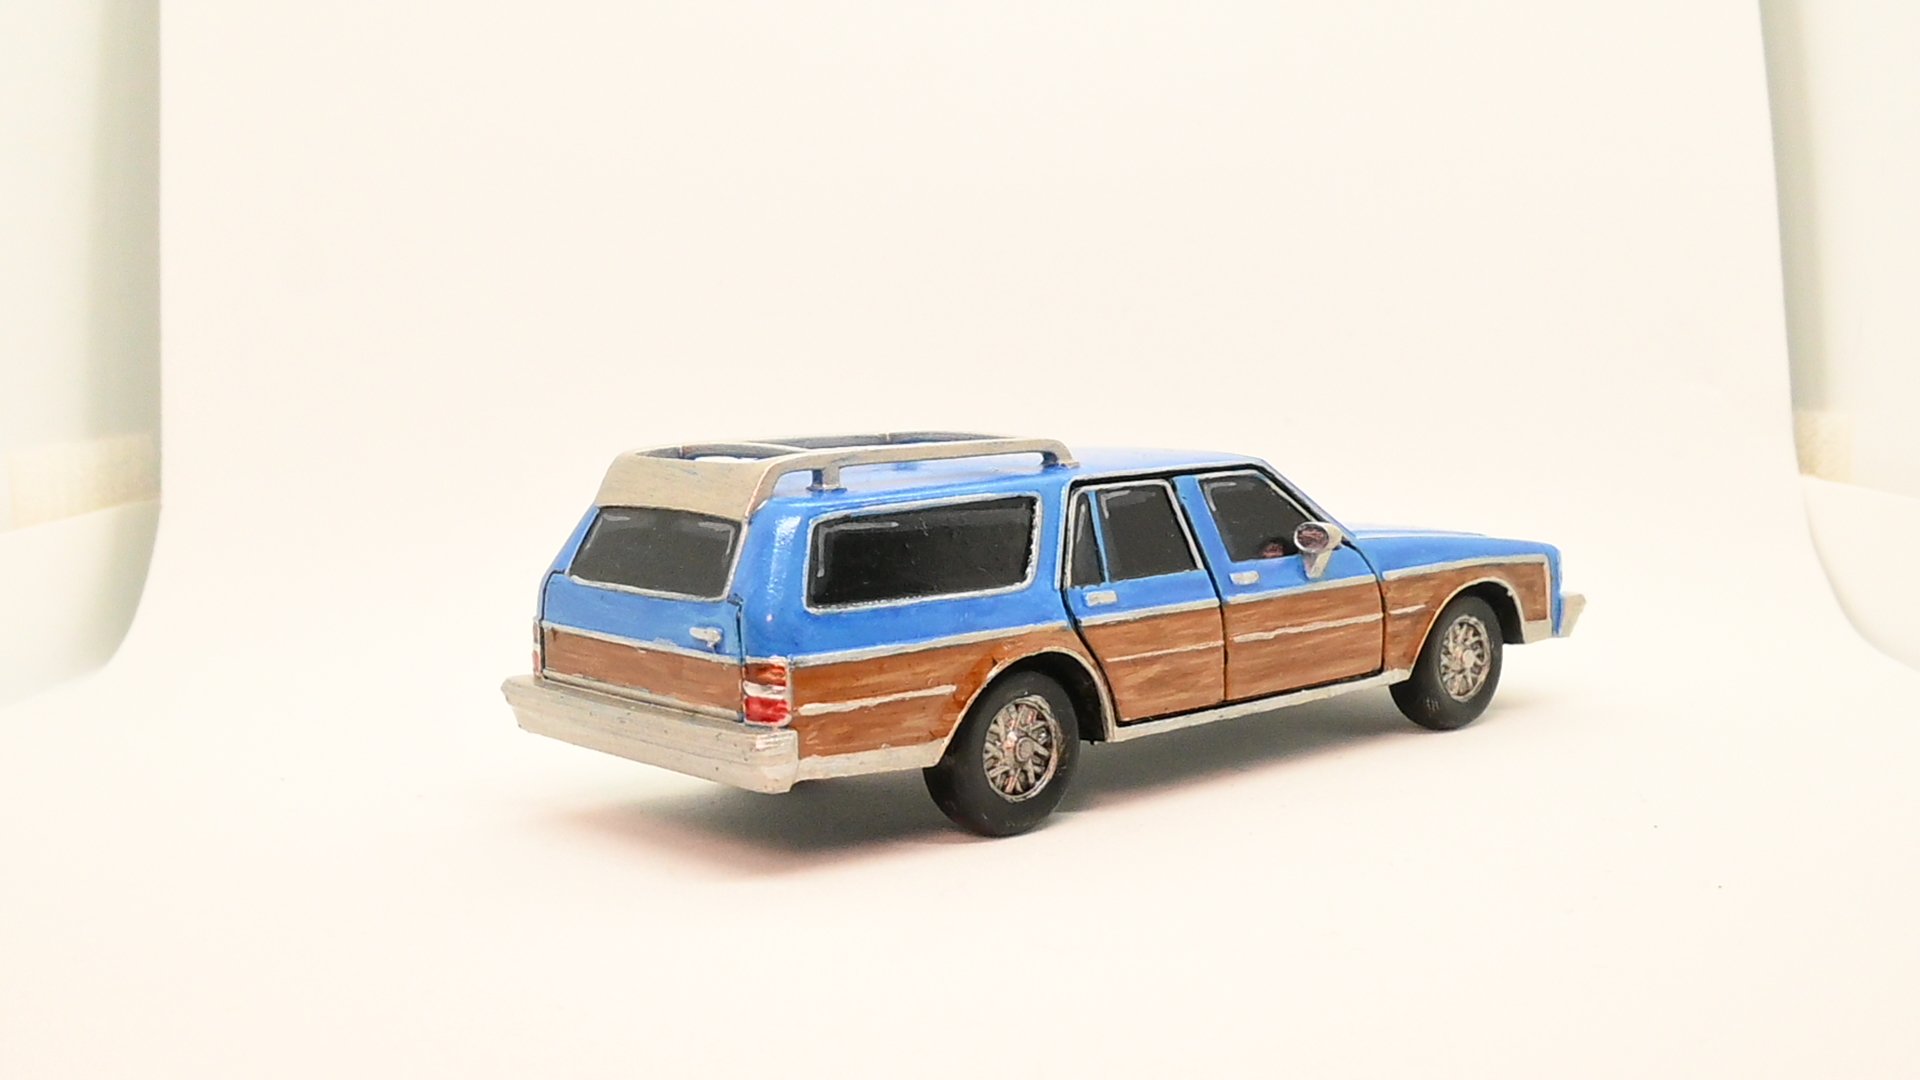
The Chevy Caprice Wagon is a cool looking station wagon. When I first got it, I wanted to paint it like the Vista Cruiser from That 70’s Show. Only thing is, the Vista Cruiser is a very different shaped car. What I knew I needed, though, was the wooden panels. I also changed my mind on going with the green, like the Foreman family Vista Cruiser because of the other vehicles I was going to be painting contain a lot of green. Instead, I opted for the sky blue. The model is from Crooked Dice
Bearcat and the Q-UGV
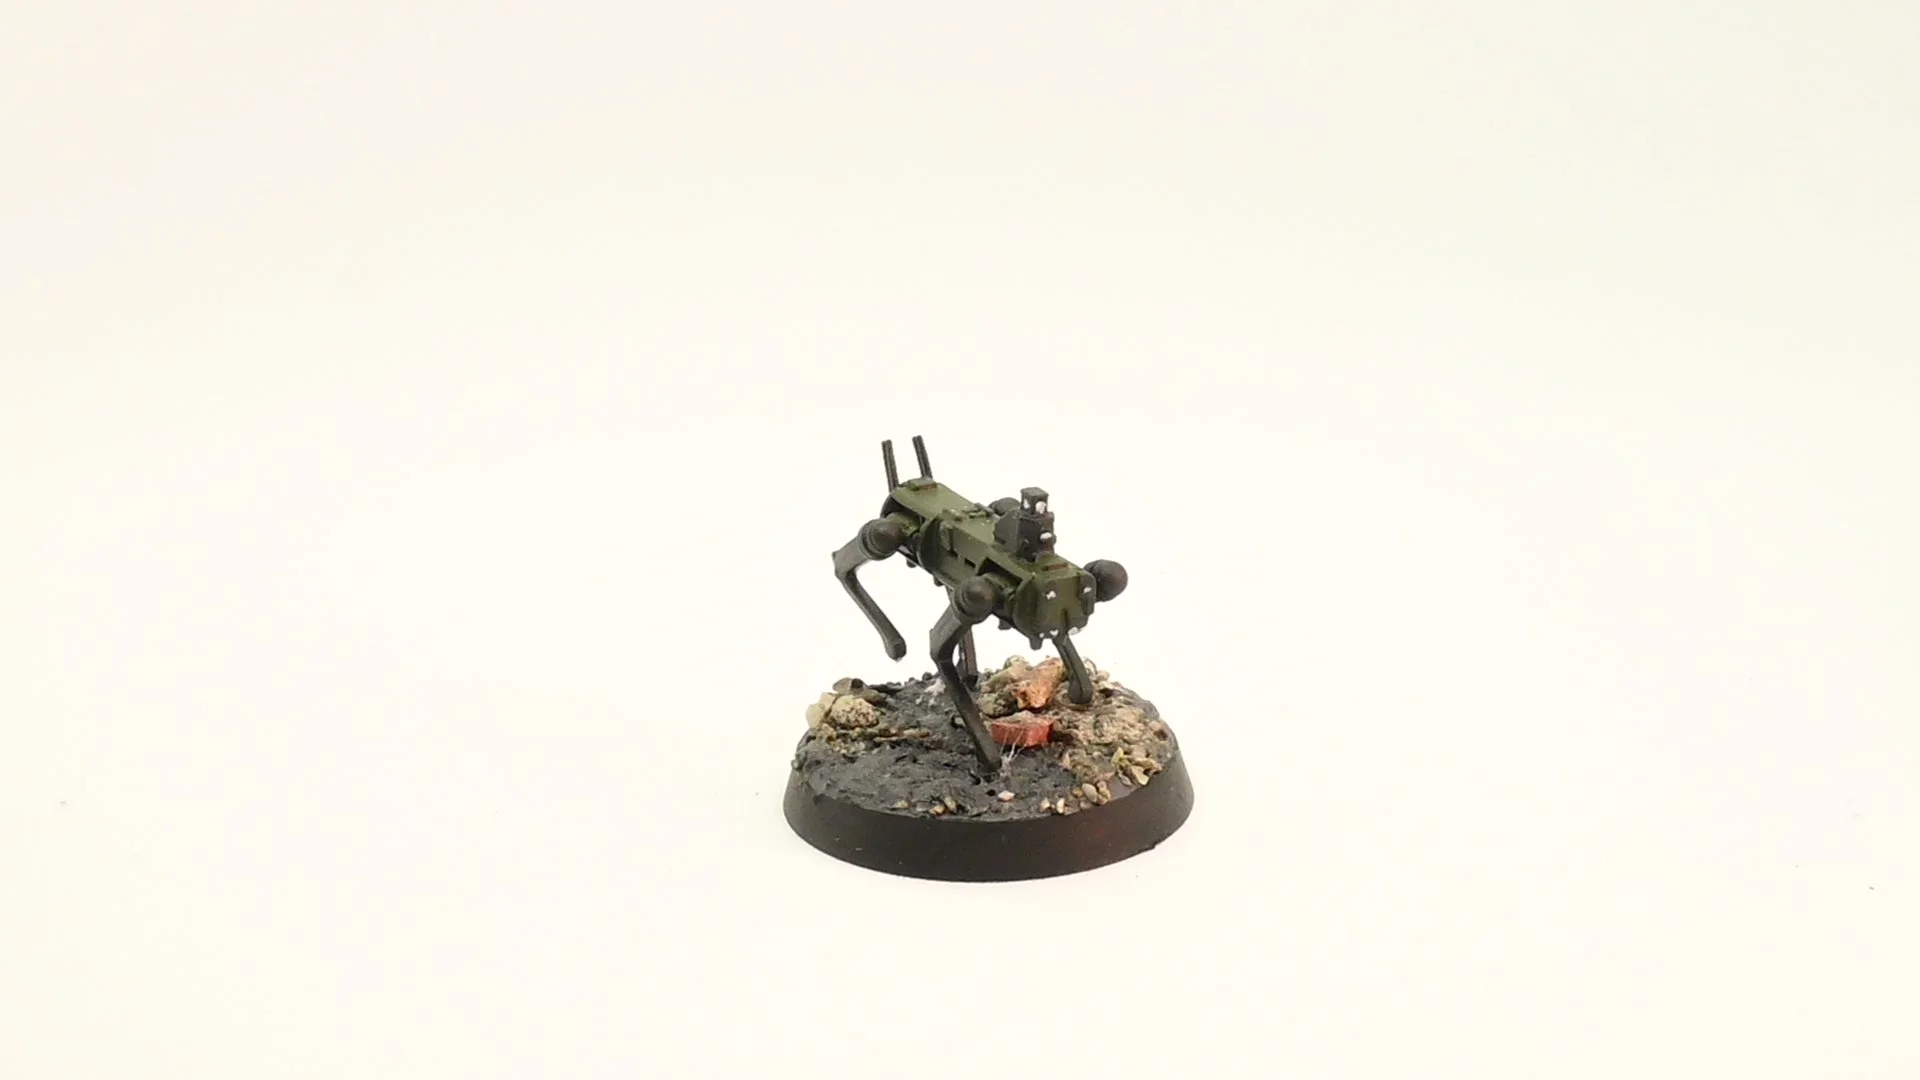
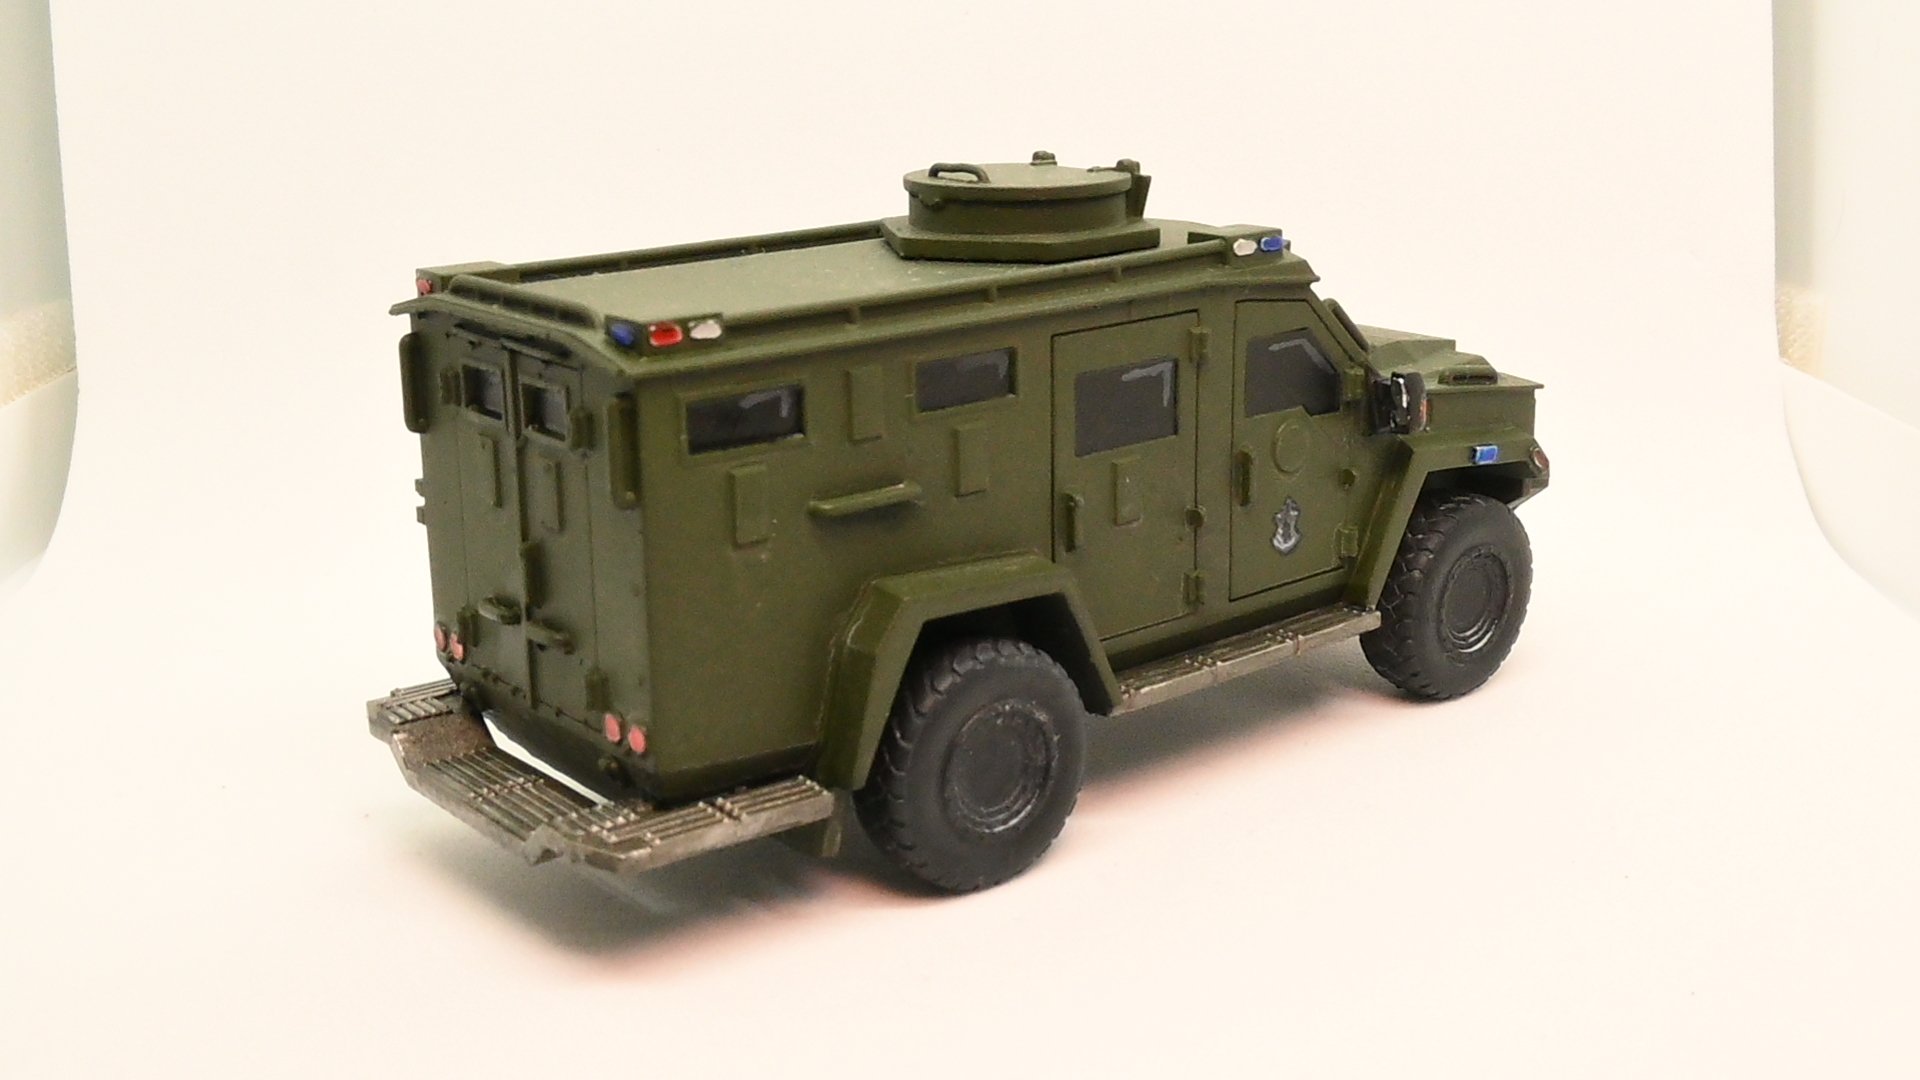
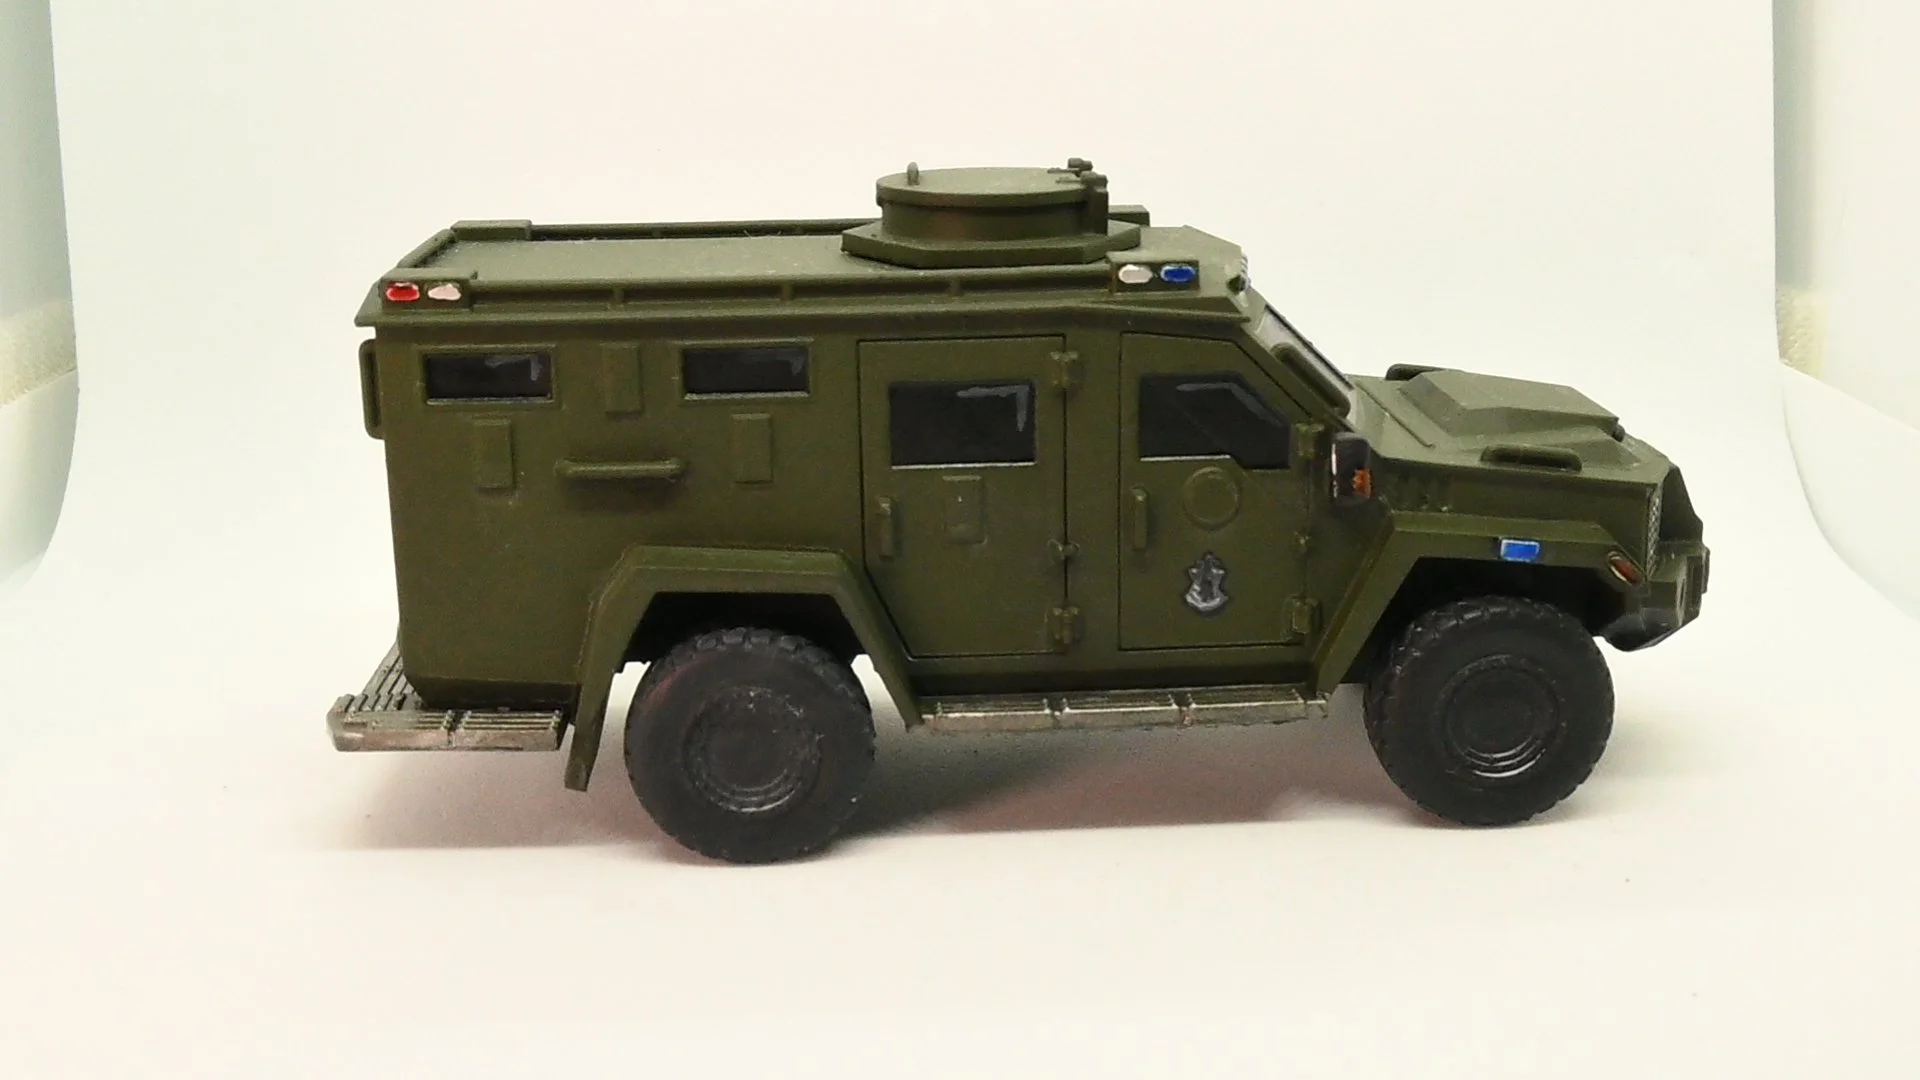
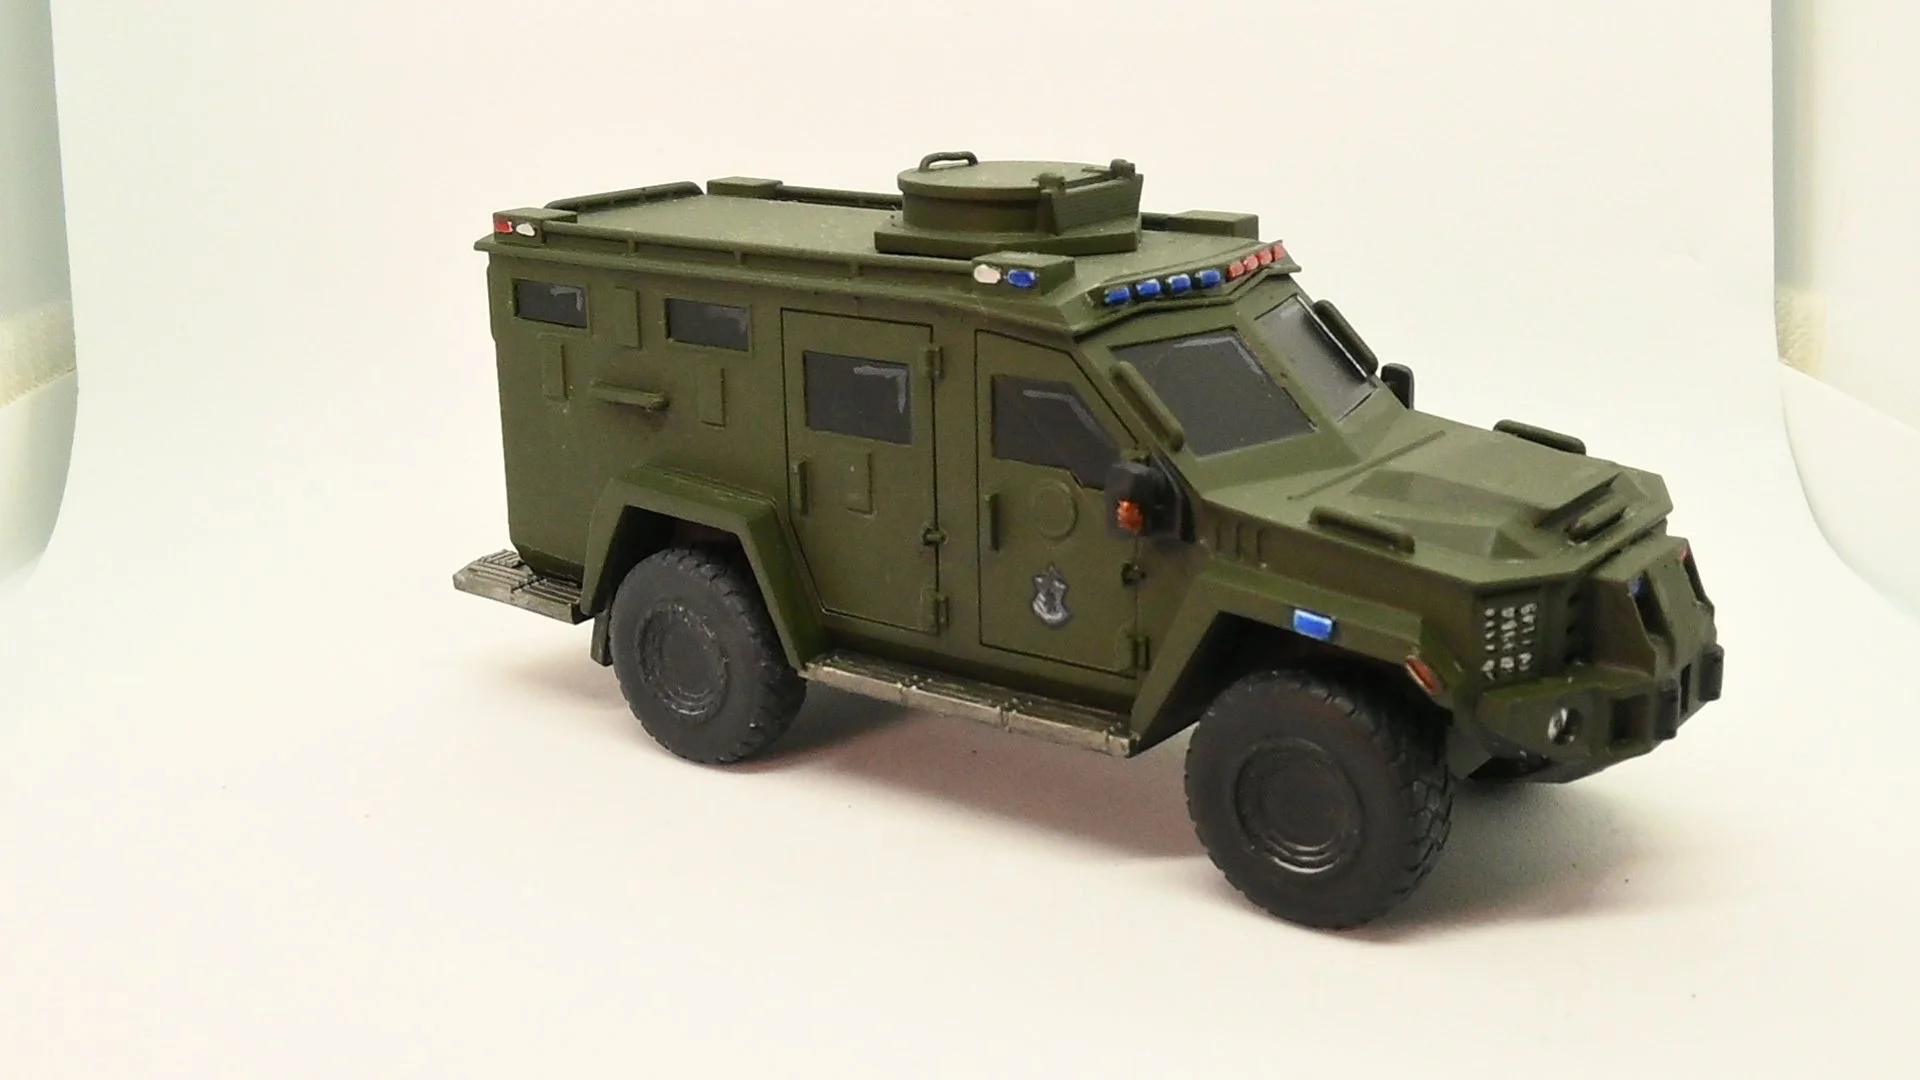
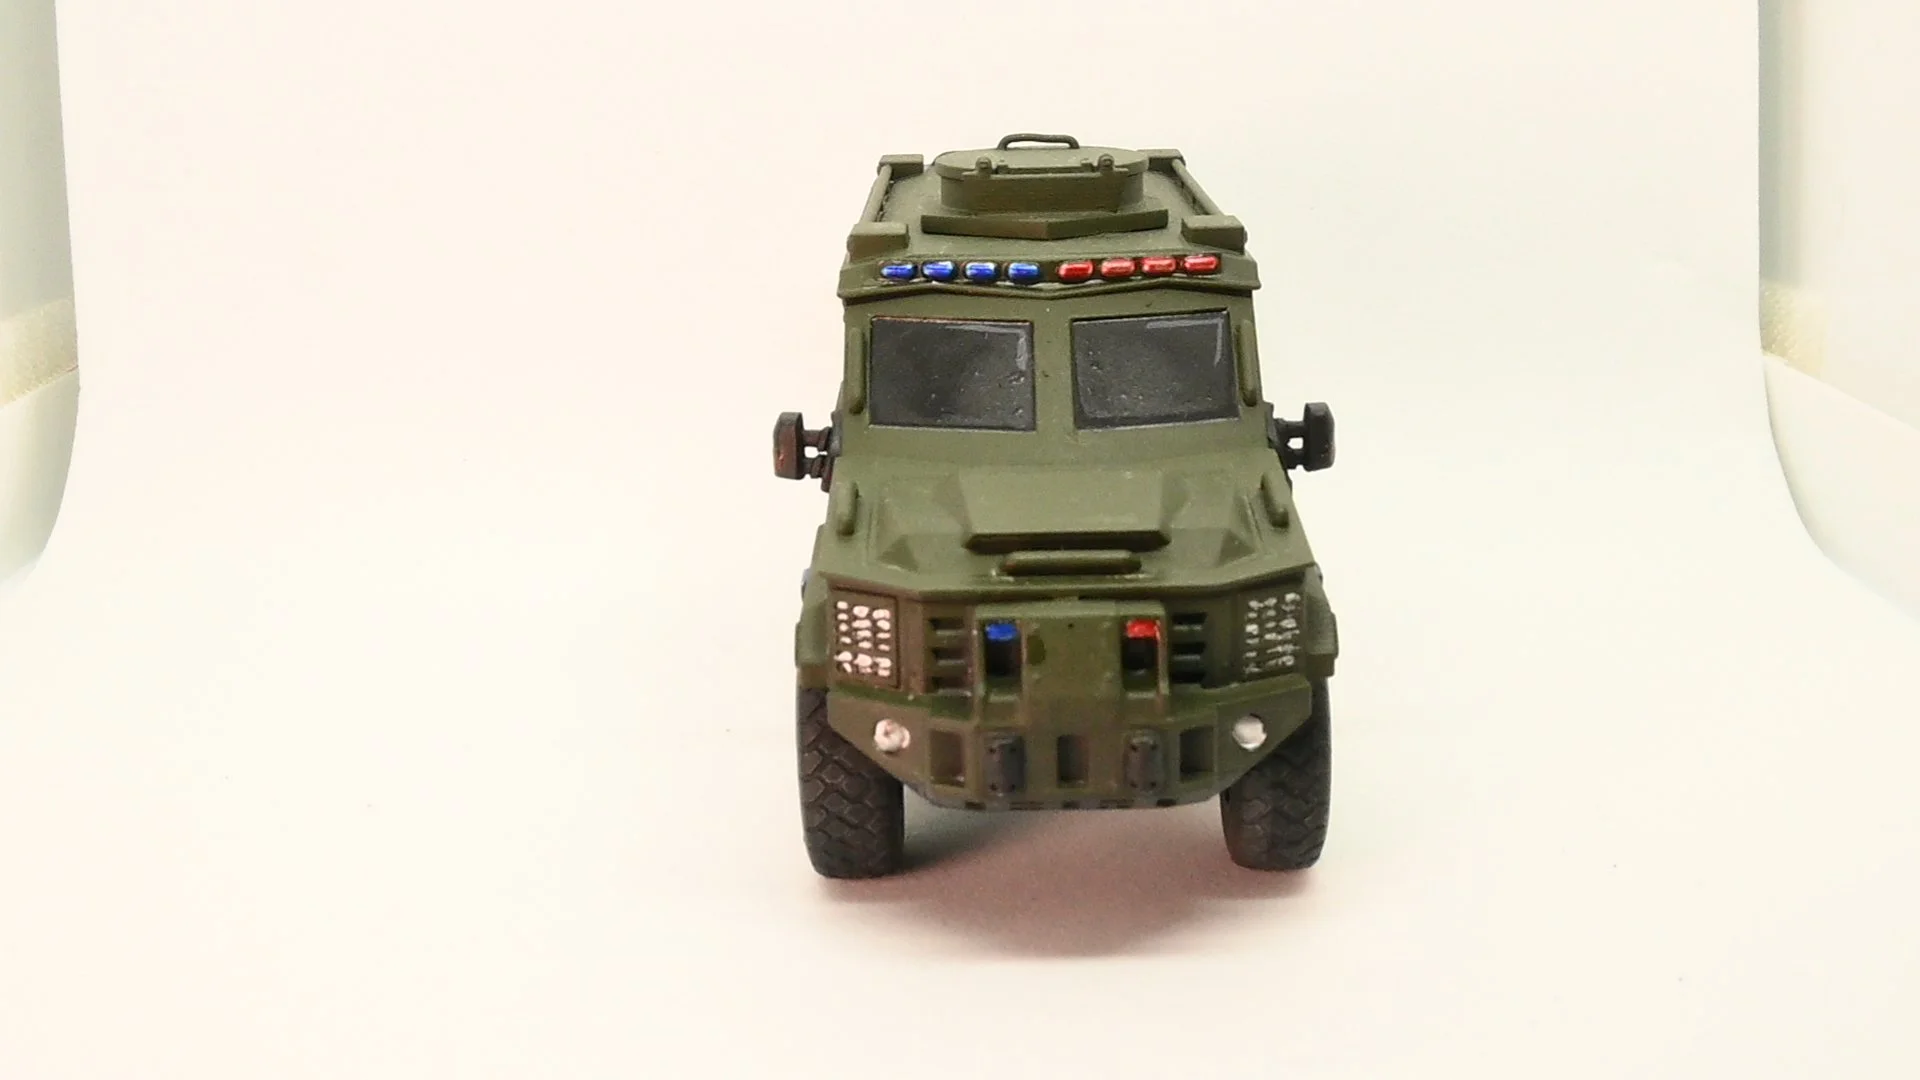
The Q-UGV was an absolute pleasure to paint! It’s an olive drab, with some bits of black on the legs and the mount on the top, with a little bit of metal for the sensors. Nice and simple.
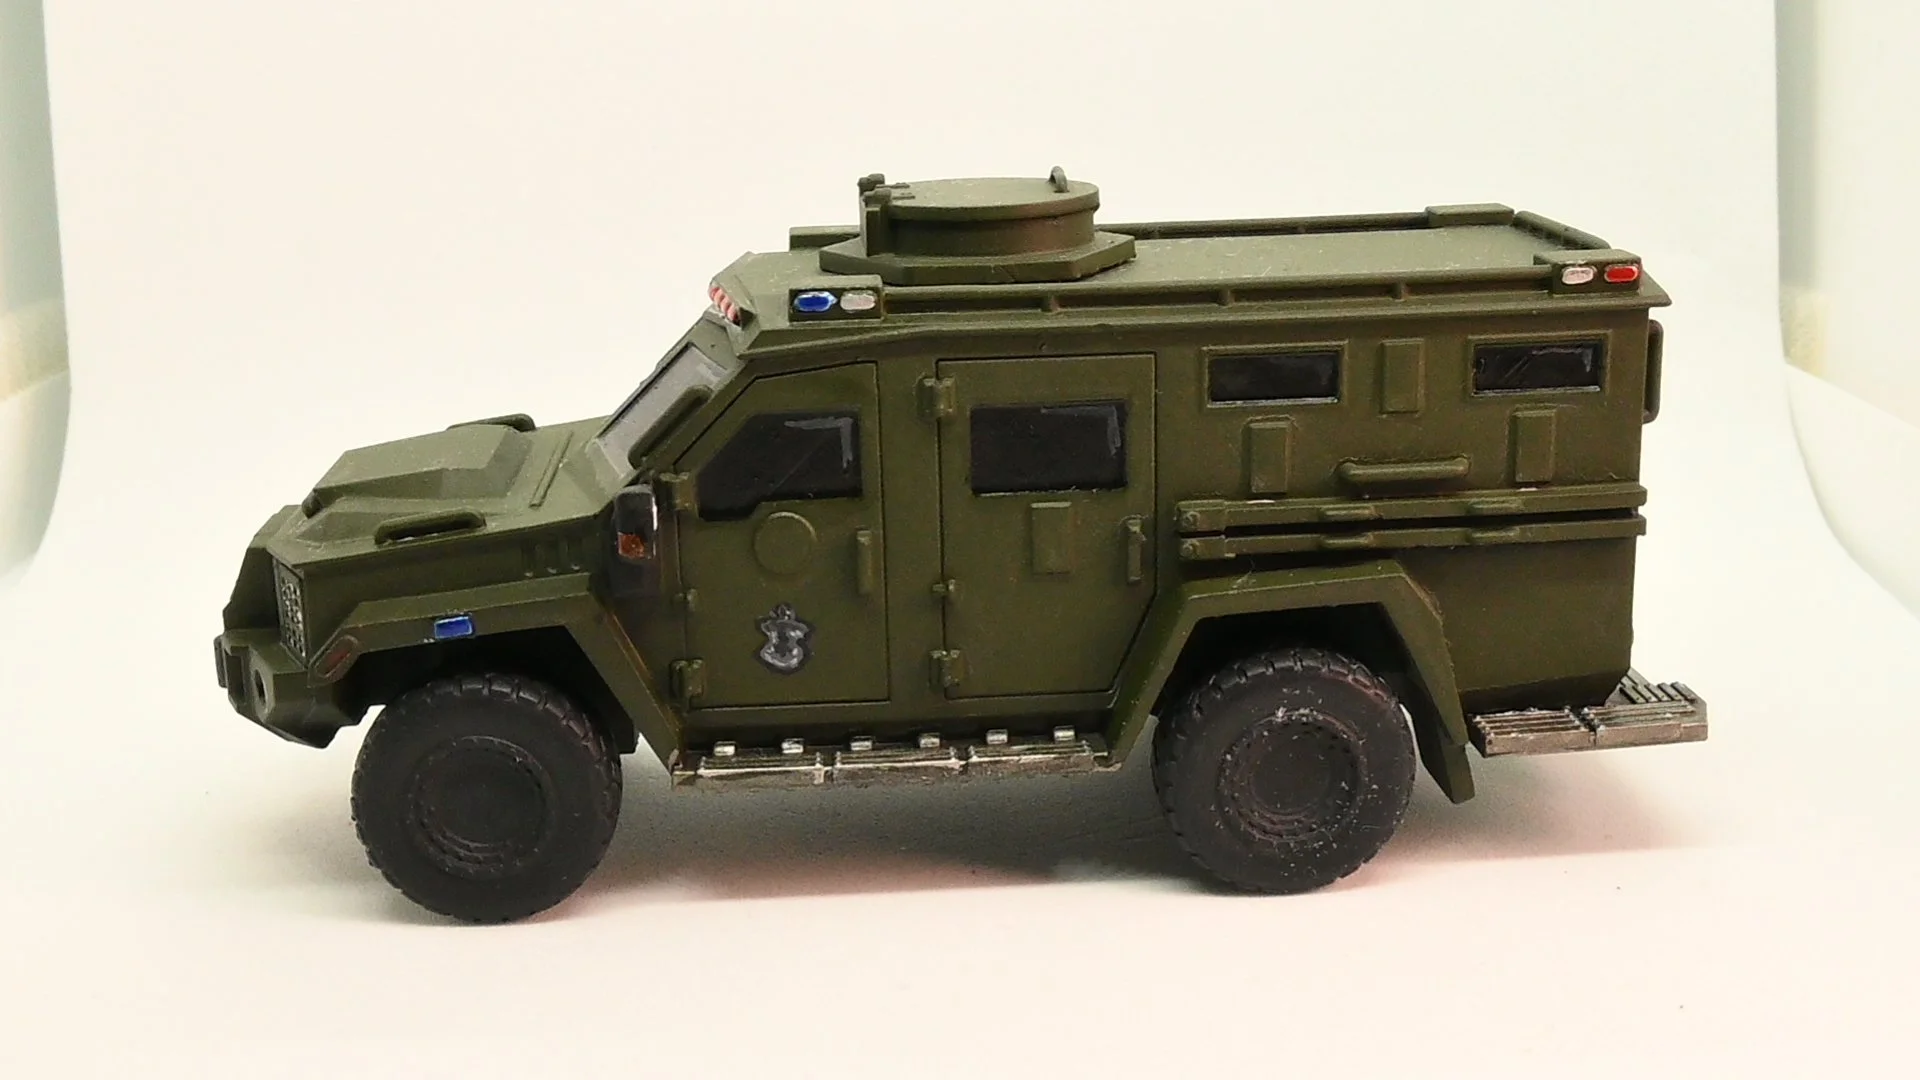
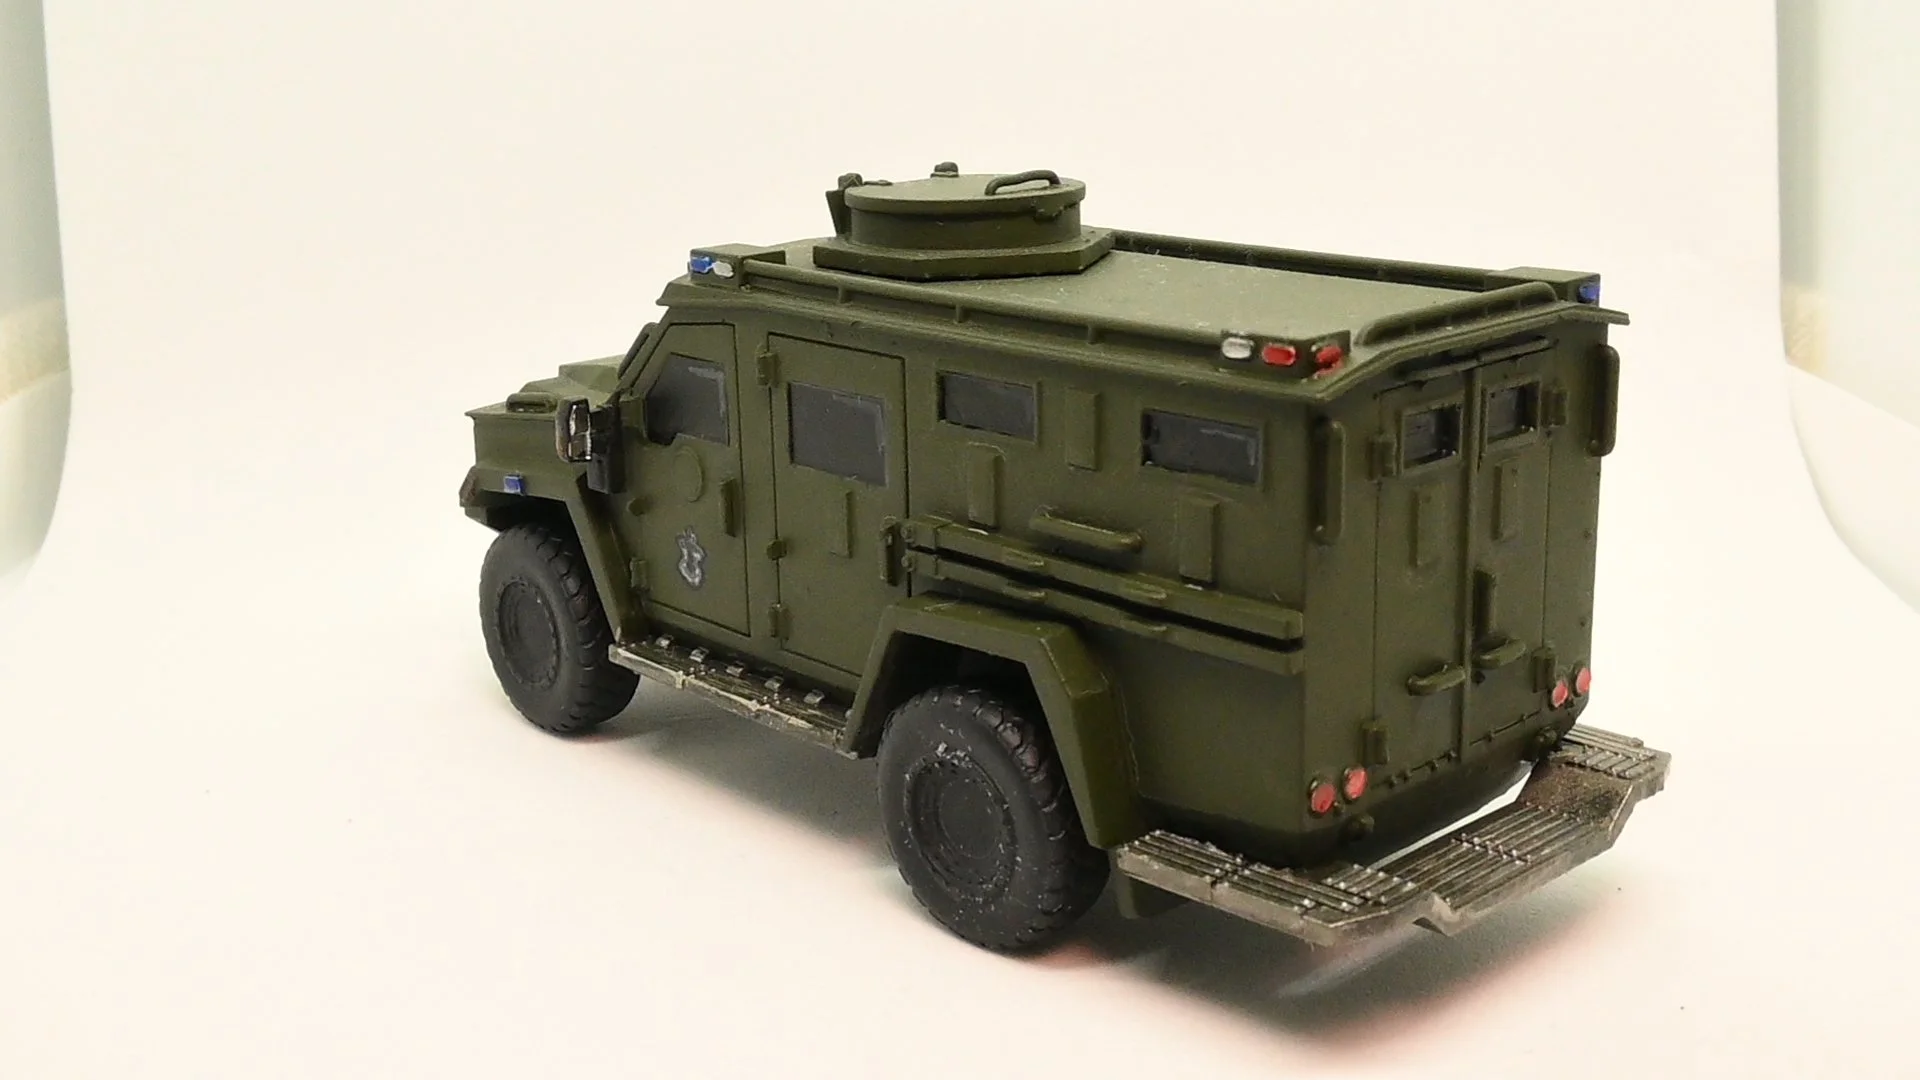
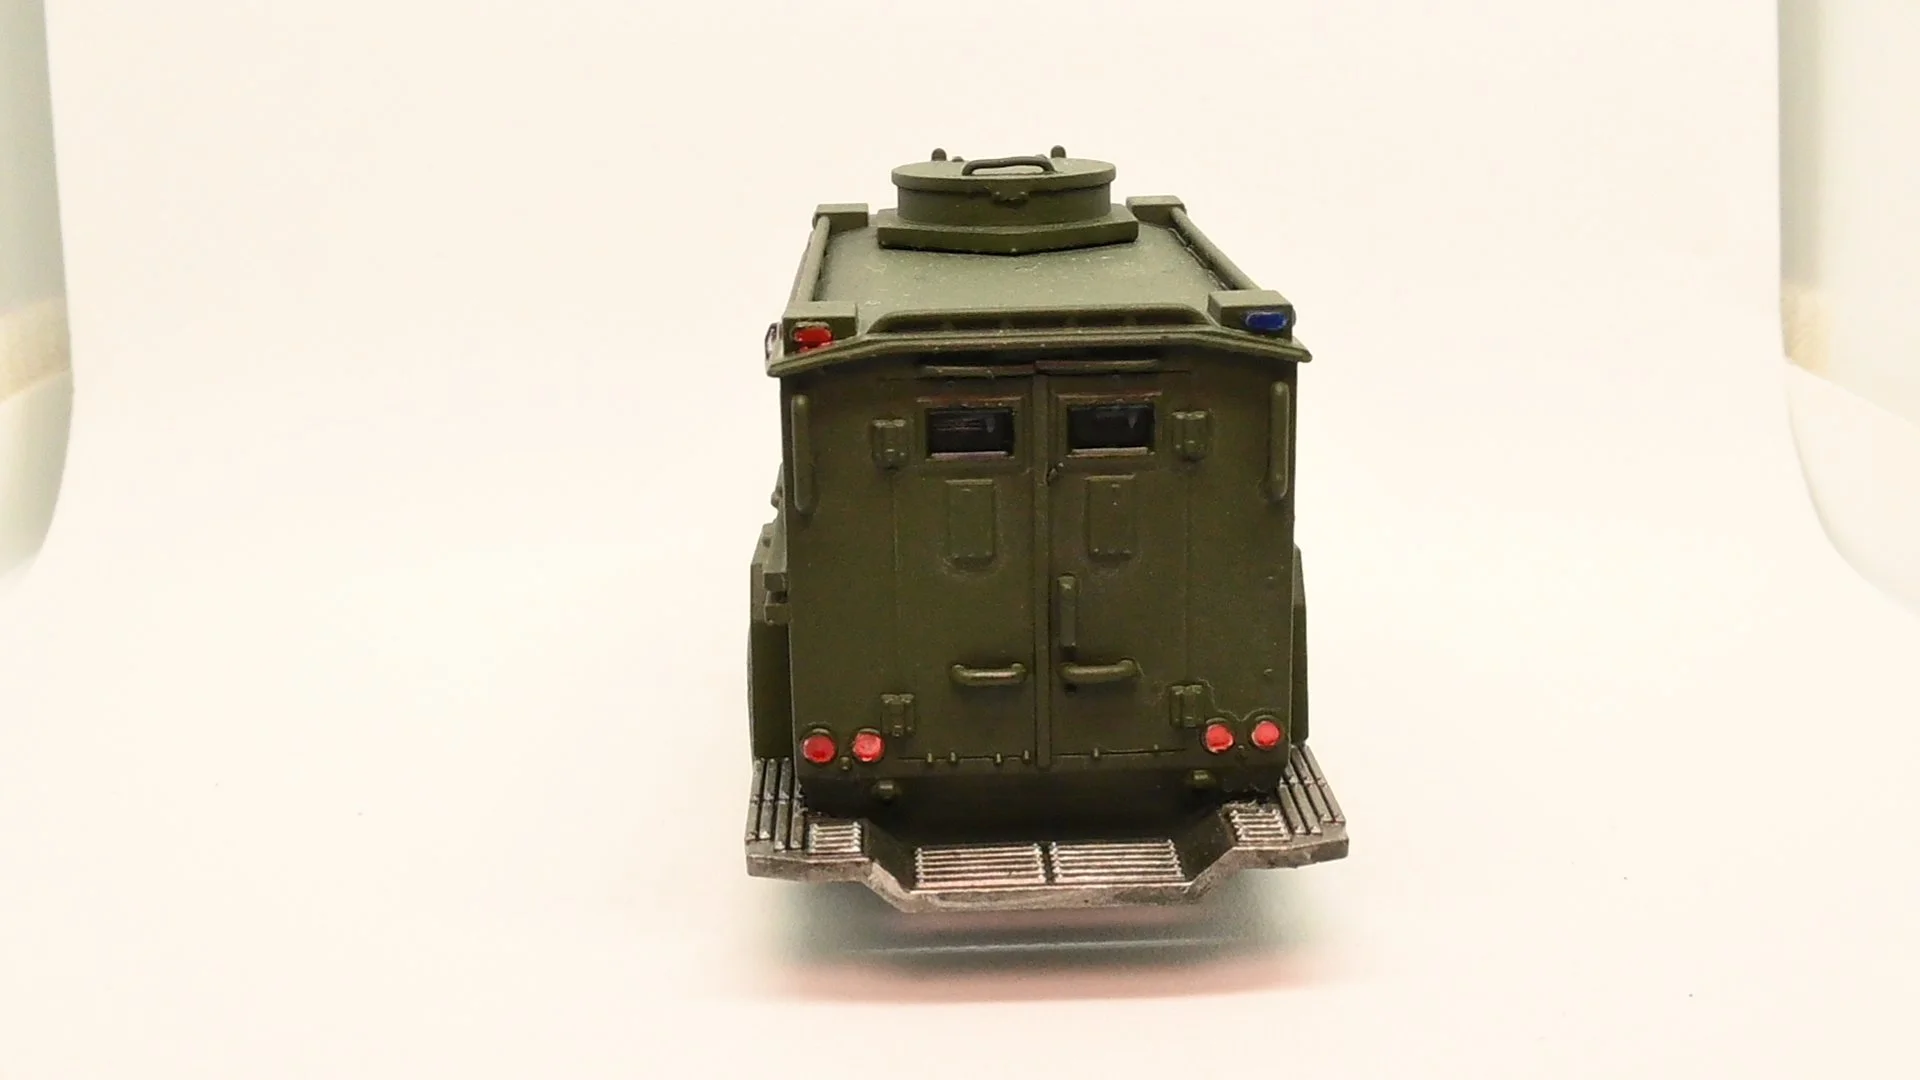
The Bearcat is an absolute BEAST! I painted it olive drab to match the State Trooper operated Bearcats of Vermont, where I have set Tippy Dale. On the front doors, I have painted the Vermont State Seal, and the lights are all done with my favourite way to paint lights, Liquid Chrome, then Candy Paints. The truck itself has a matt finish, and the lights, windows and metal steps are all glossed.
Both models are from Spectre Miniatures
Mystery Inc.
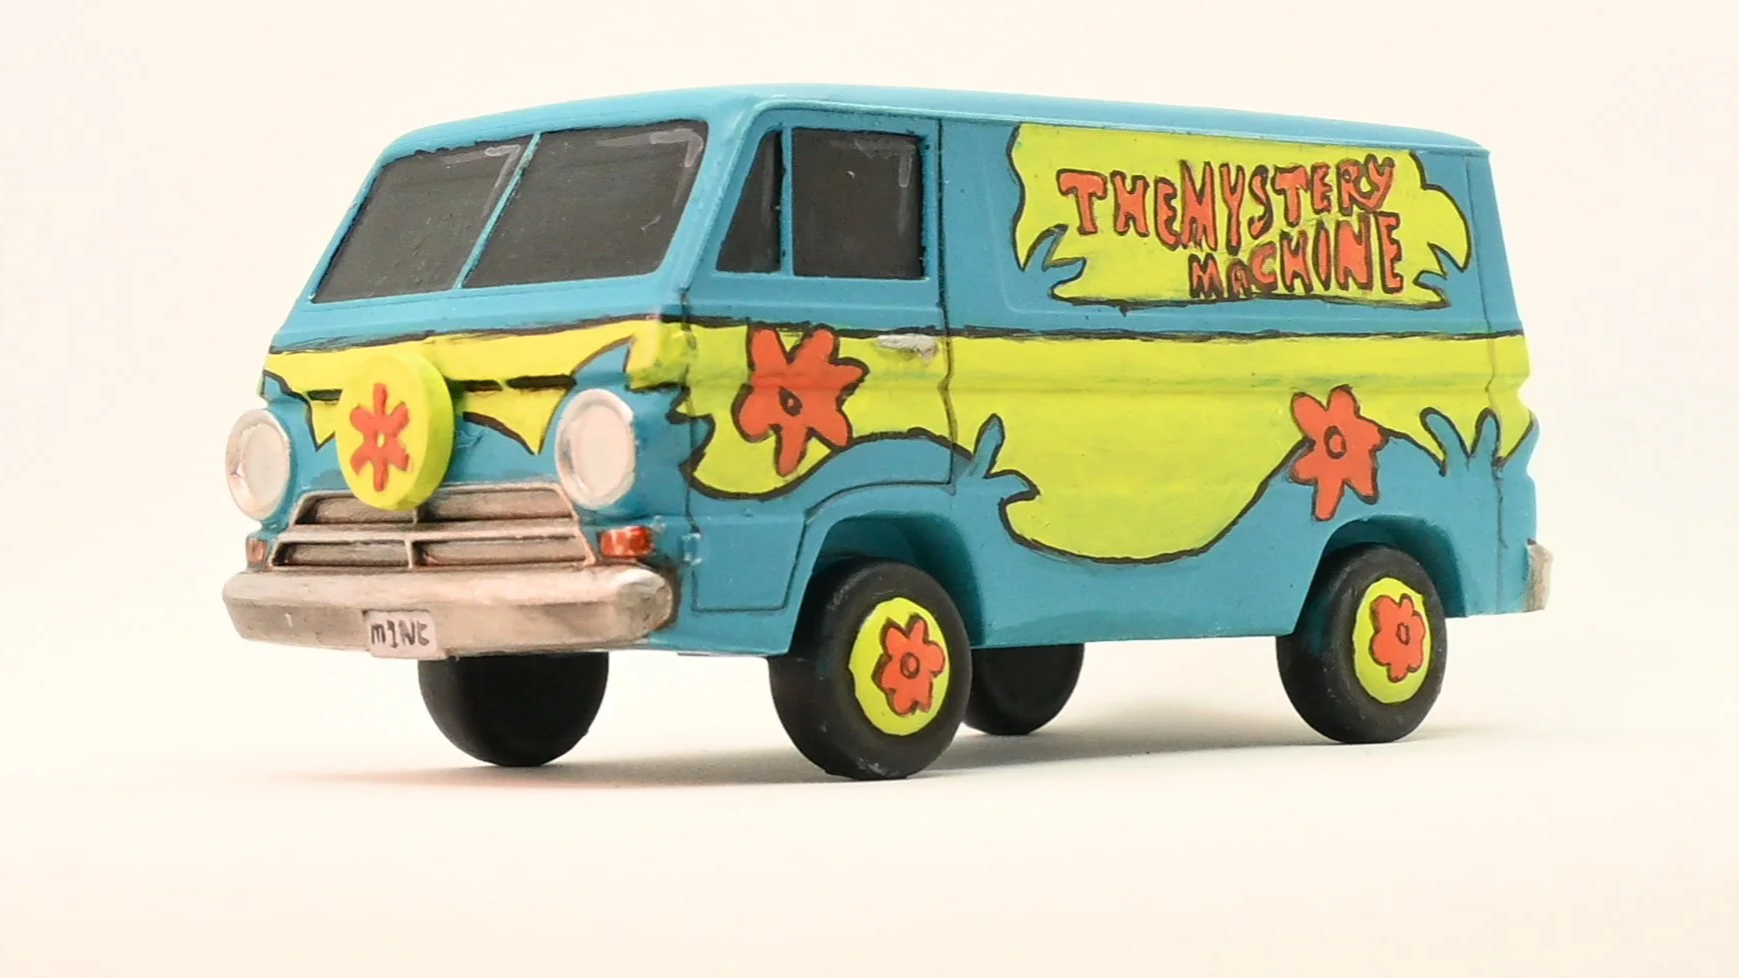
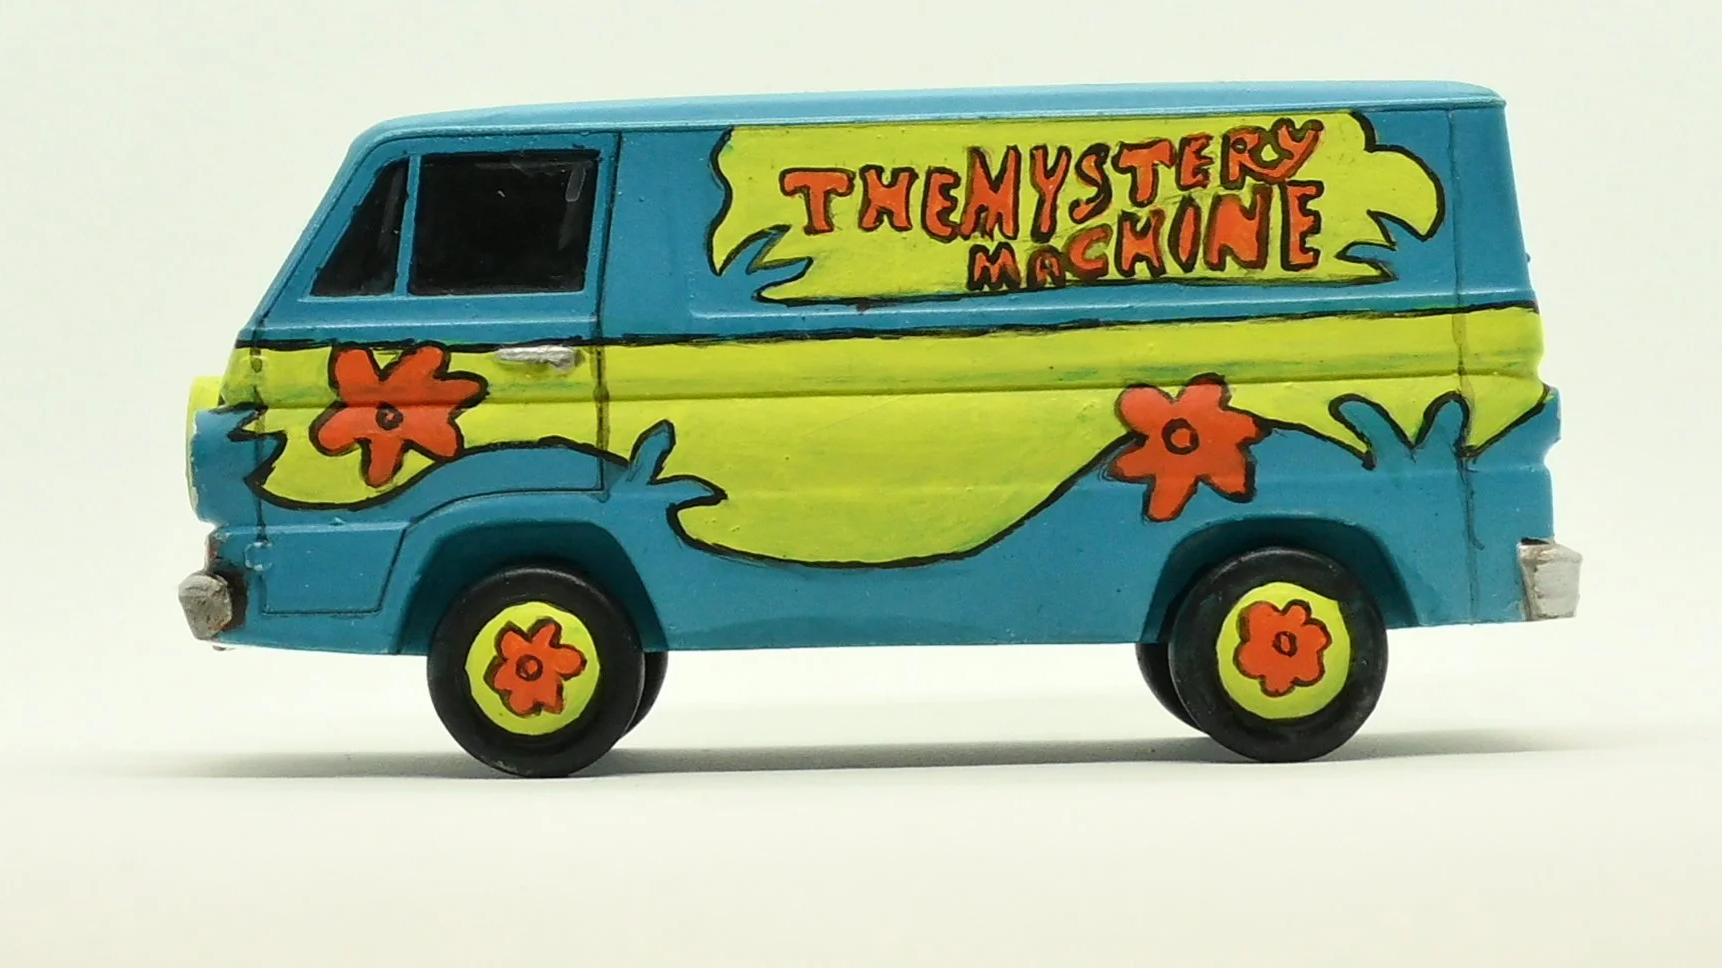
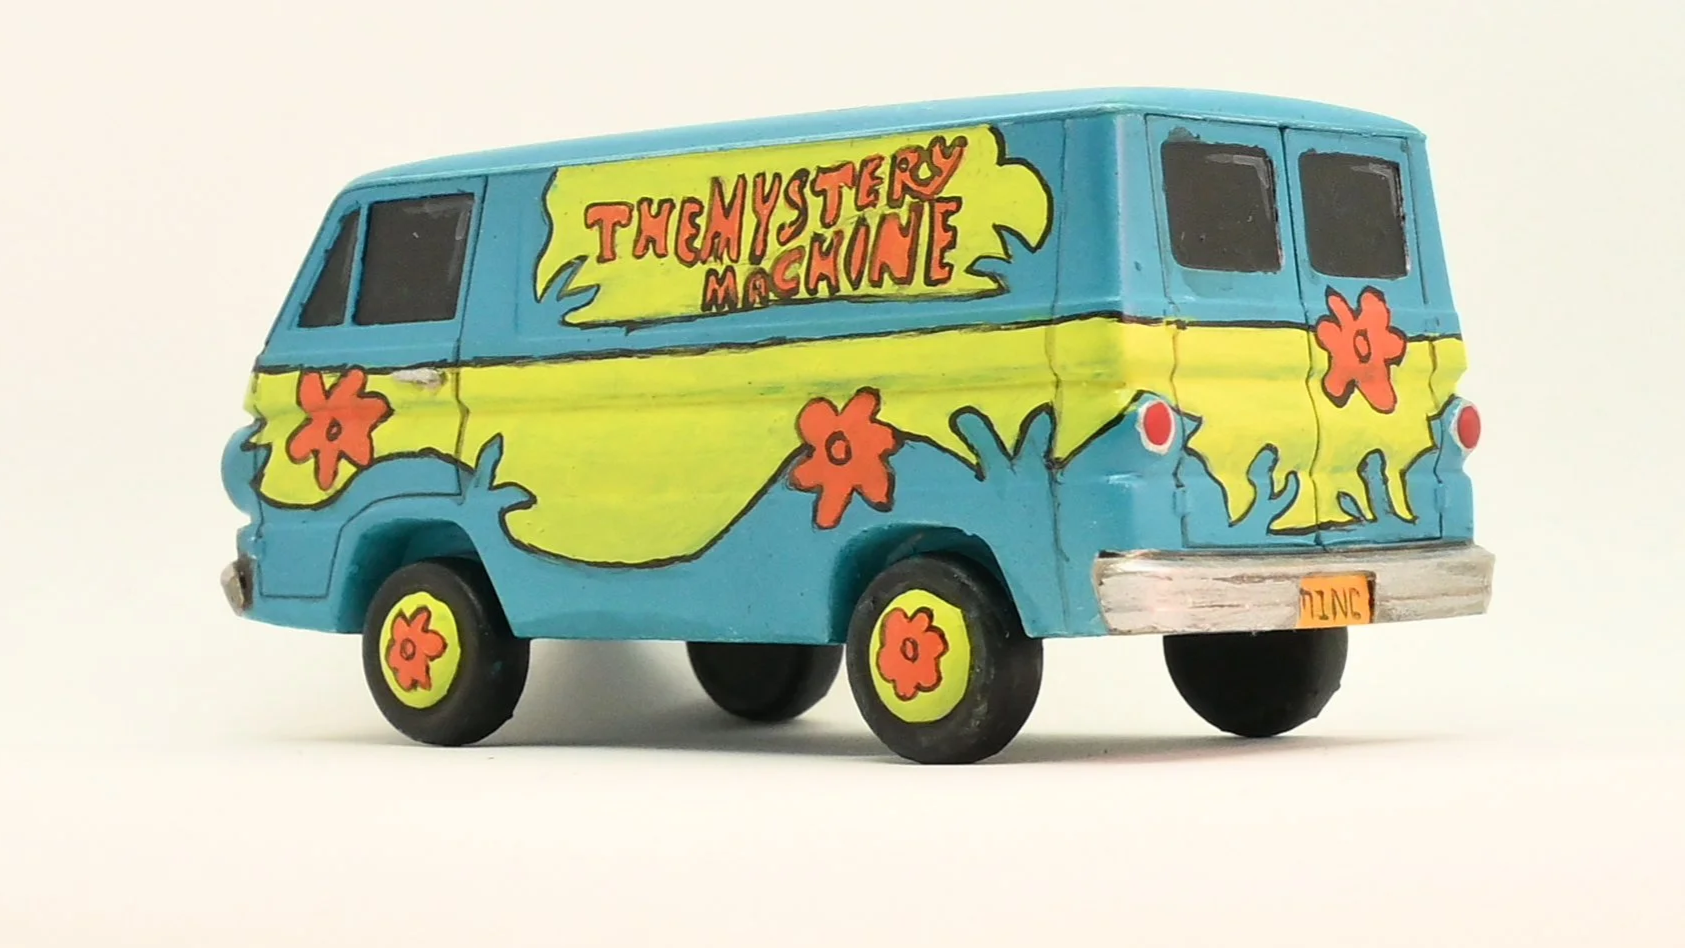
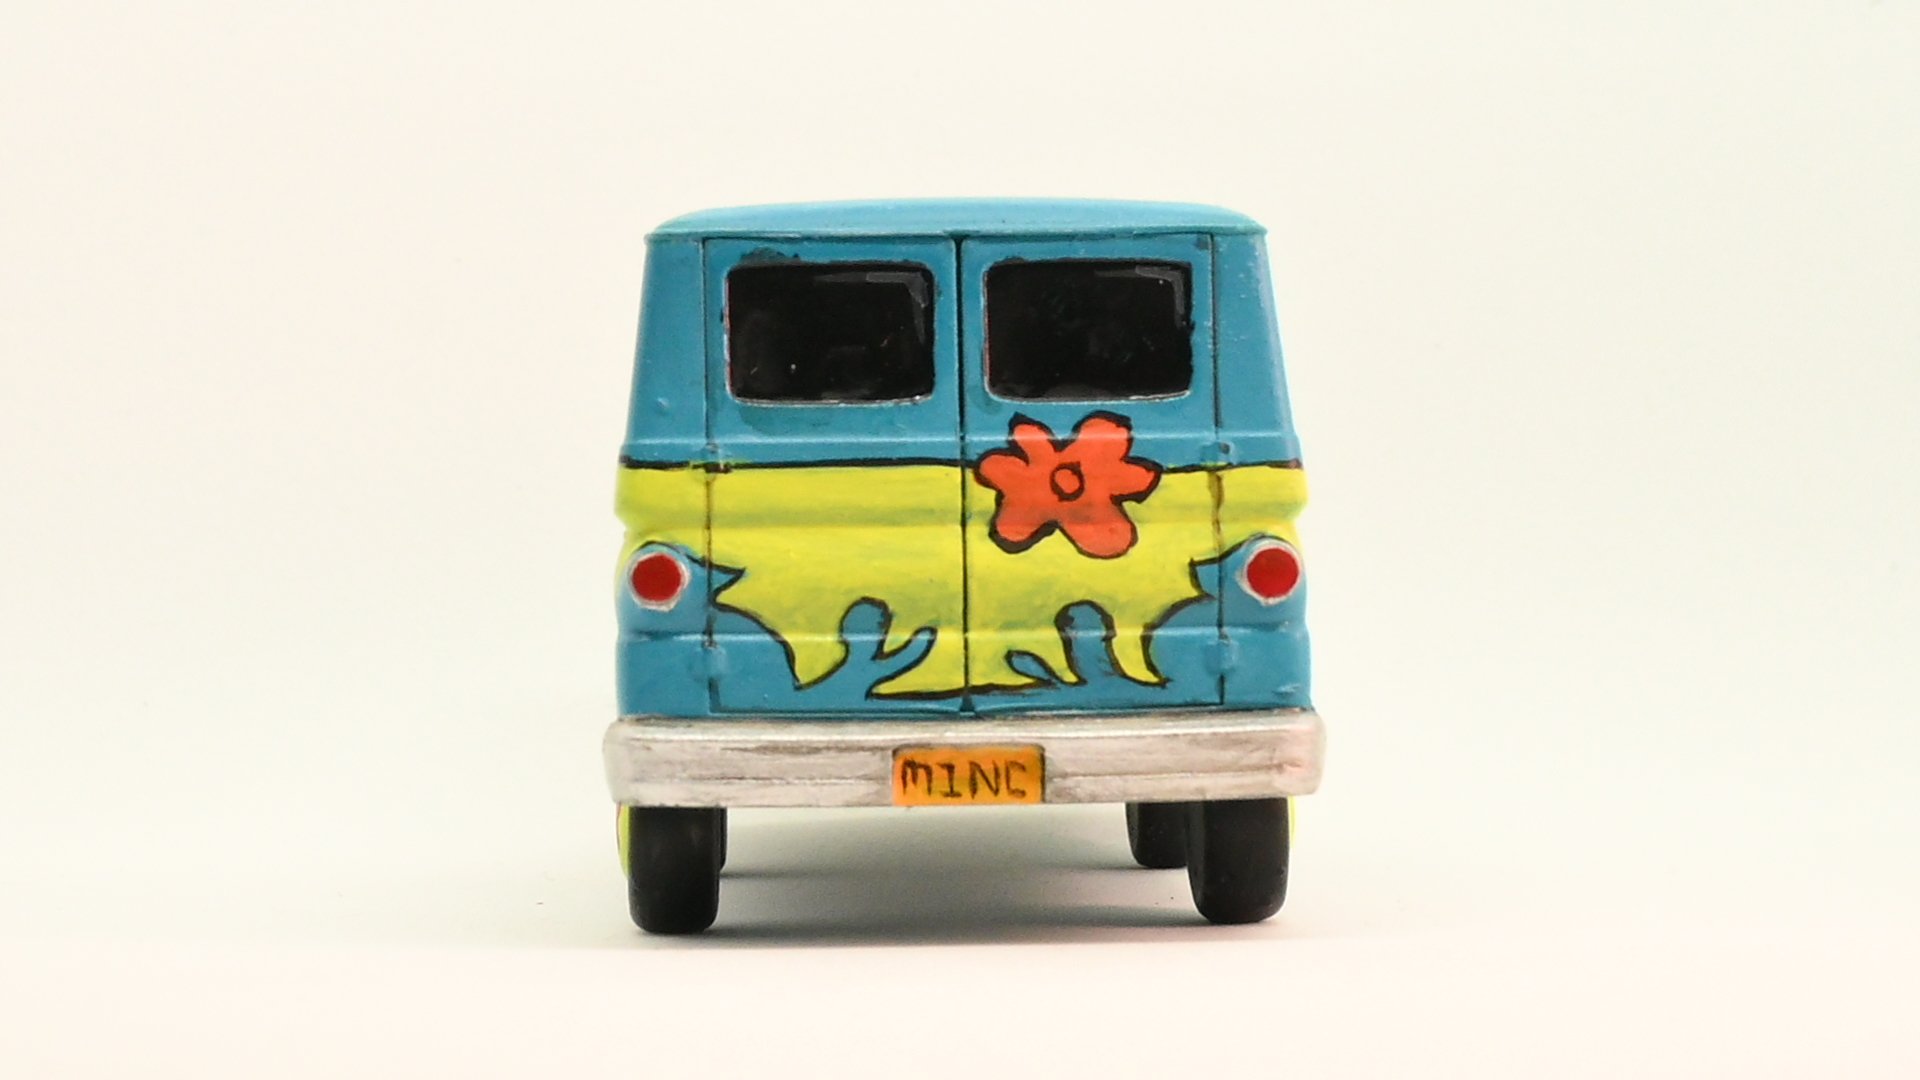
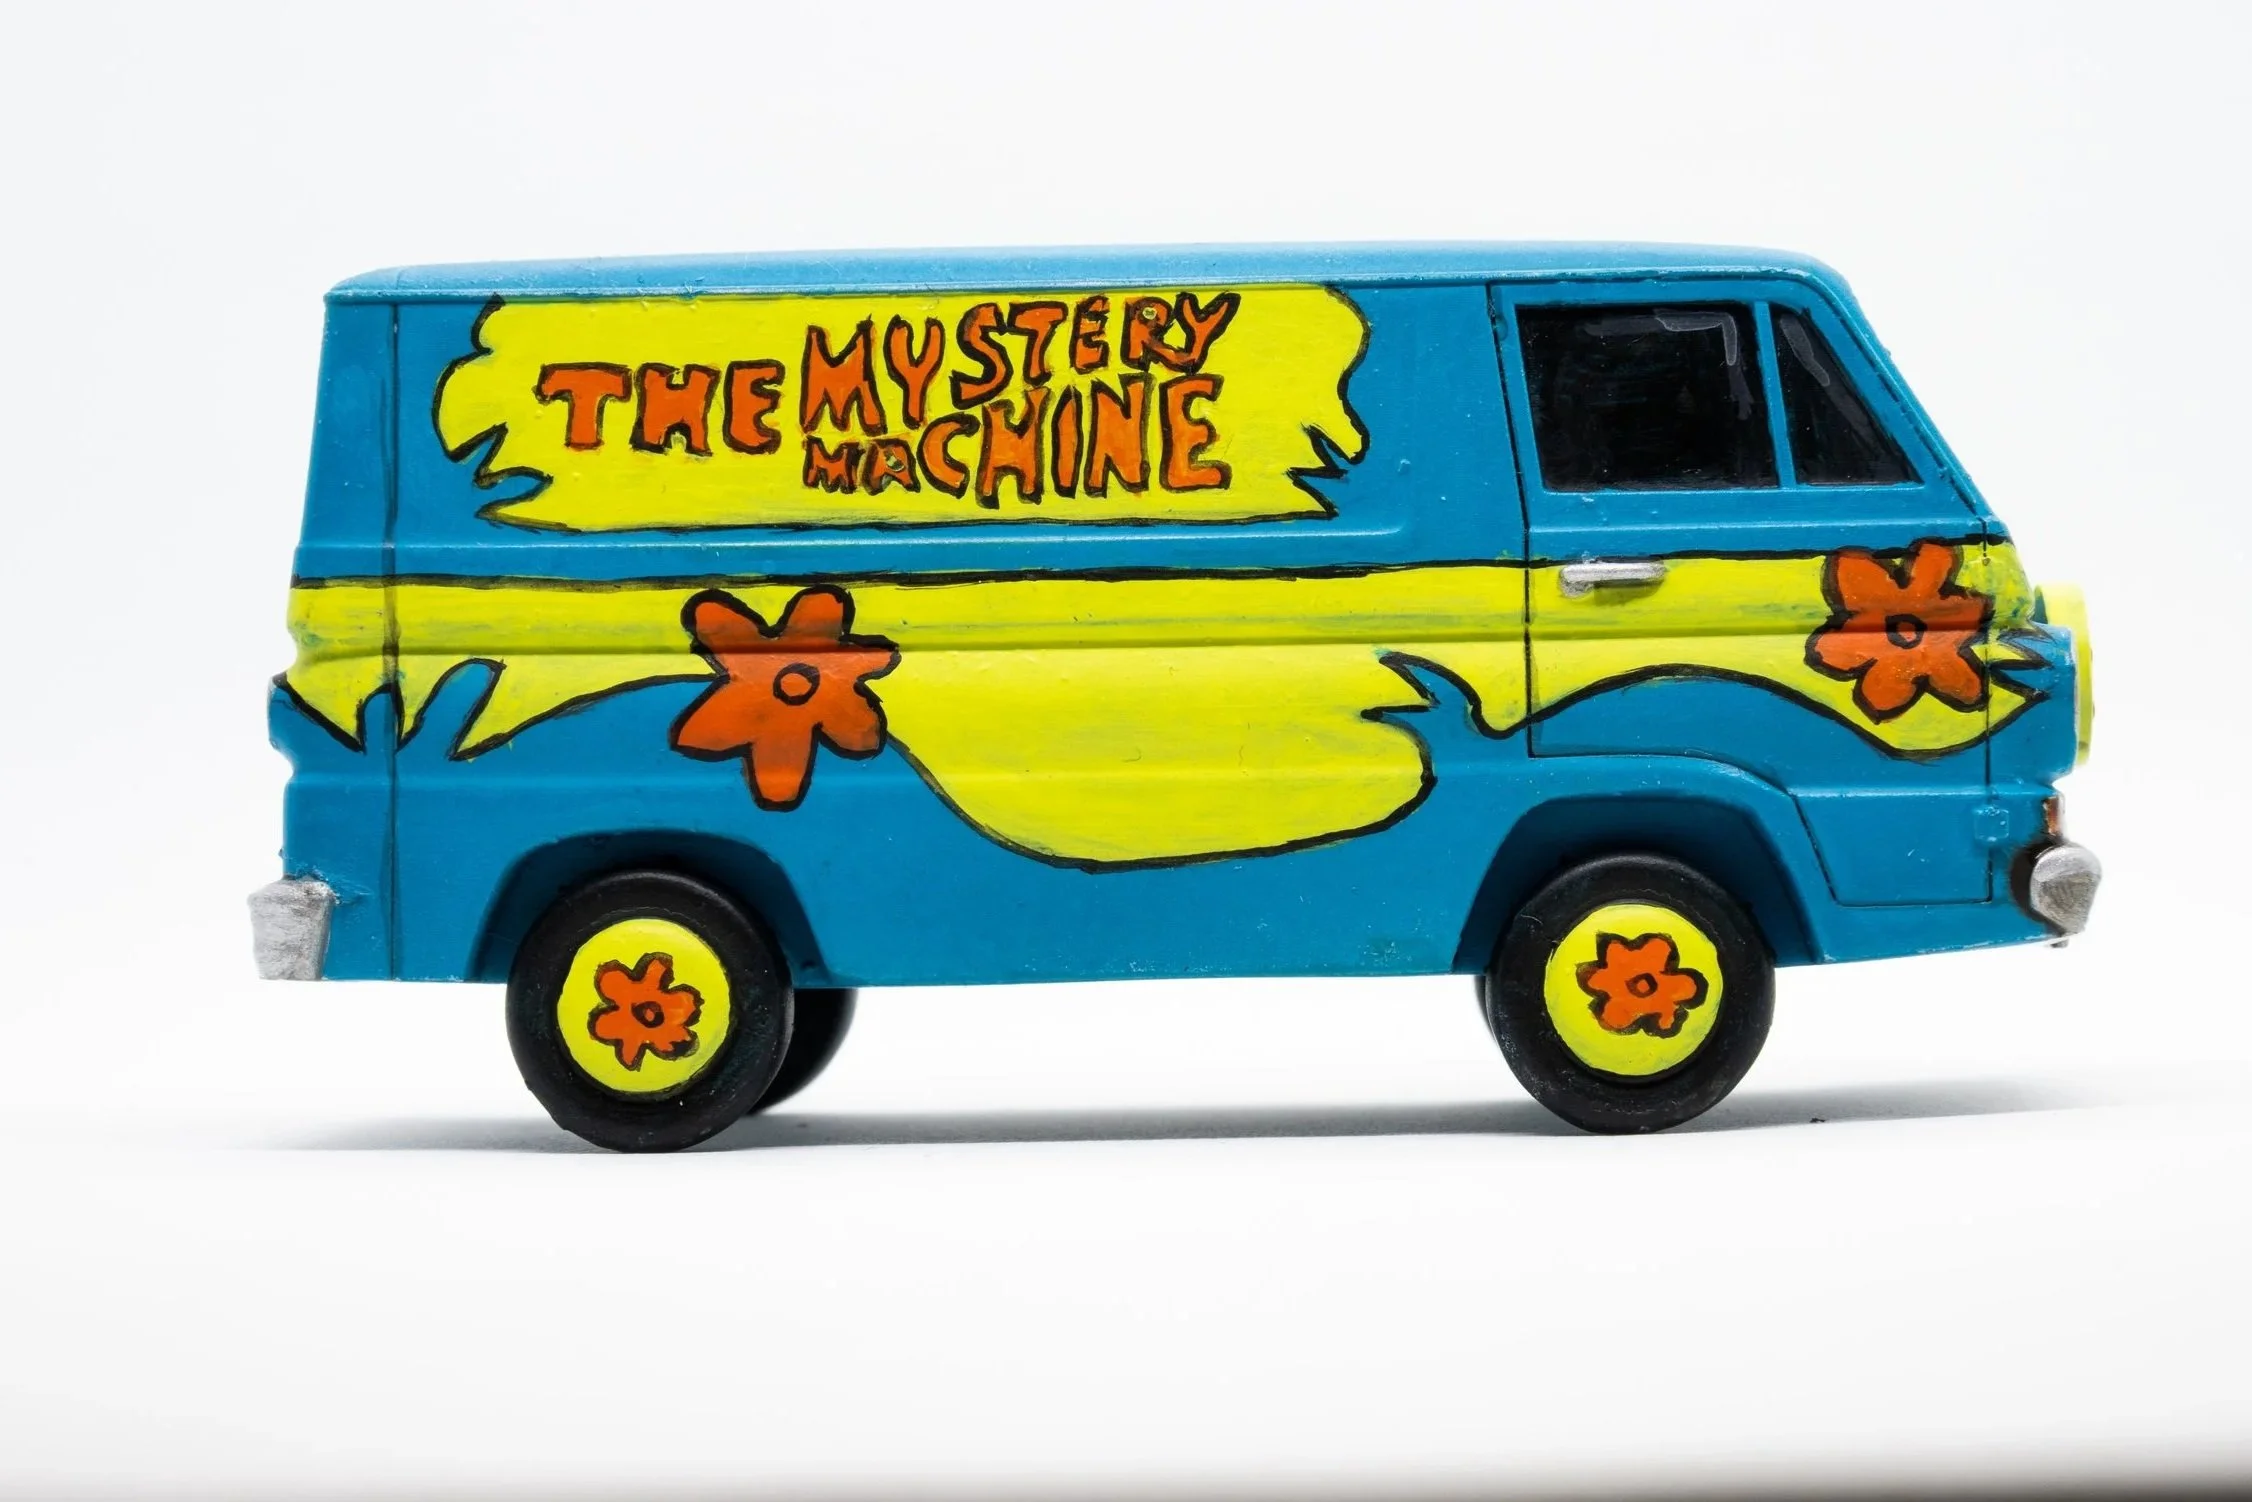
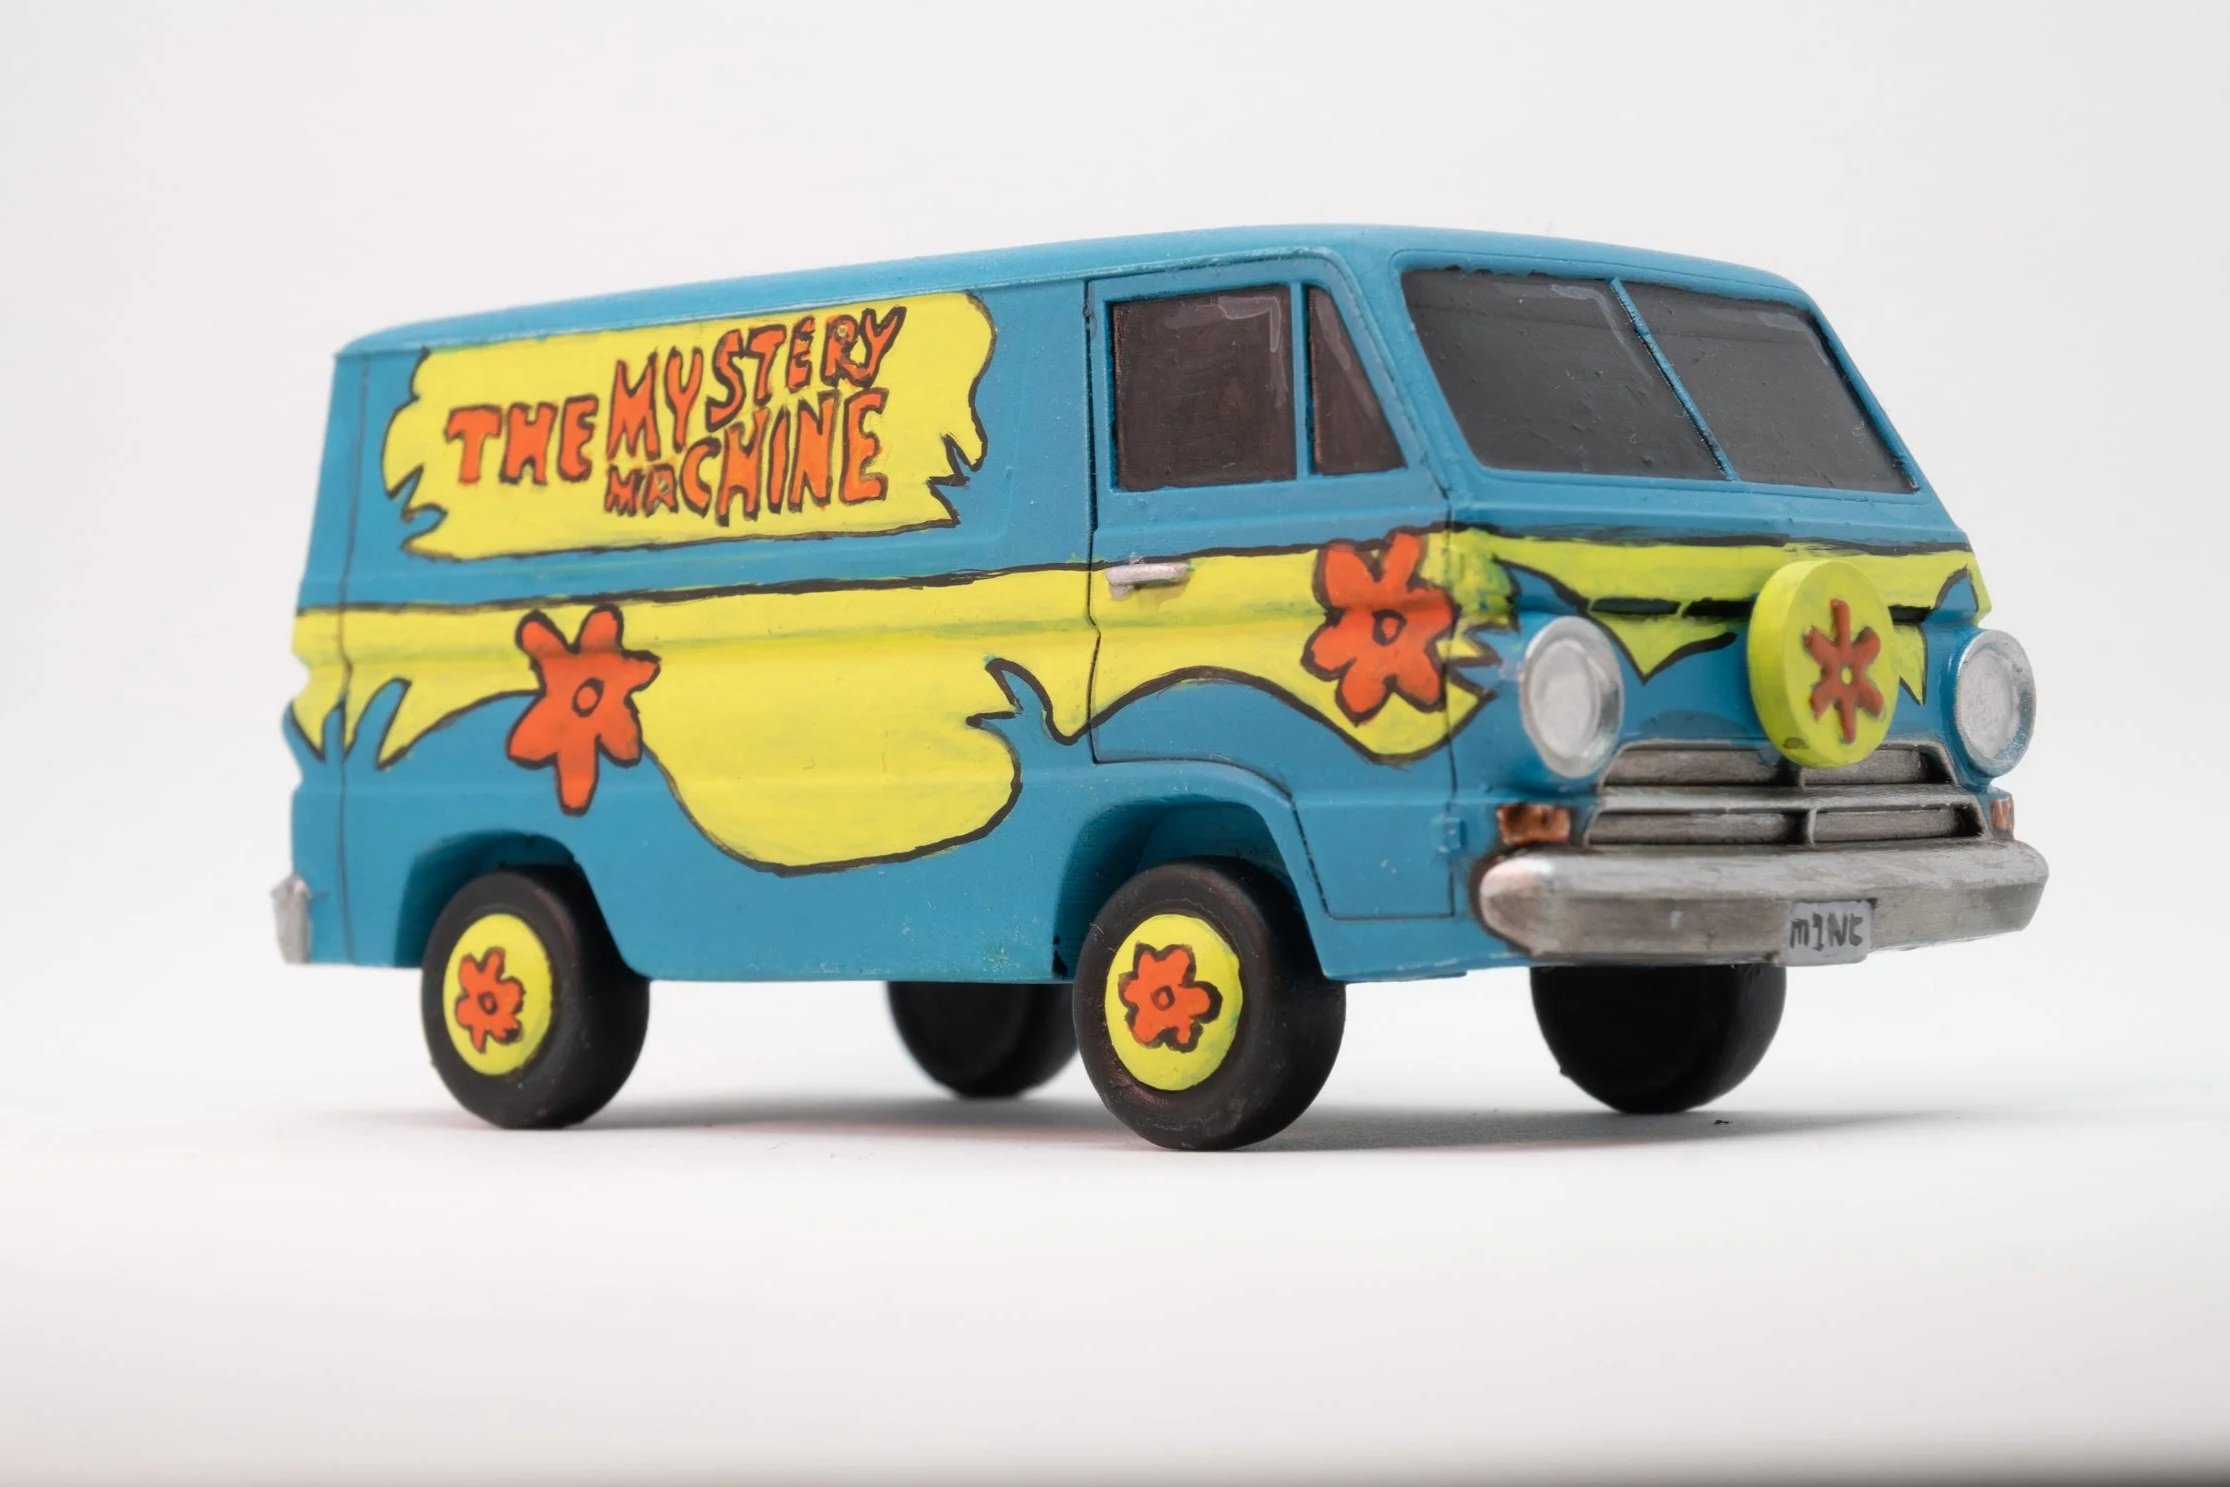
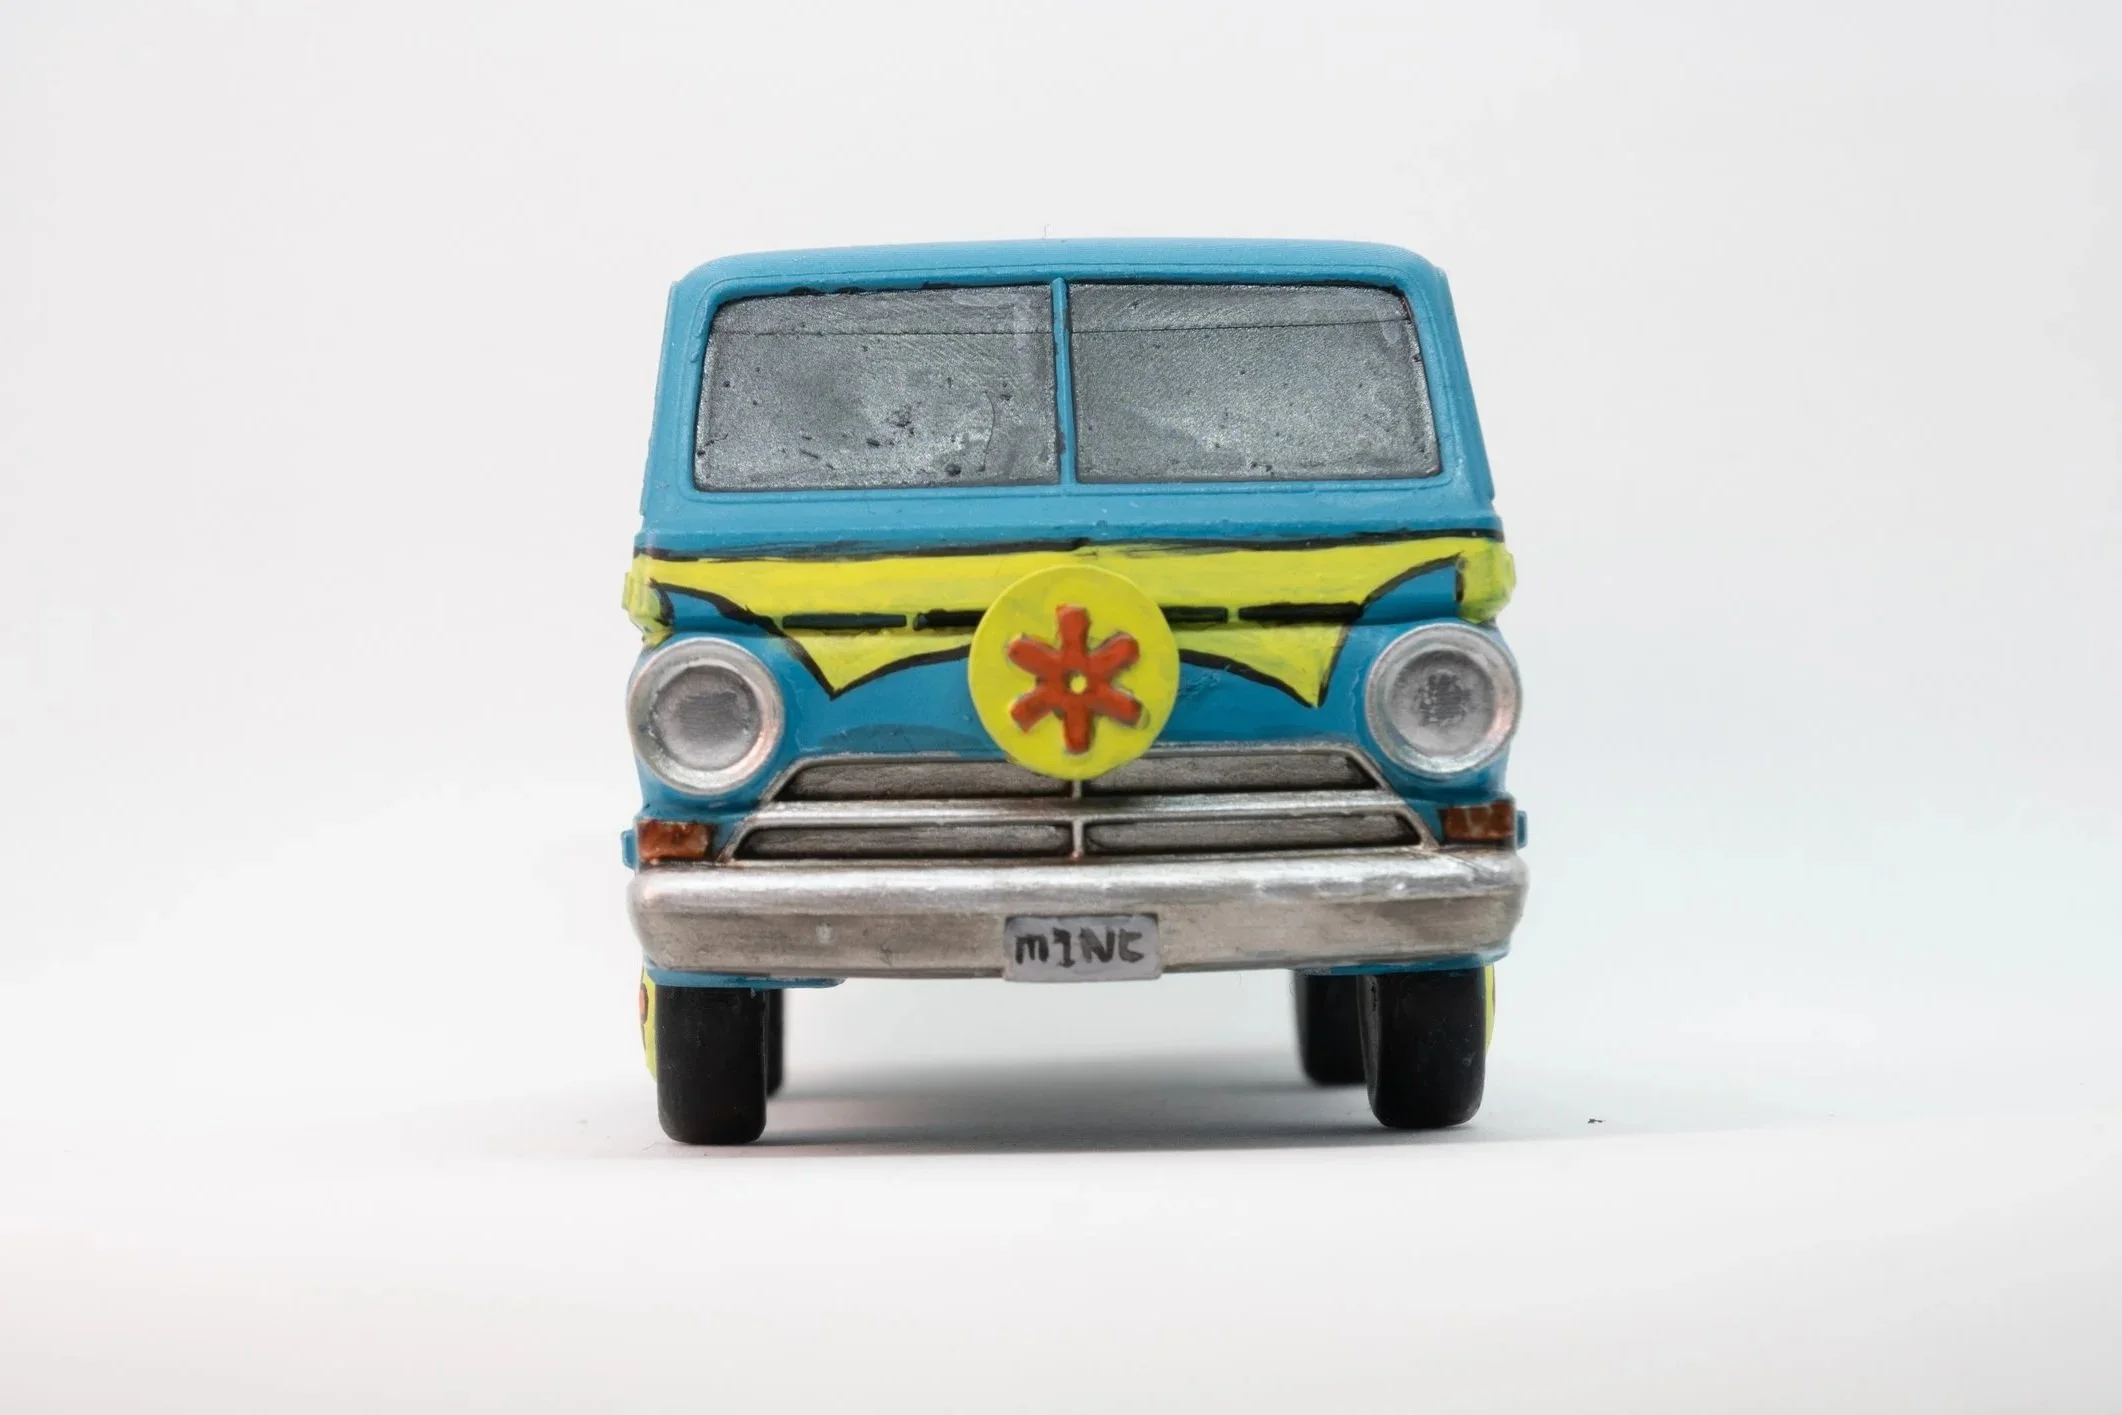
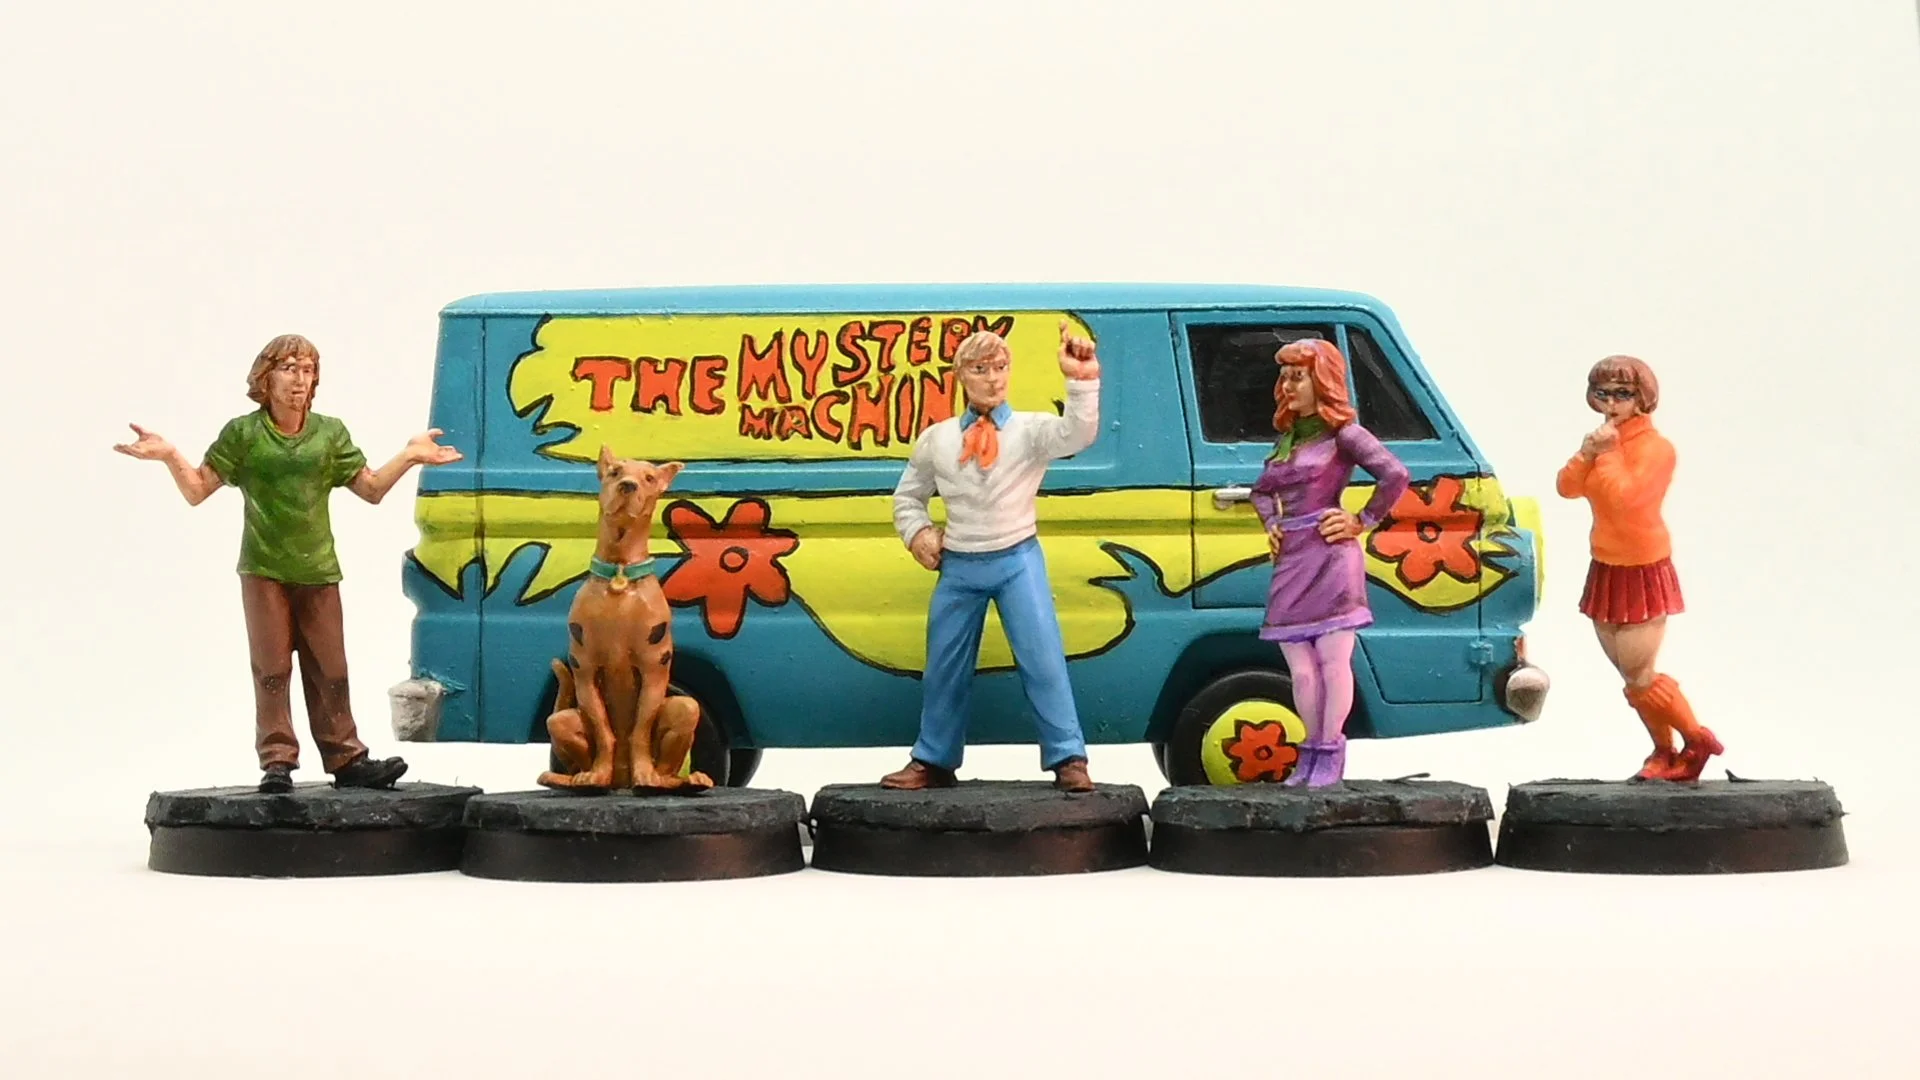
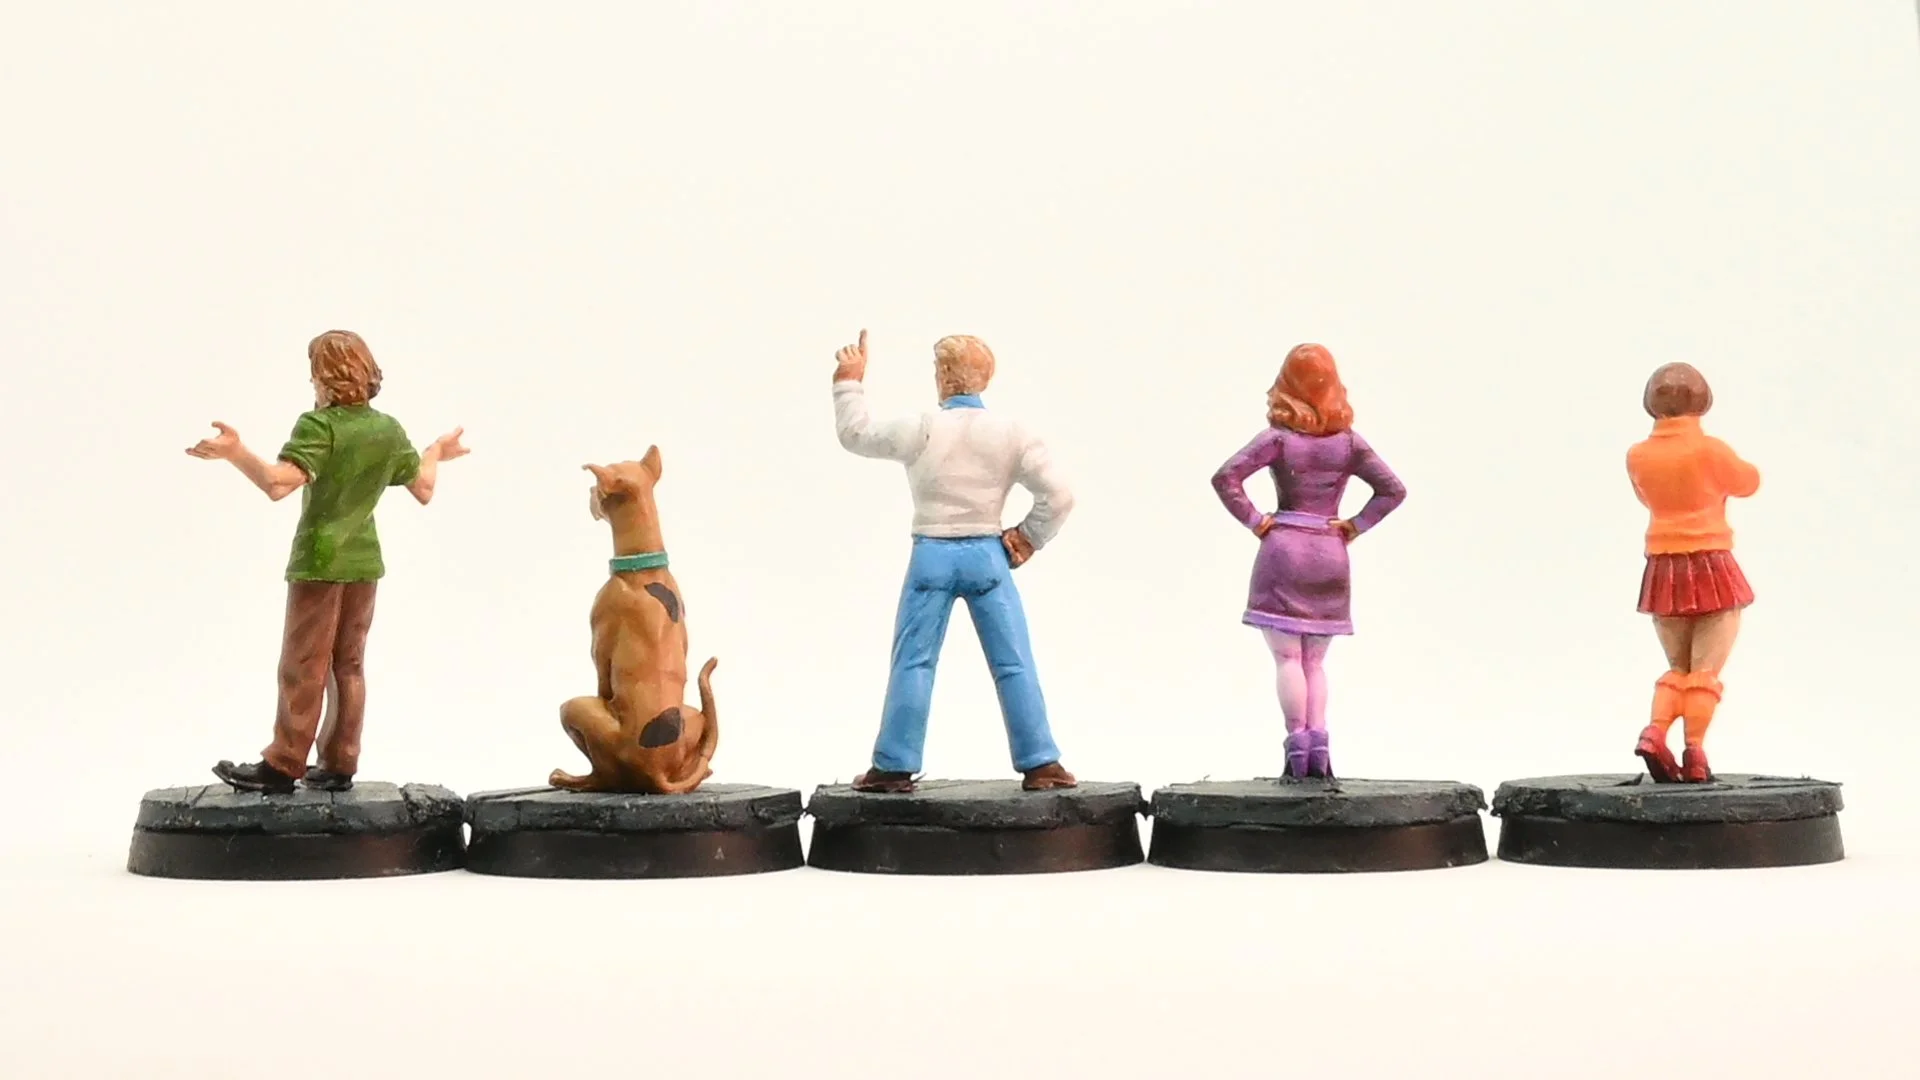
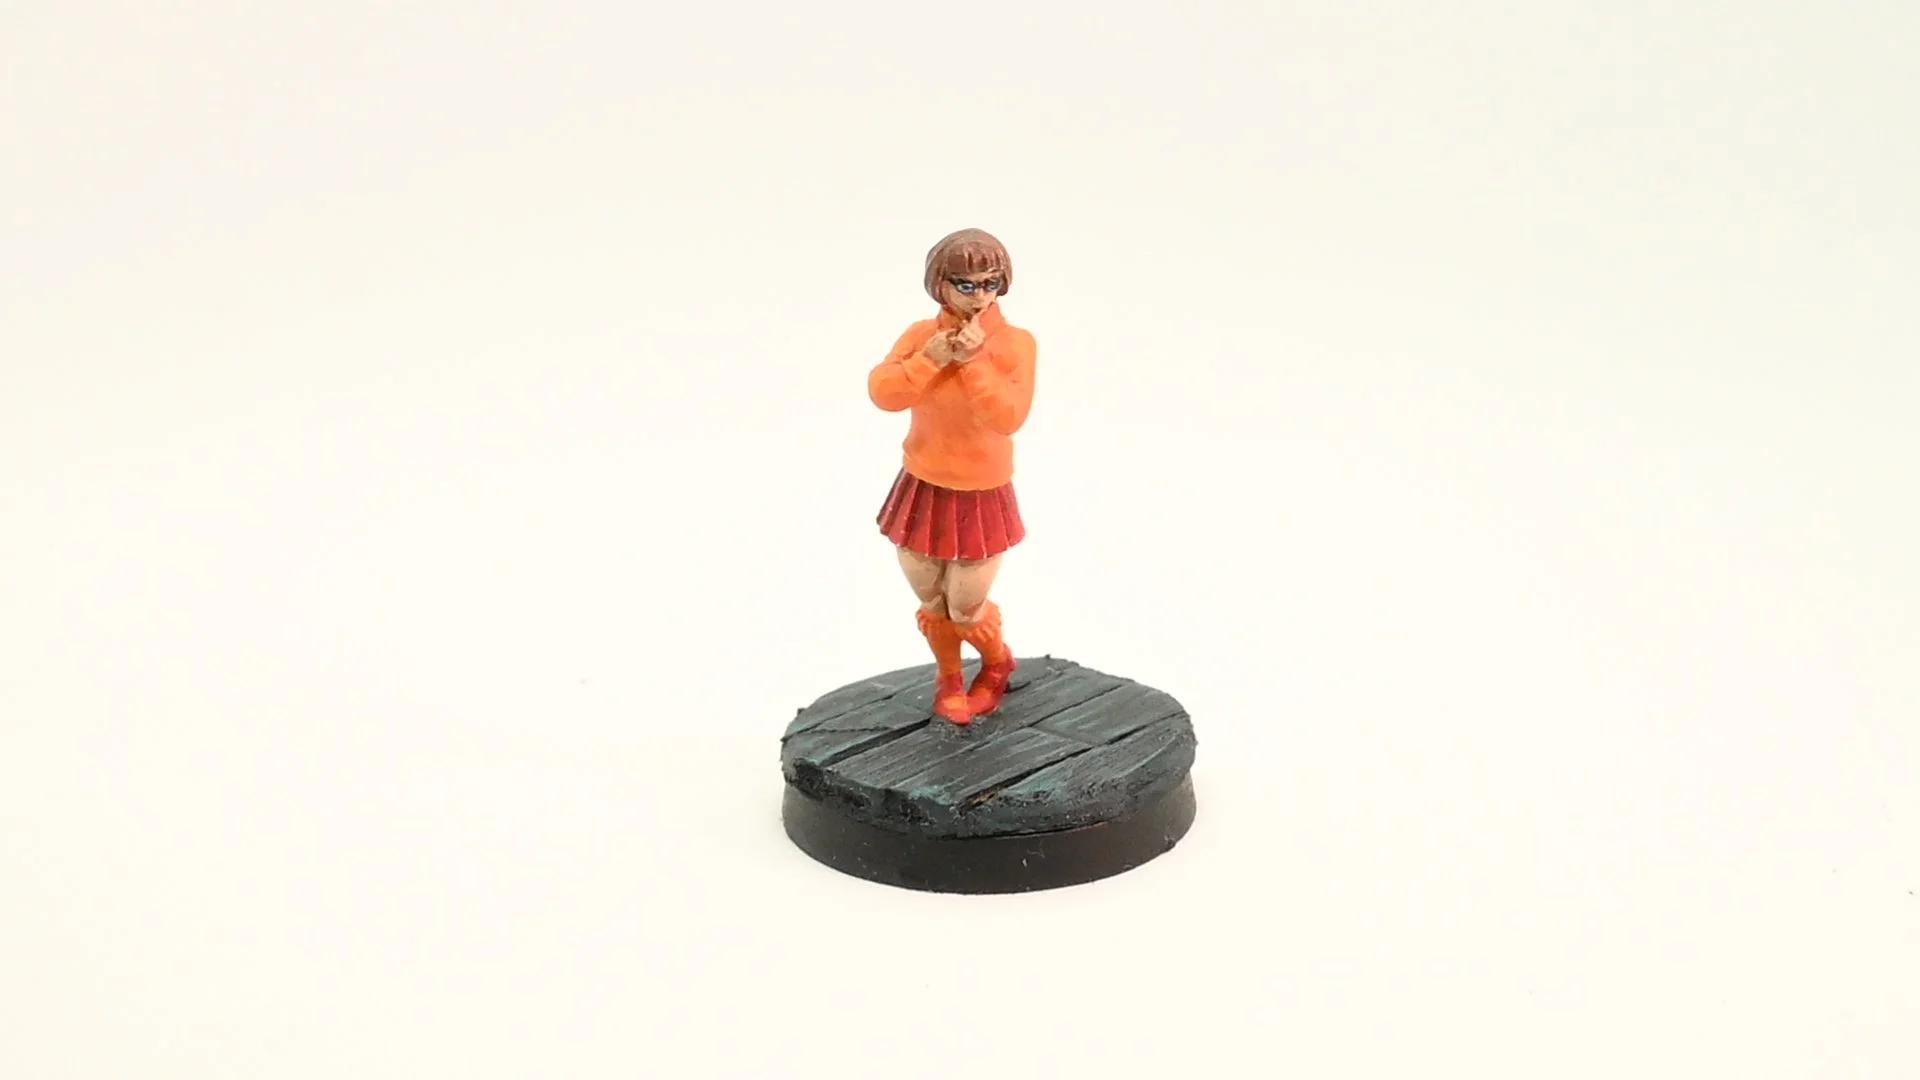
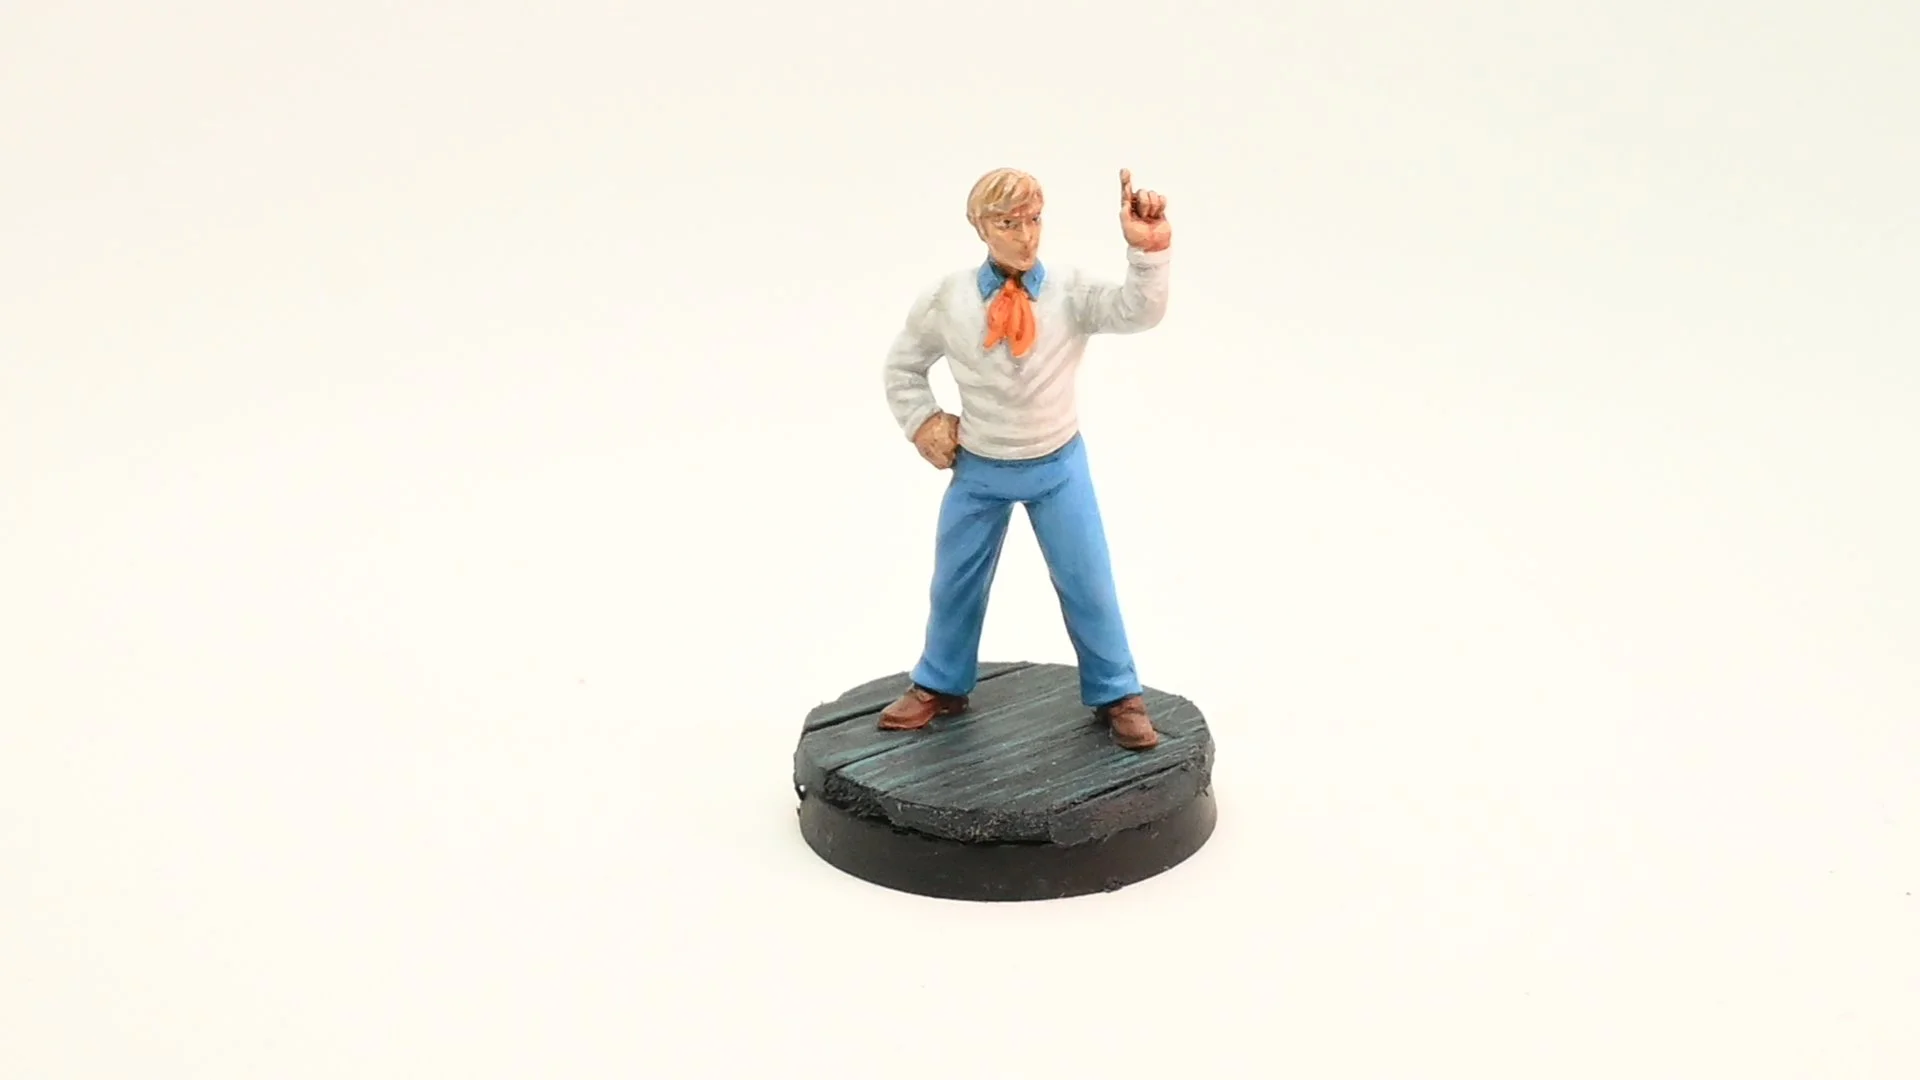
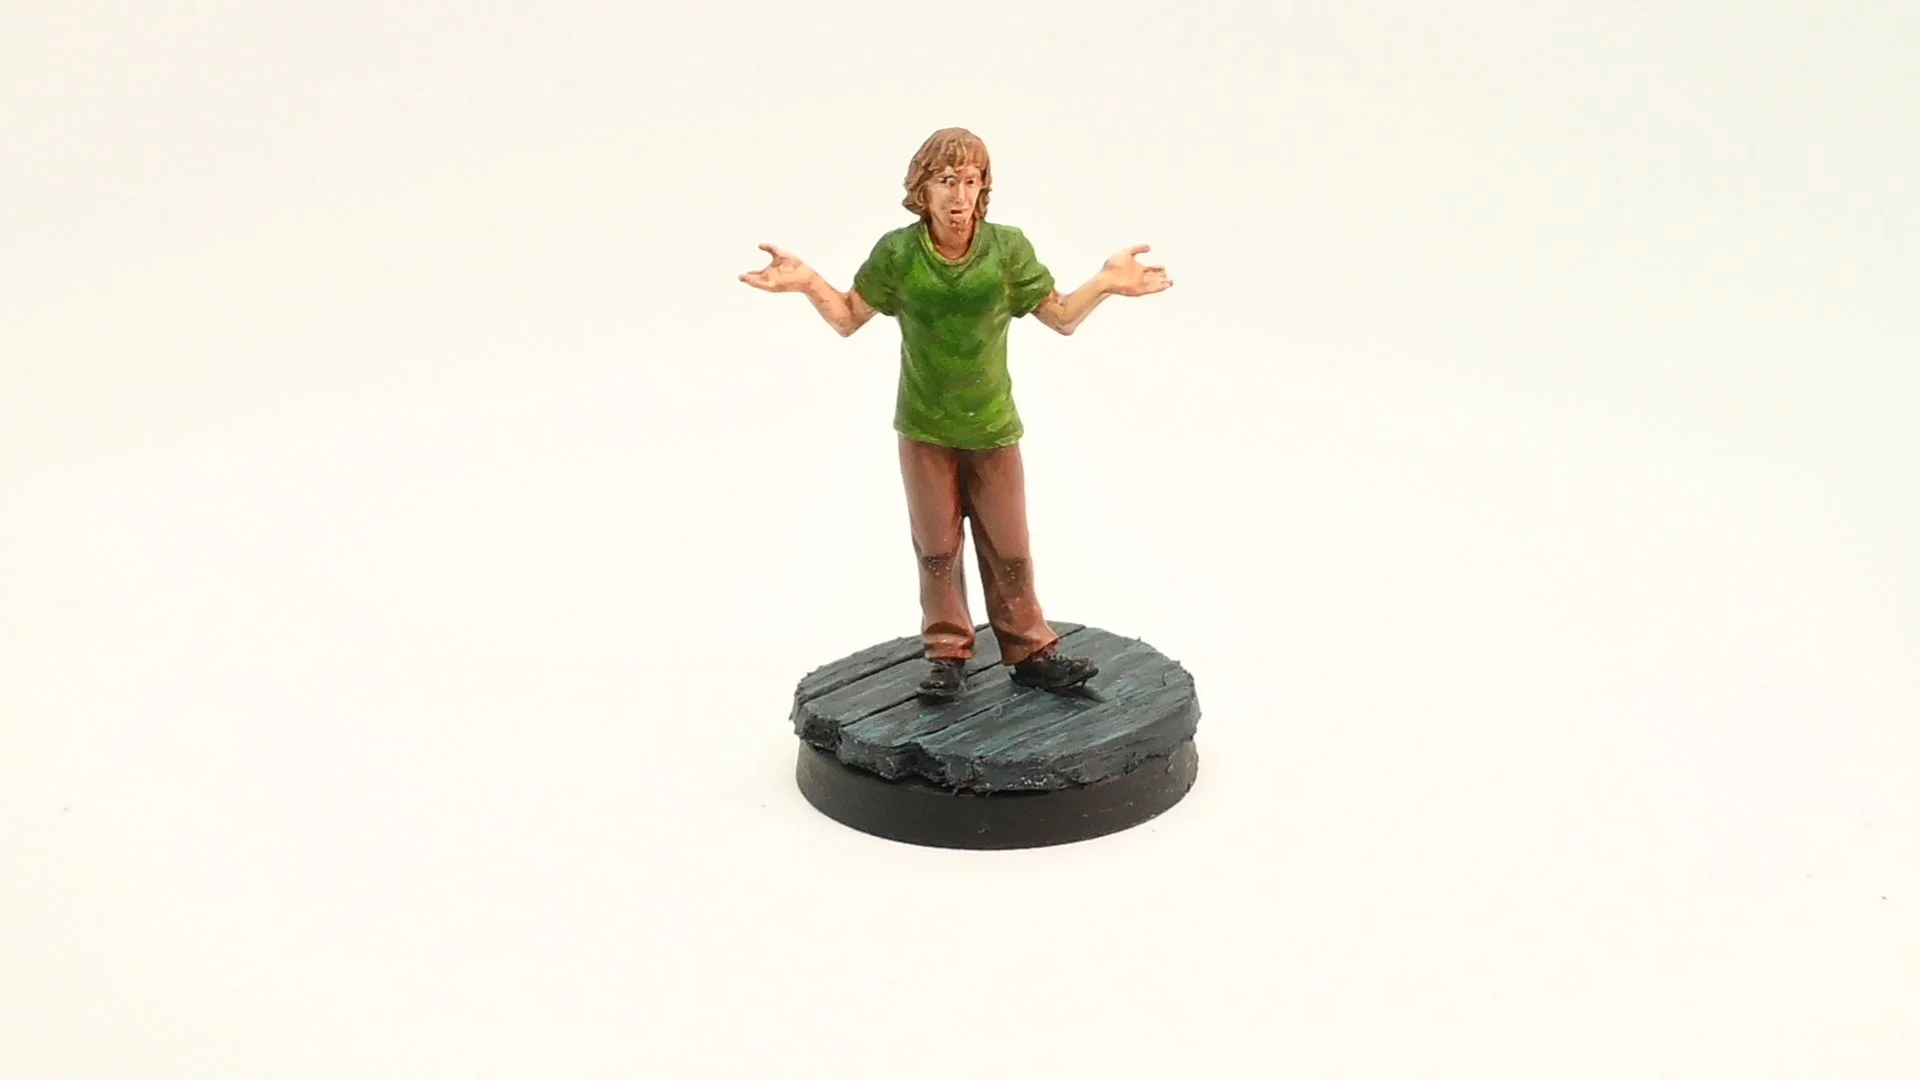
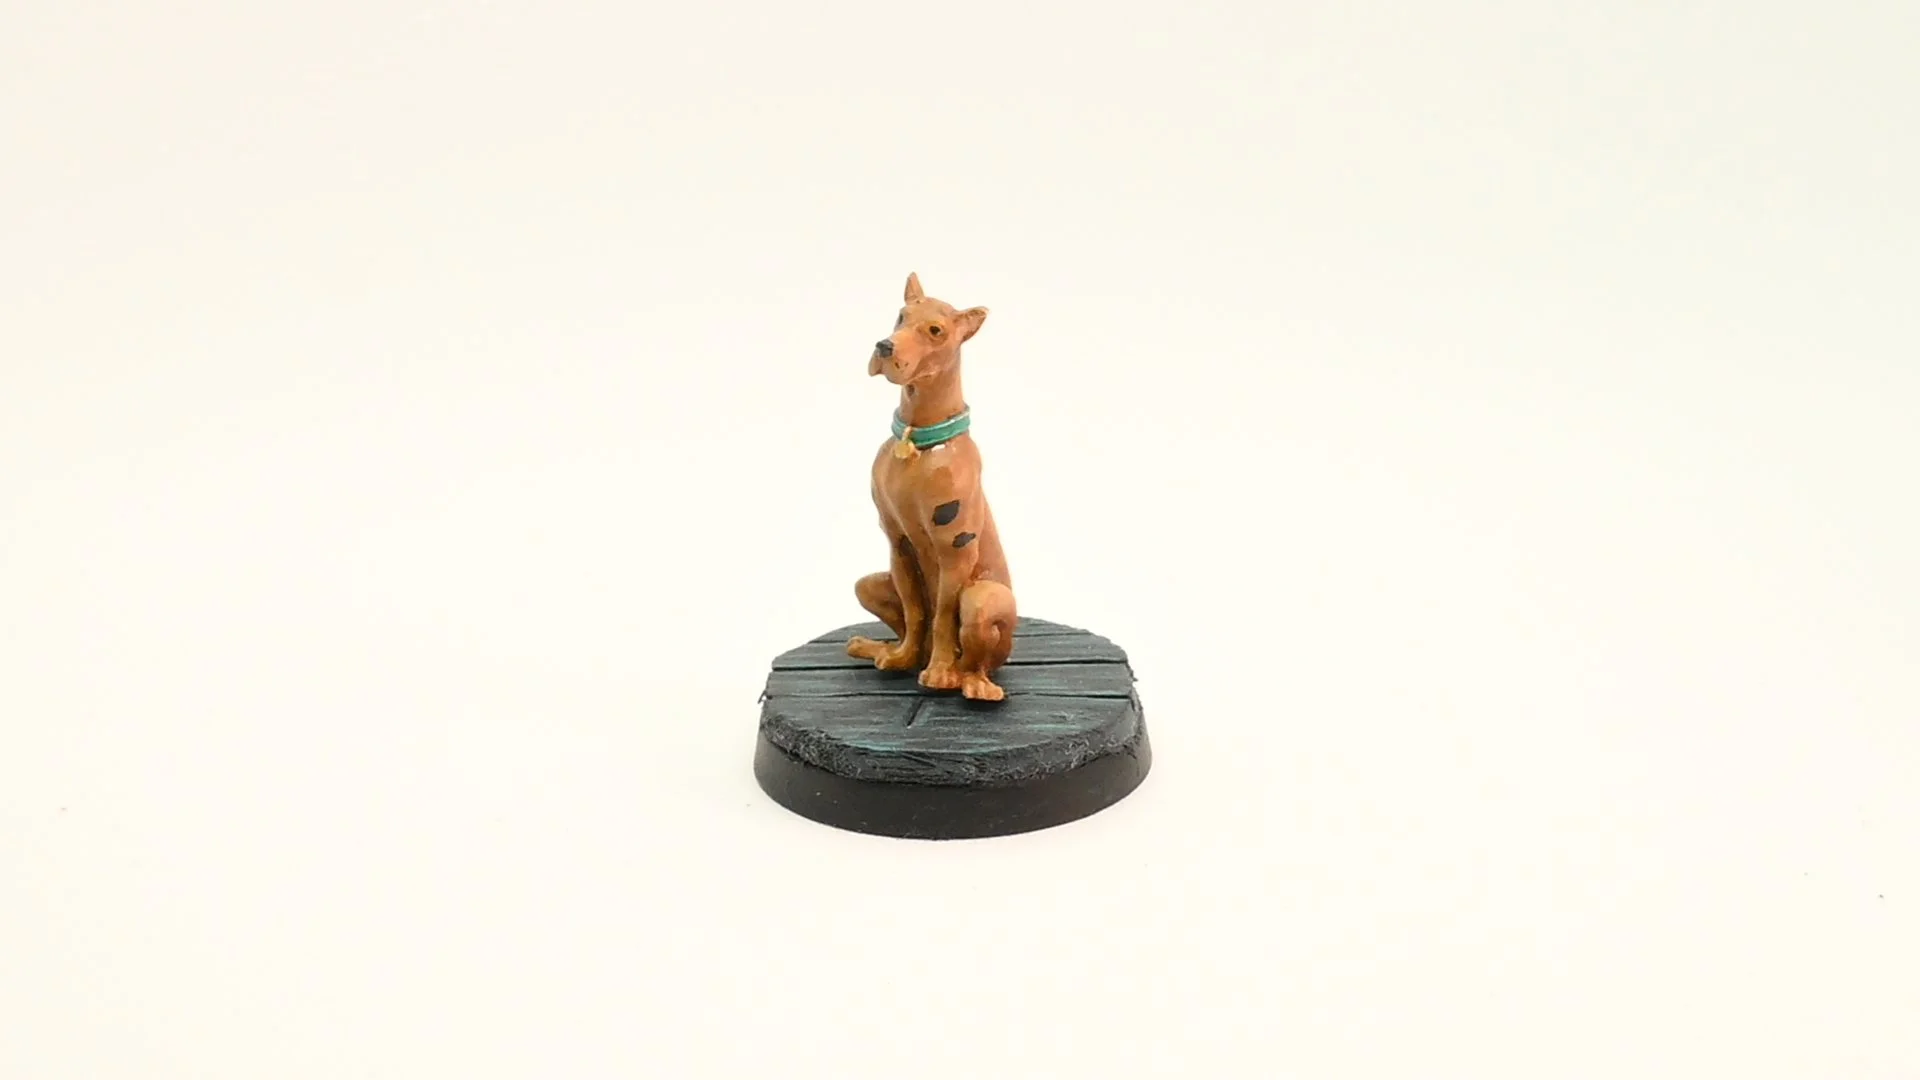
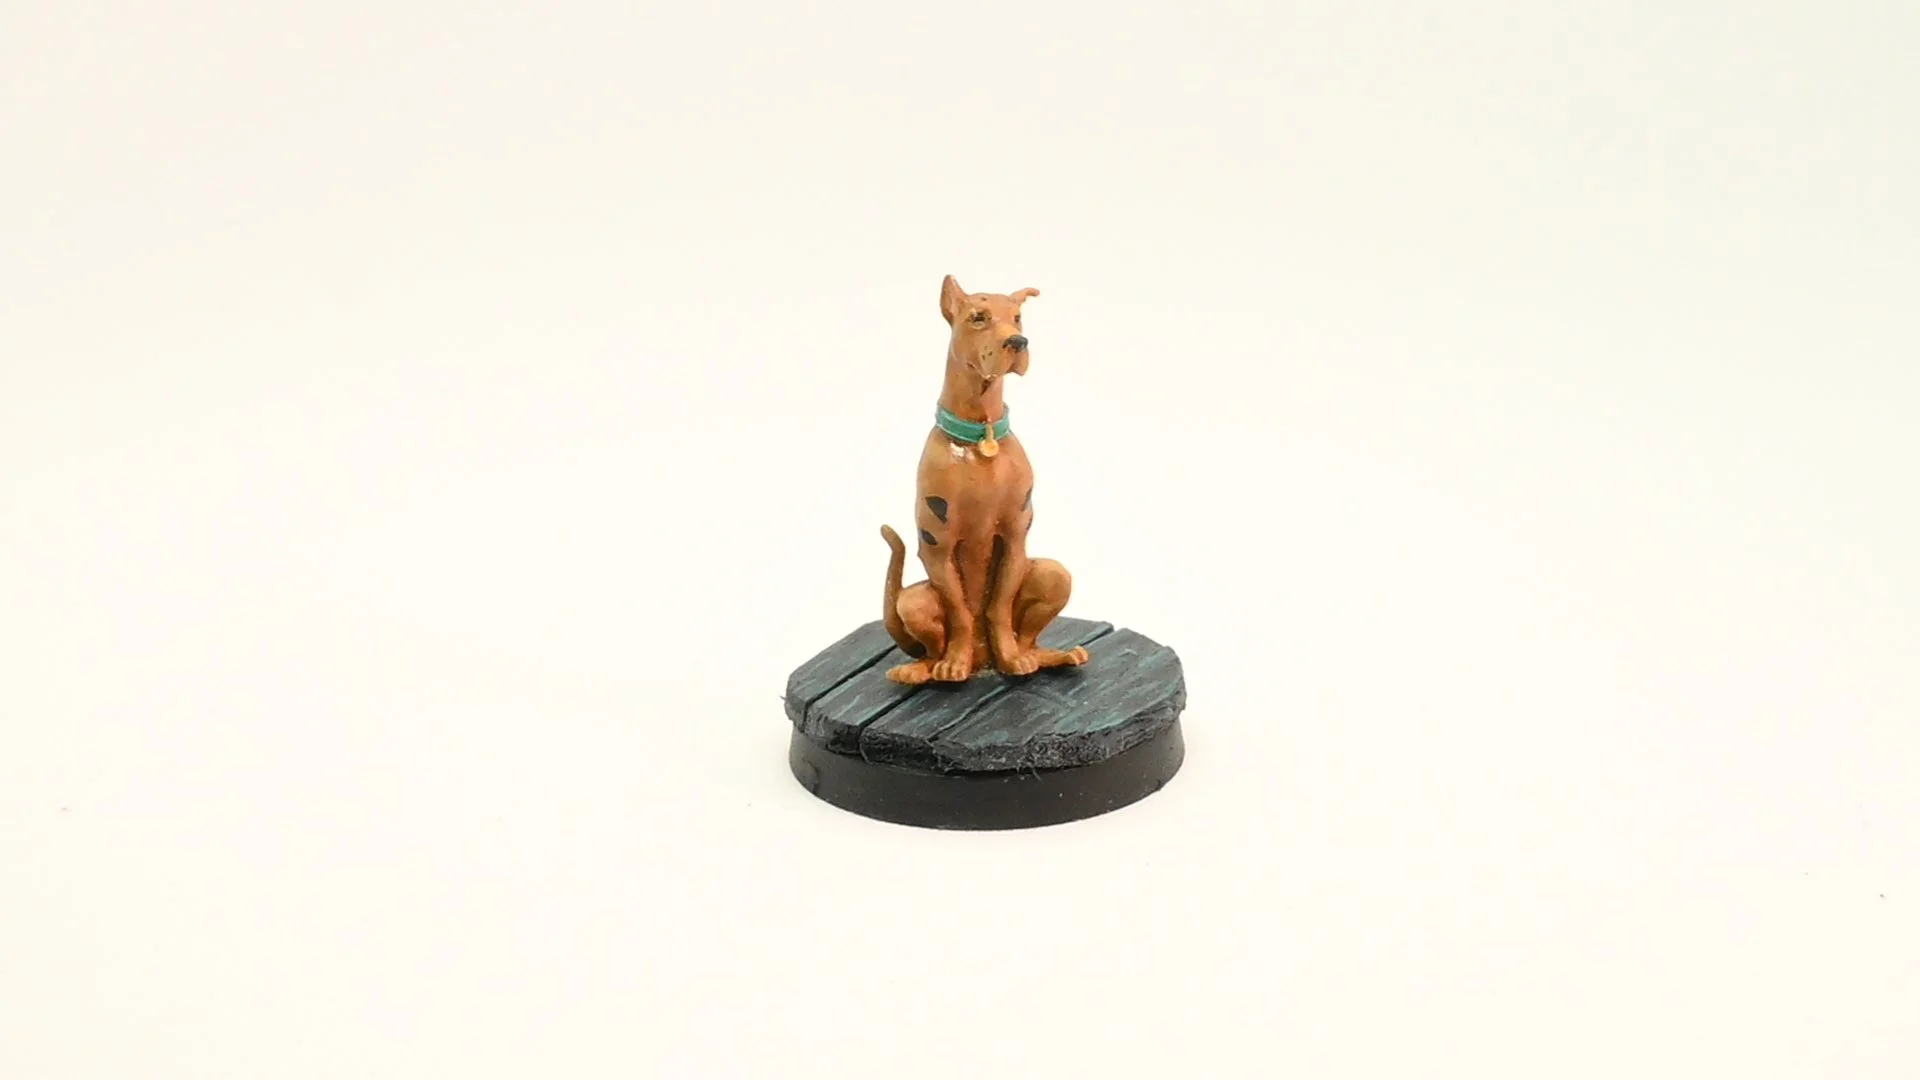
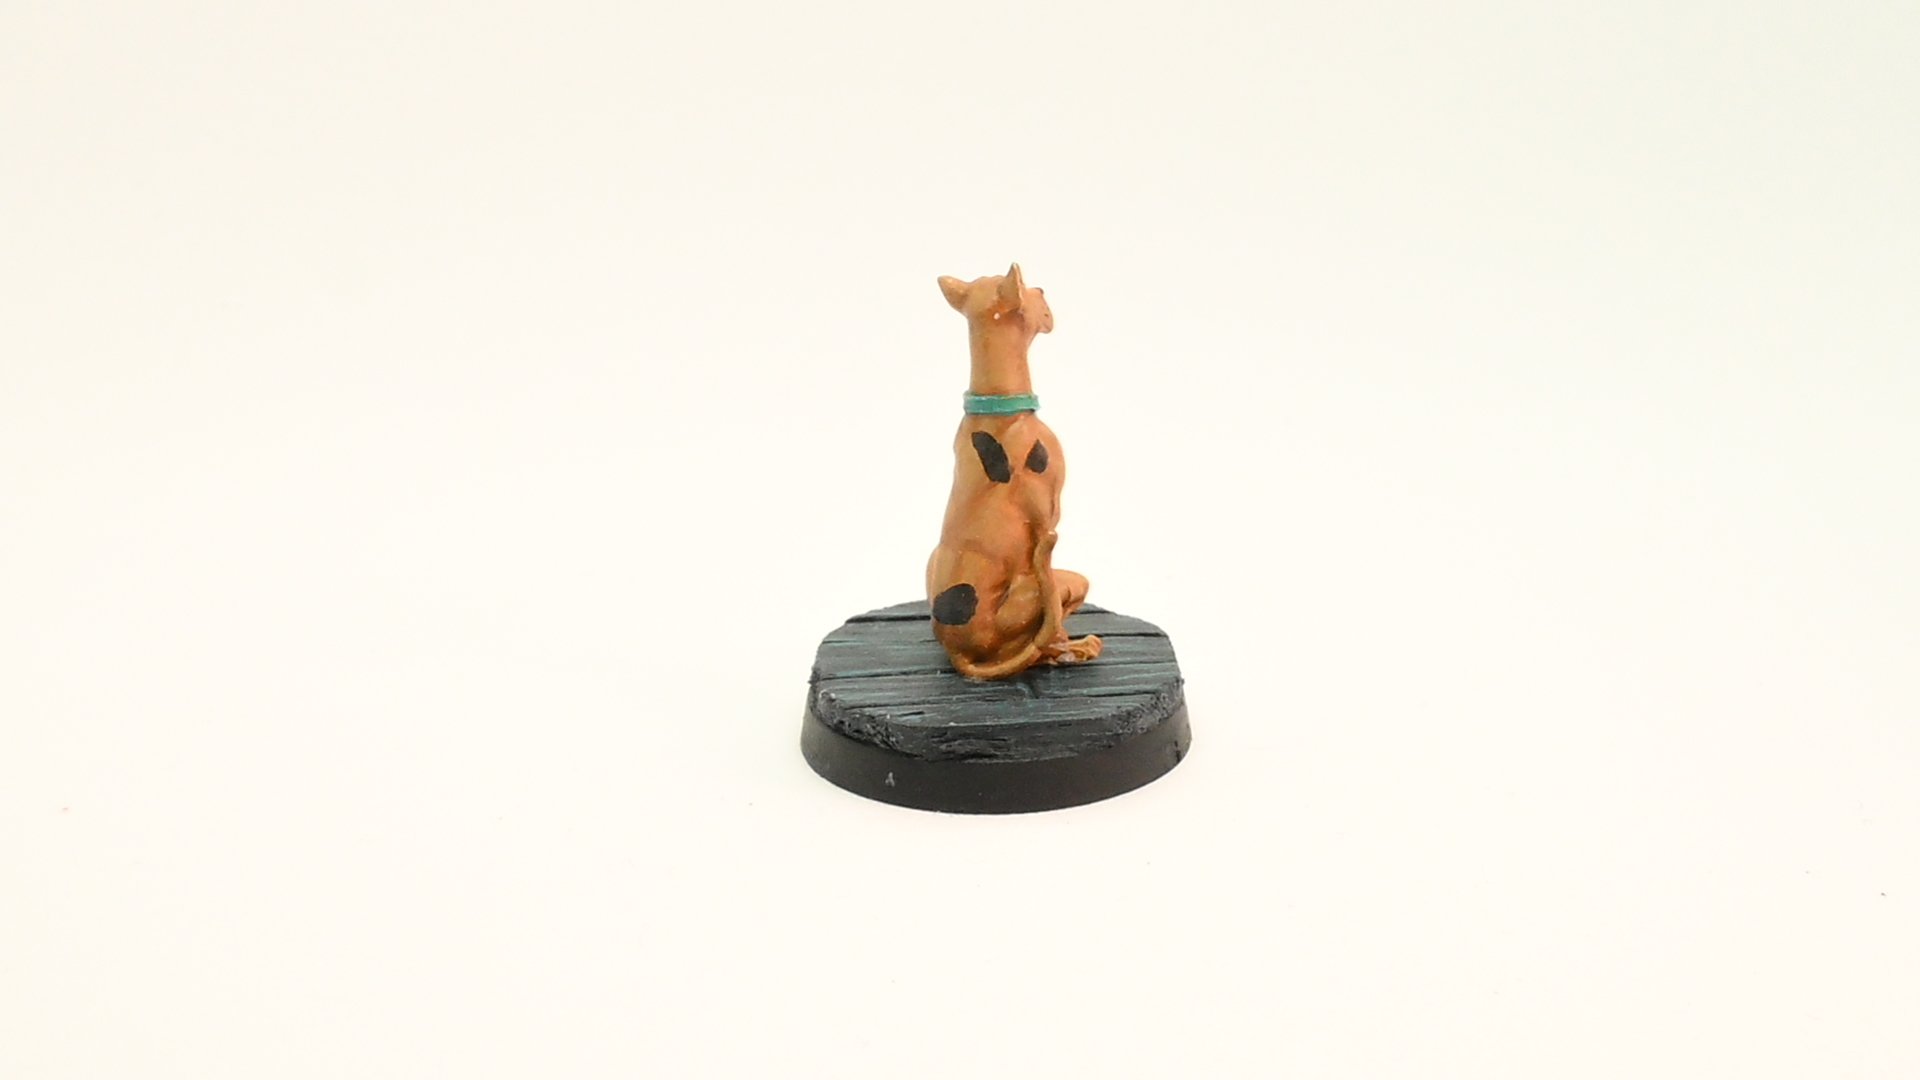
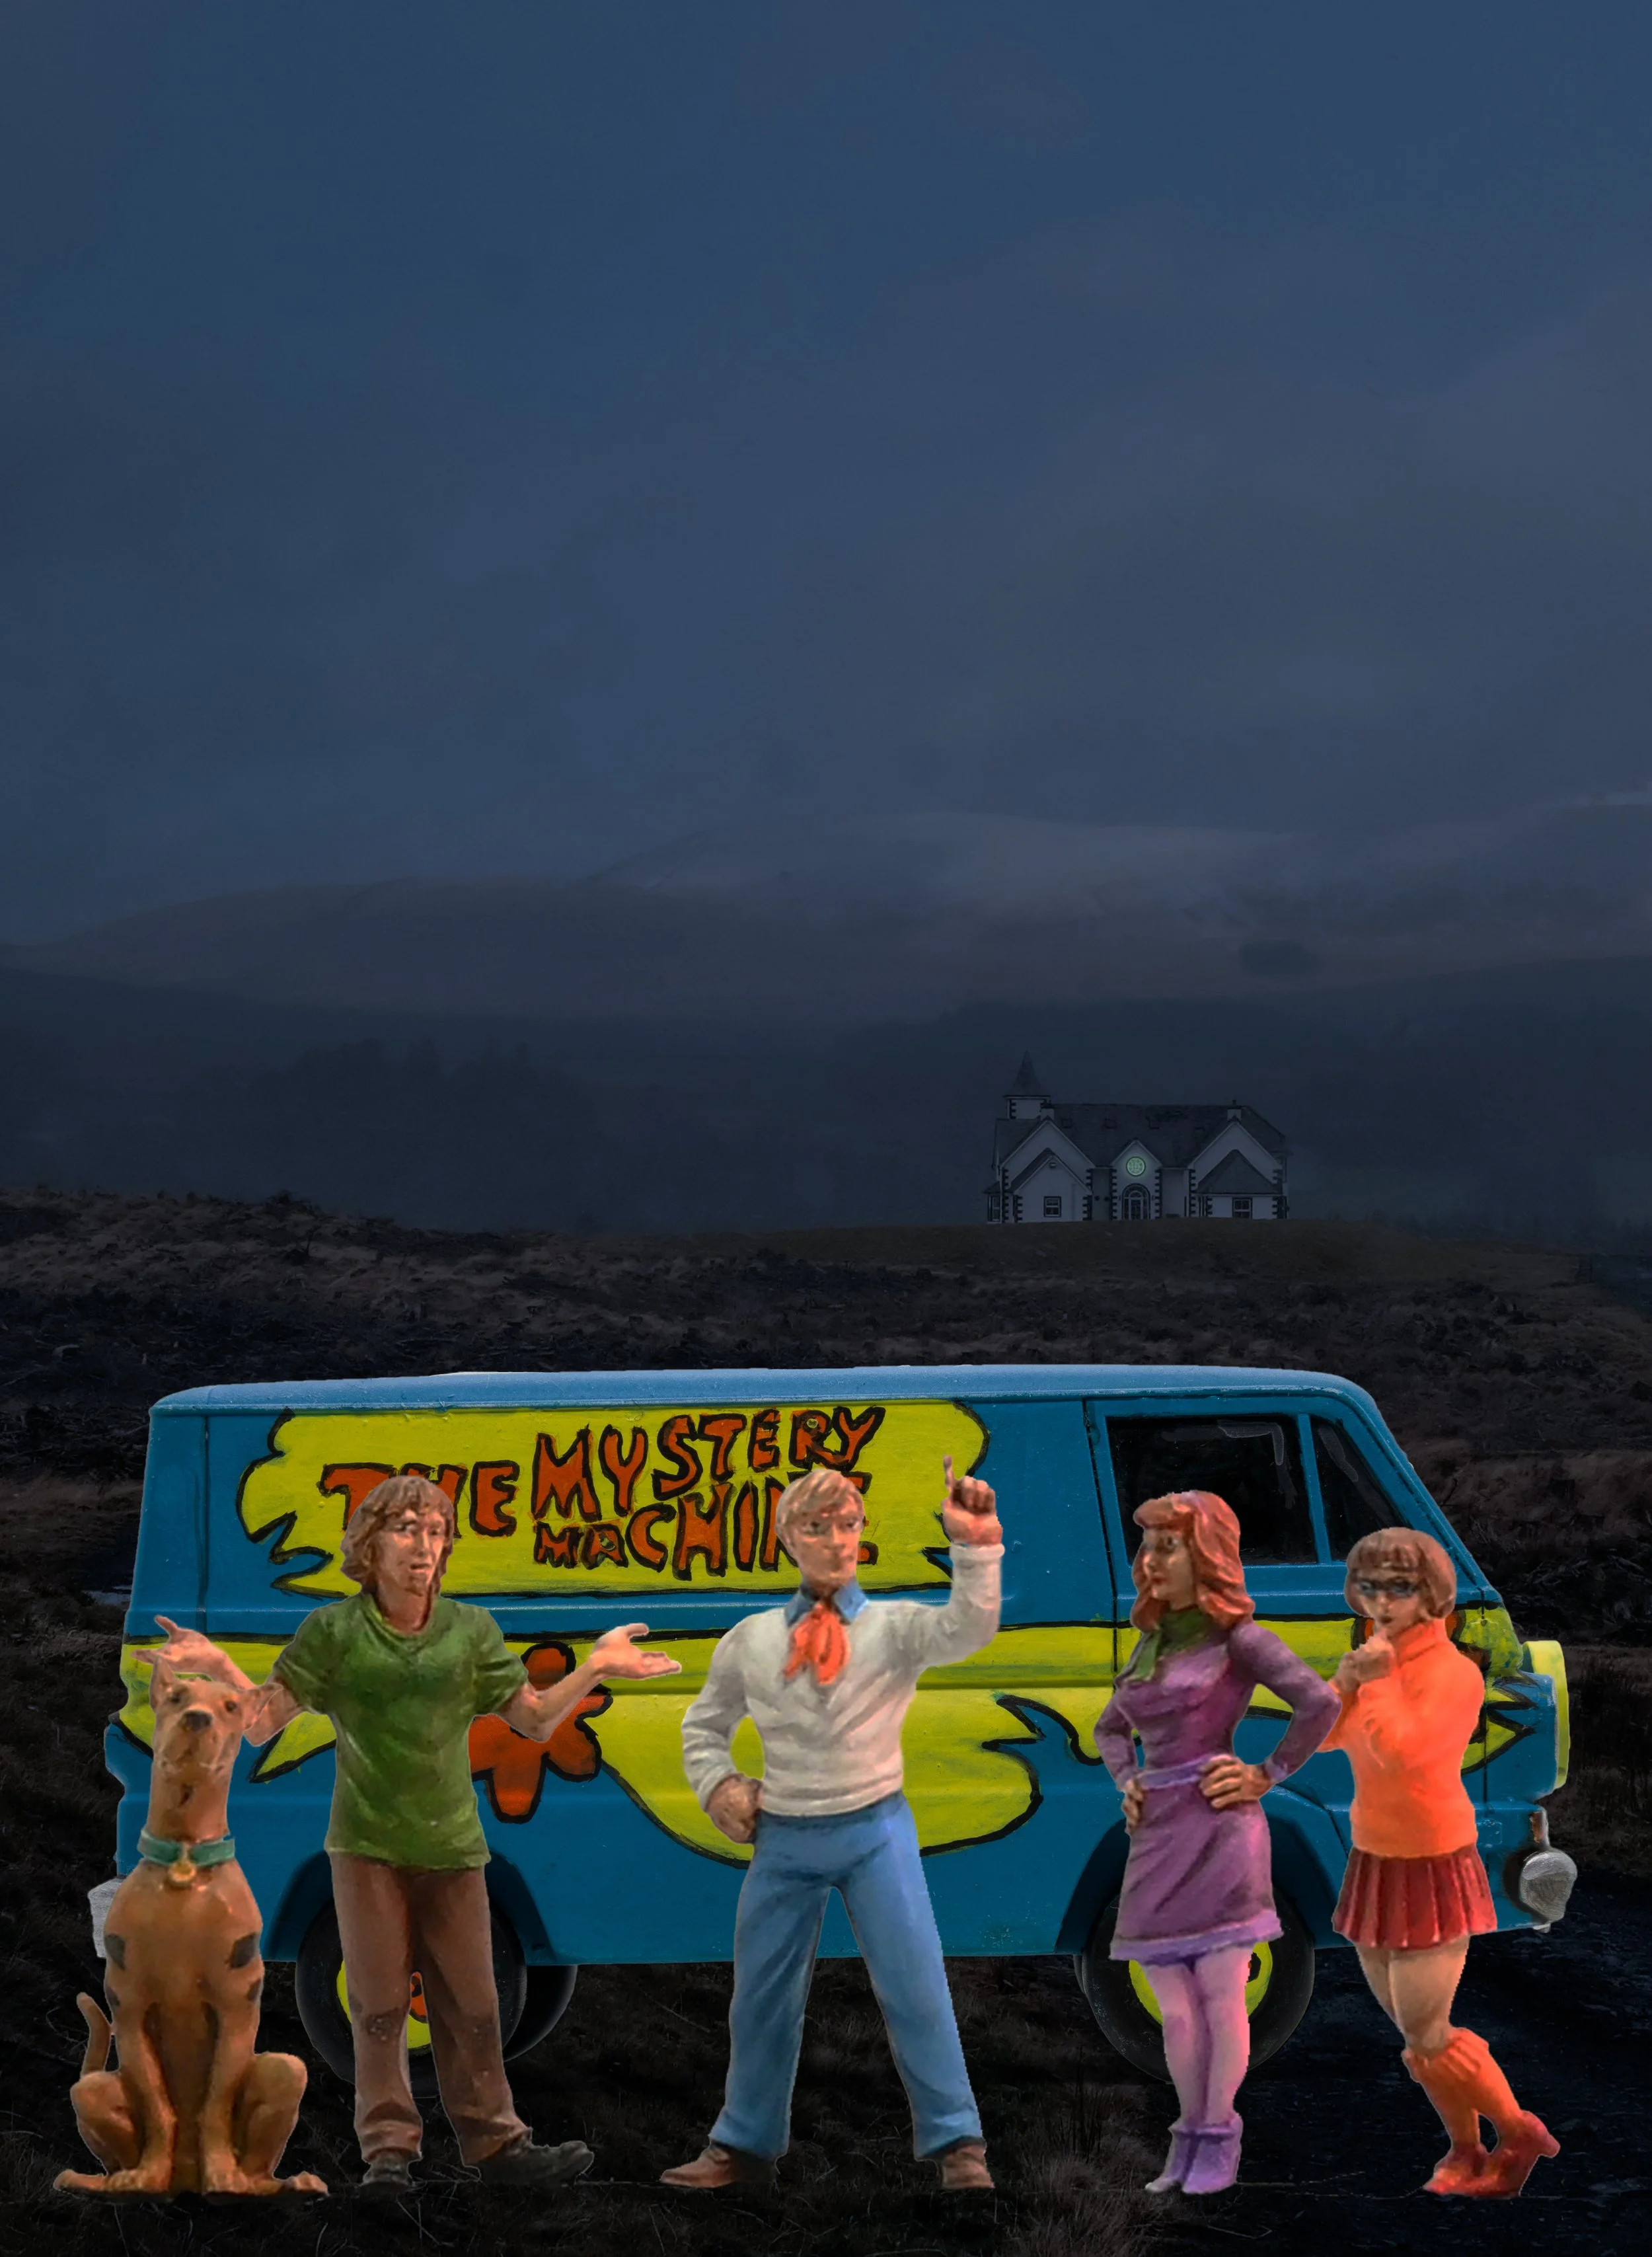
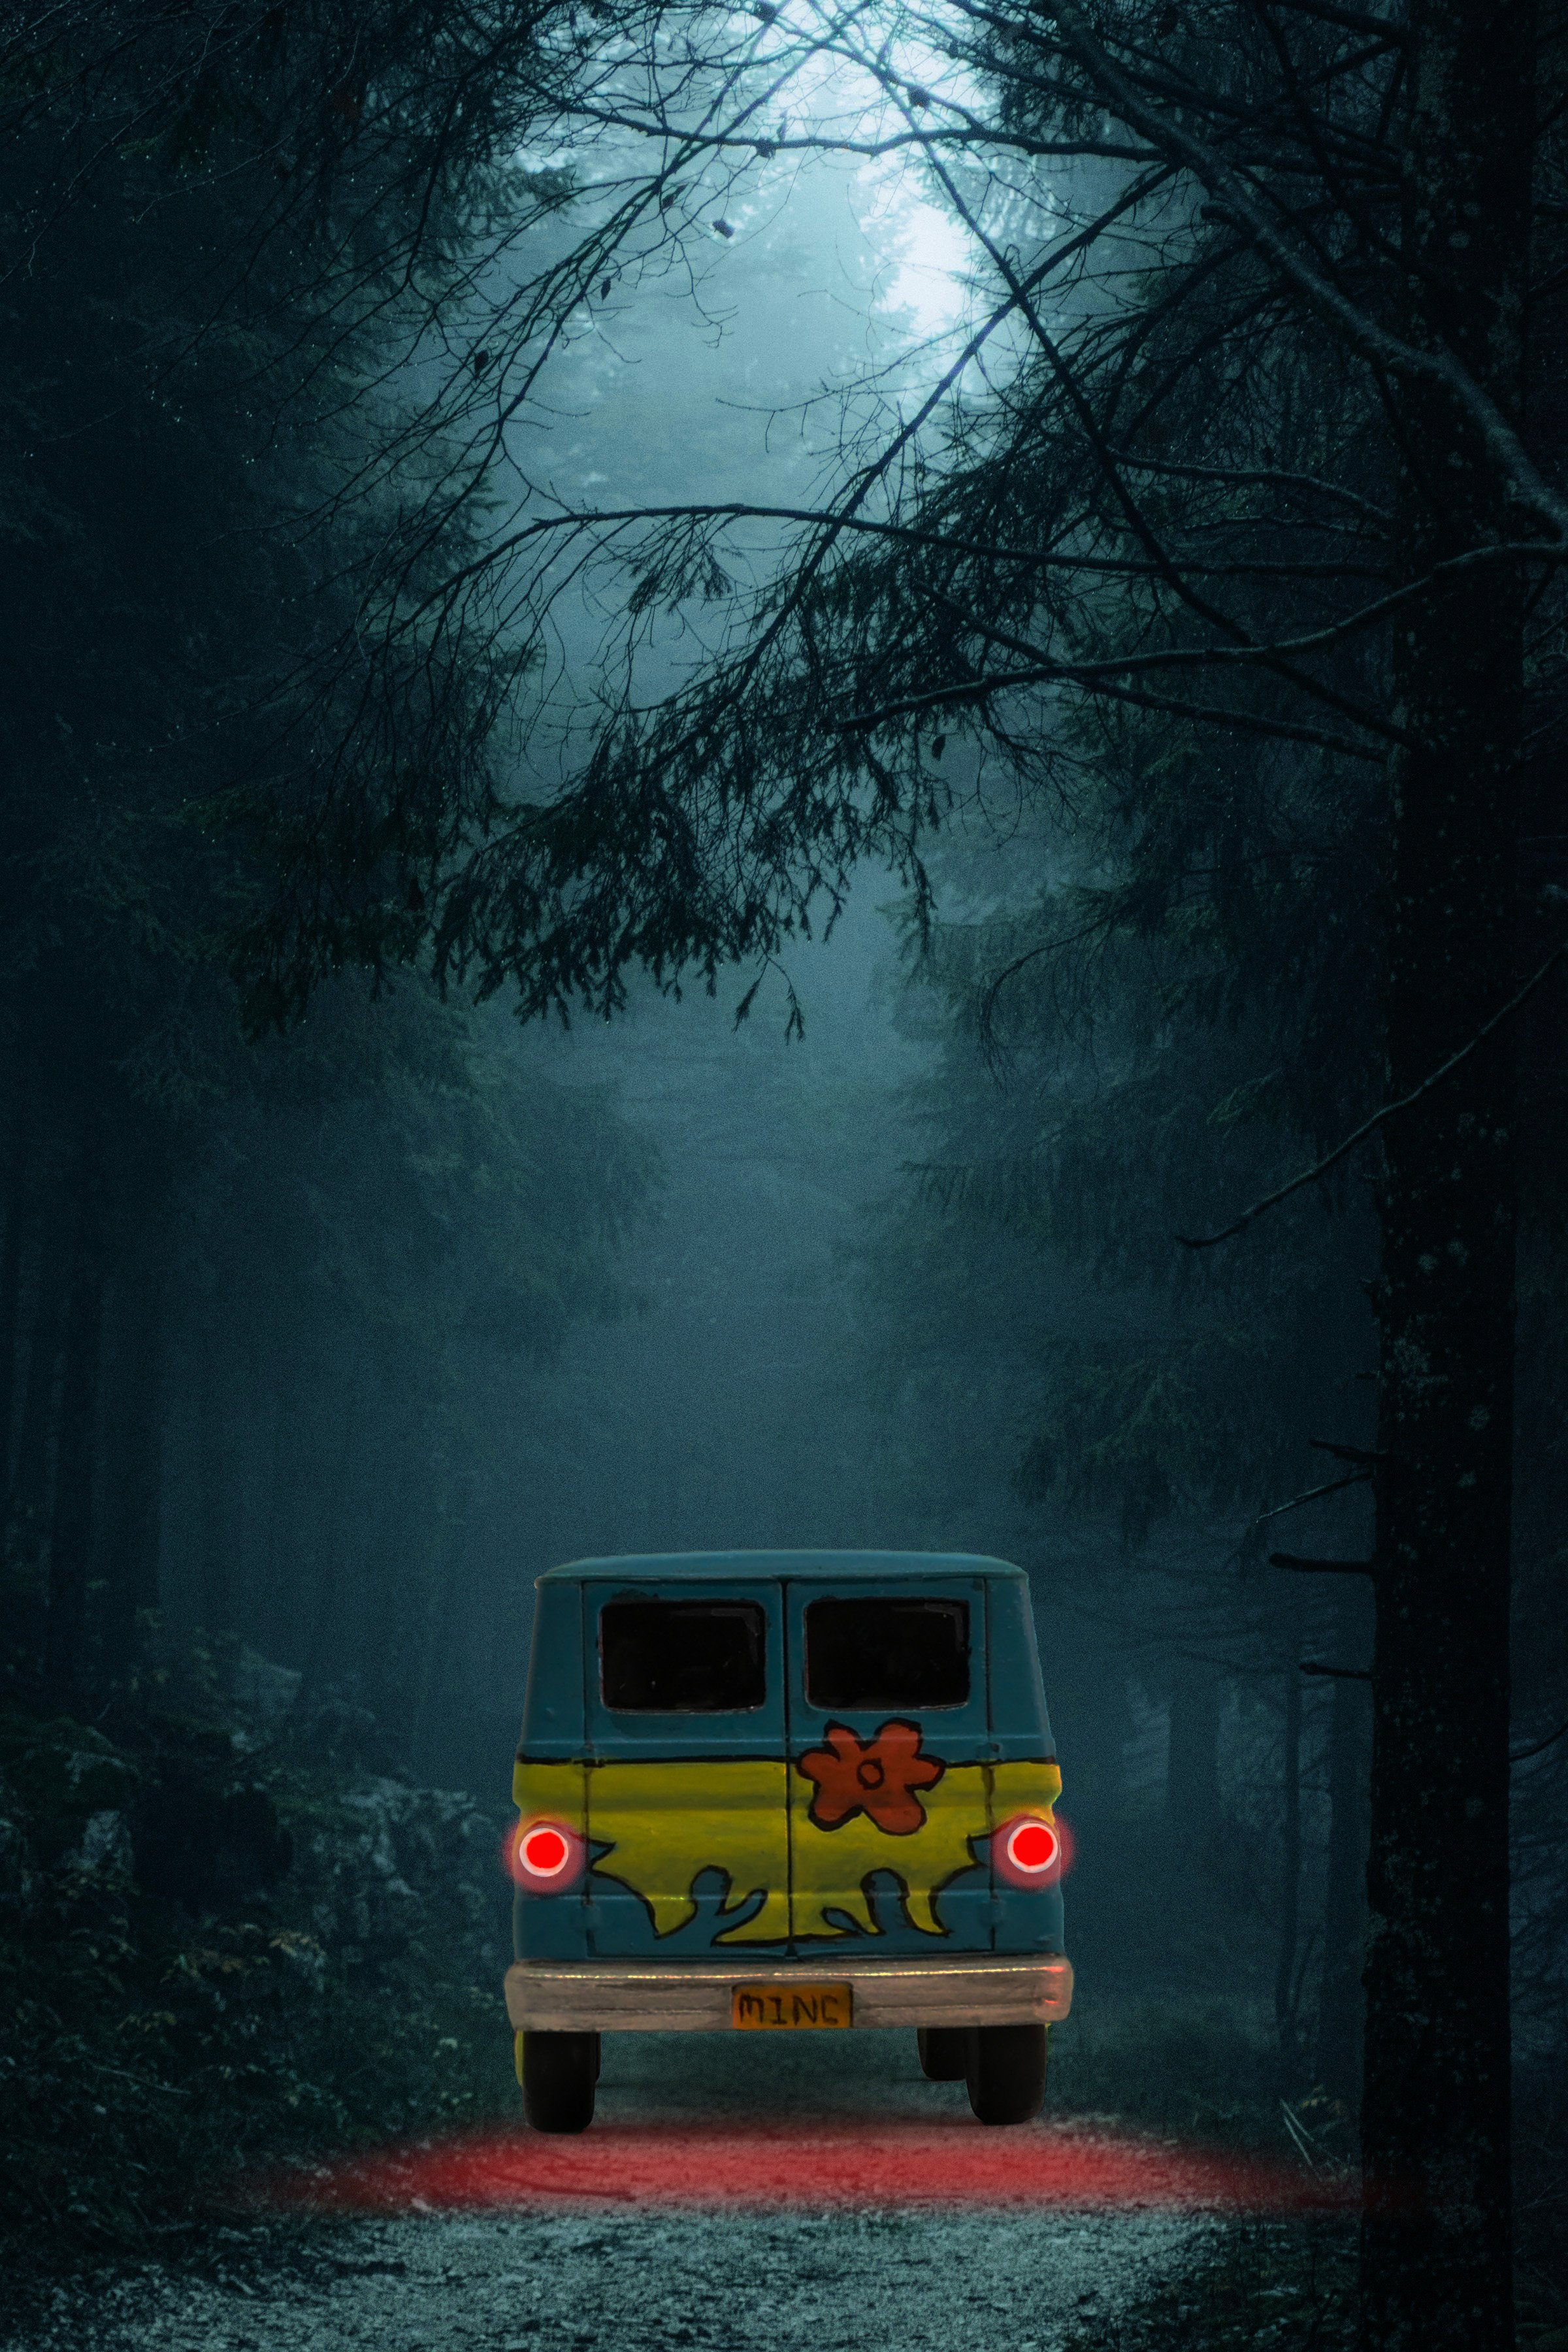
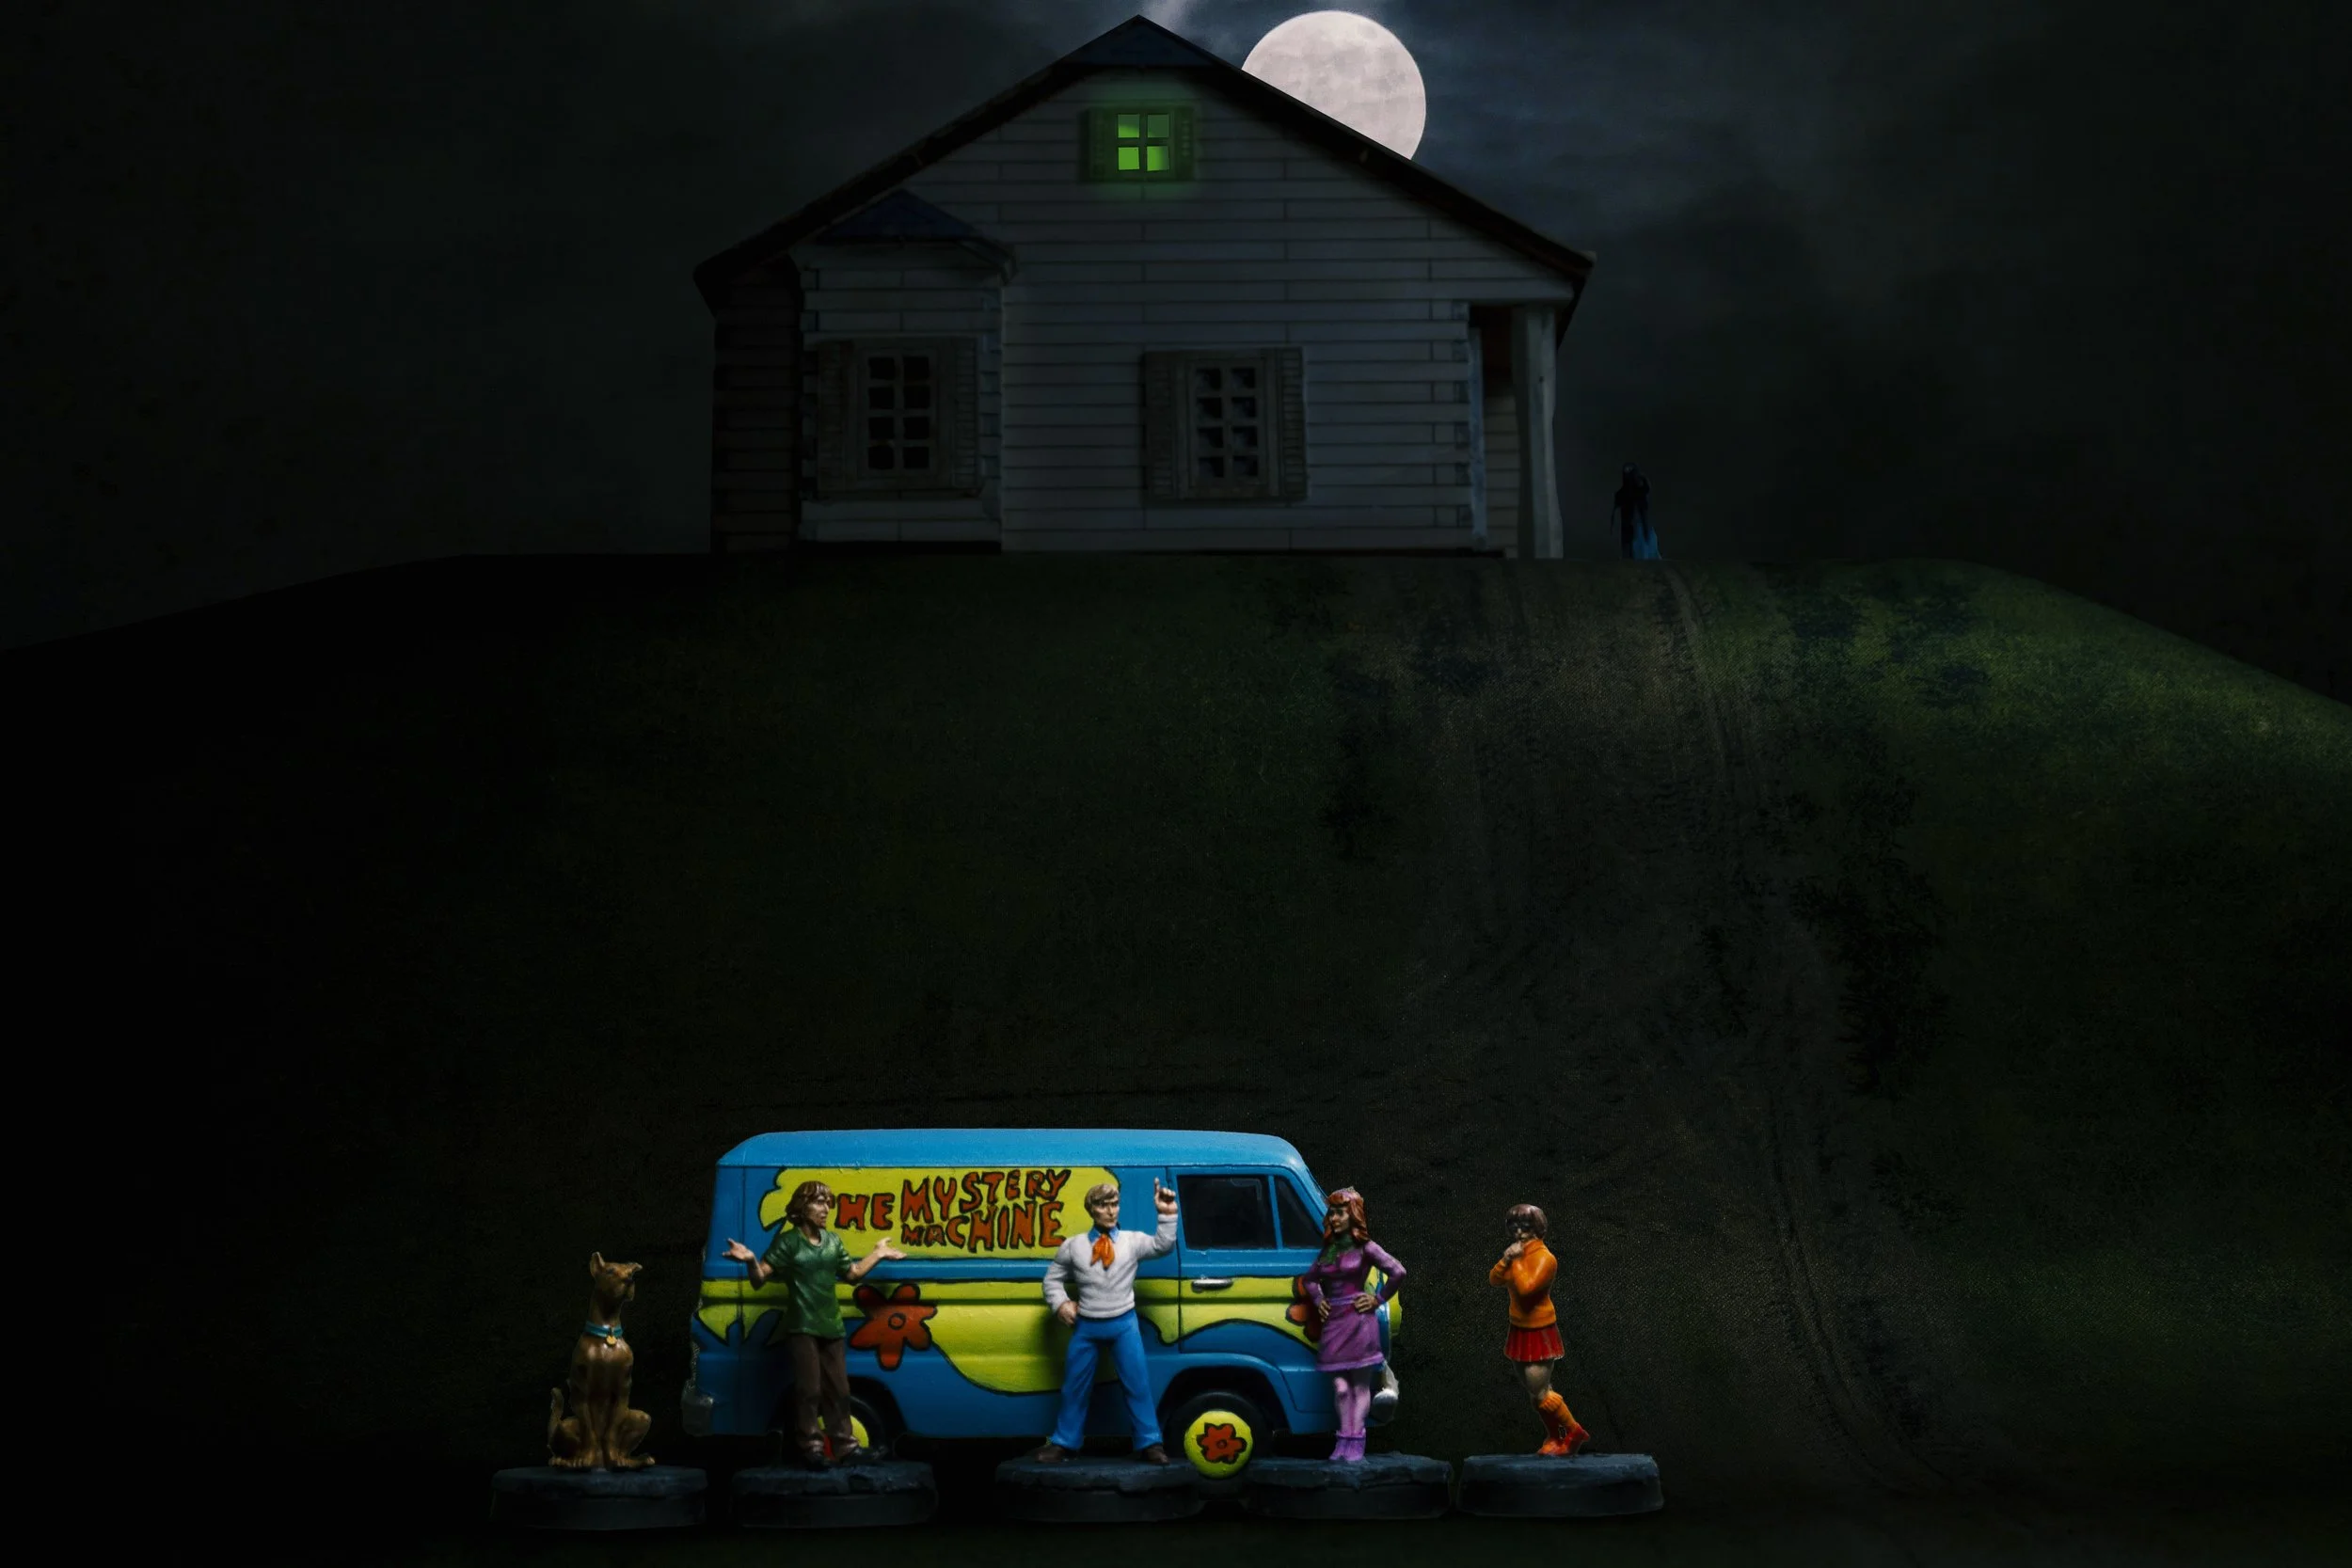
Zoinks! This project was the Holy Grail after the Gaslands stuff was completed. I had a complex design to paint, given that the pattern is repeated on both sides, which I had to match as best I could, plus there was a lot of lettering, again, which needed matched on both sides, though the pattern of that panel is flipped on one side. All of this is done by hand, and the only flower being on badge on the front of the van. The turquoise needed to be mixed and matched by eye, but thankfully the green is TTCombat’s Putrid Green Pus, and it was the perfect colour match. Despite being the most simple colourwise, these points made this the most time consuming part of the project. The Mystery Inc gang were all a pleasure to paint and were all done in a day, with custom bases made using lolly sticks to make that classic Scooby Doo green wooden floorboard look.
I once again tried a couple digital composition images, which I don’t think are too bad. And I actually really like the one of the rear of the van driving down the road. However, once again, the physical setup with a digital touchups blows them out of the water. an MDF house with a digtaly enhanced creepy window glow, a ghost beside the house on the hill, and the gang in the foreground lit in a way to make them the main point of interest. Shooting like this is definitely the best way to do toy photography for me.
Again, the Mystery Machine and the Mystery Inc gang are from Crooked Dice.
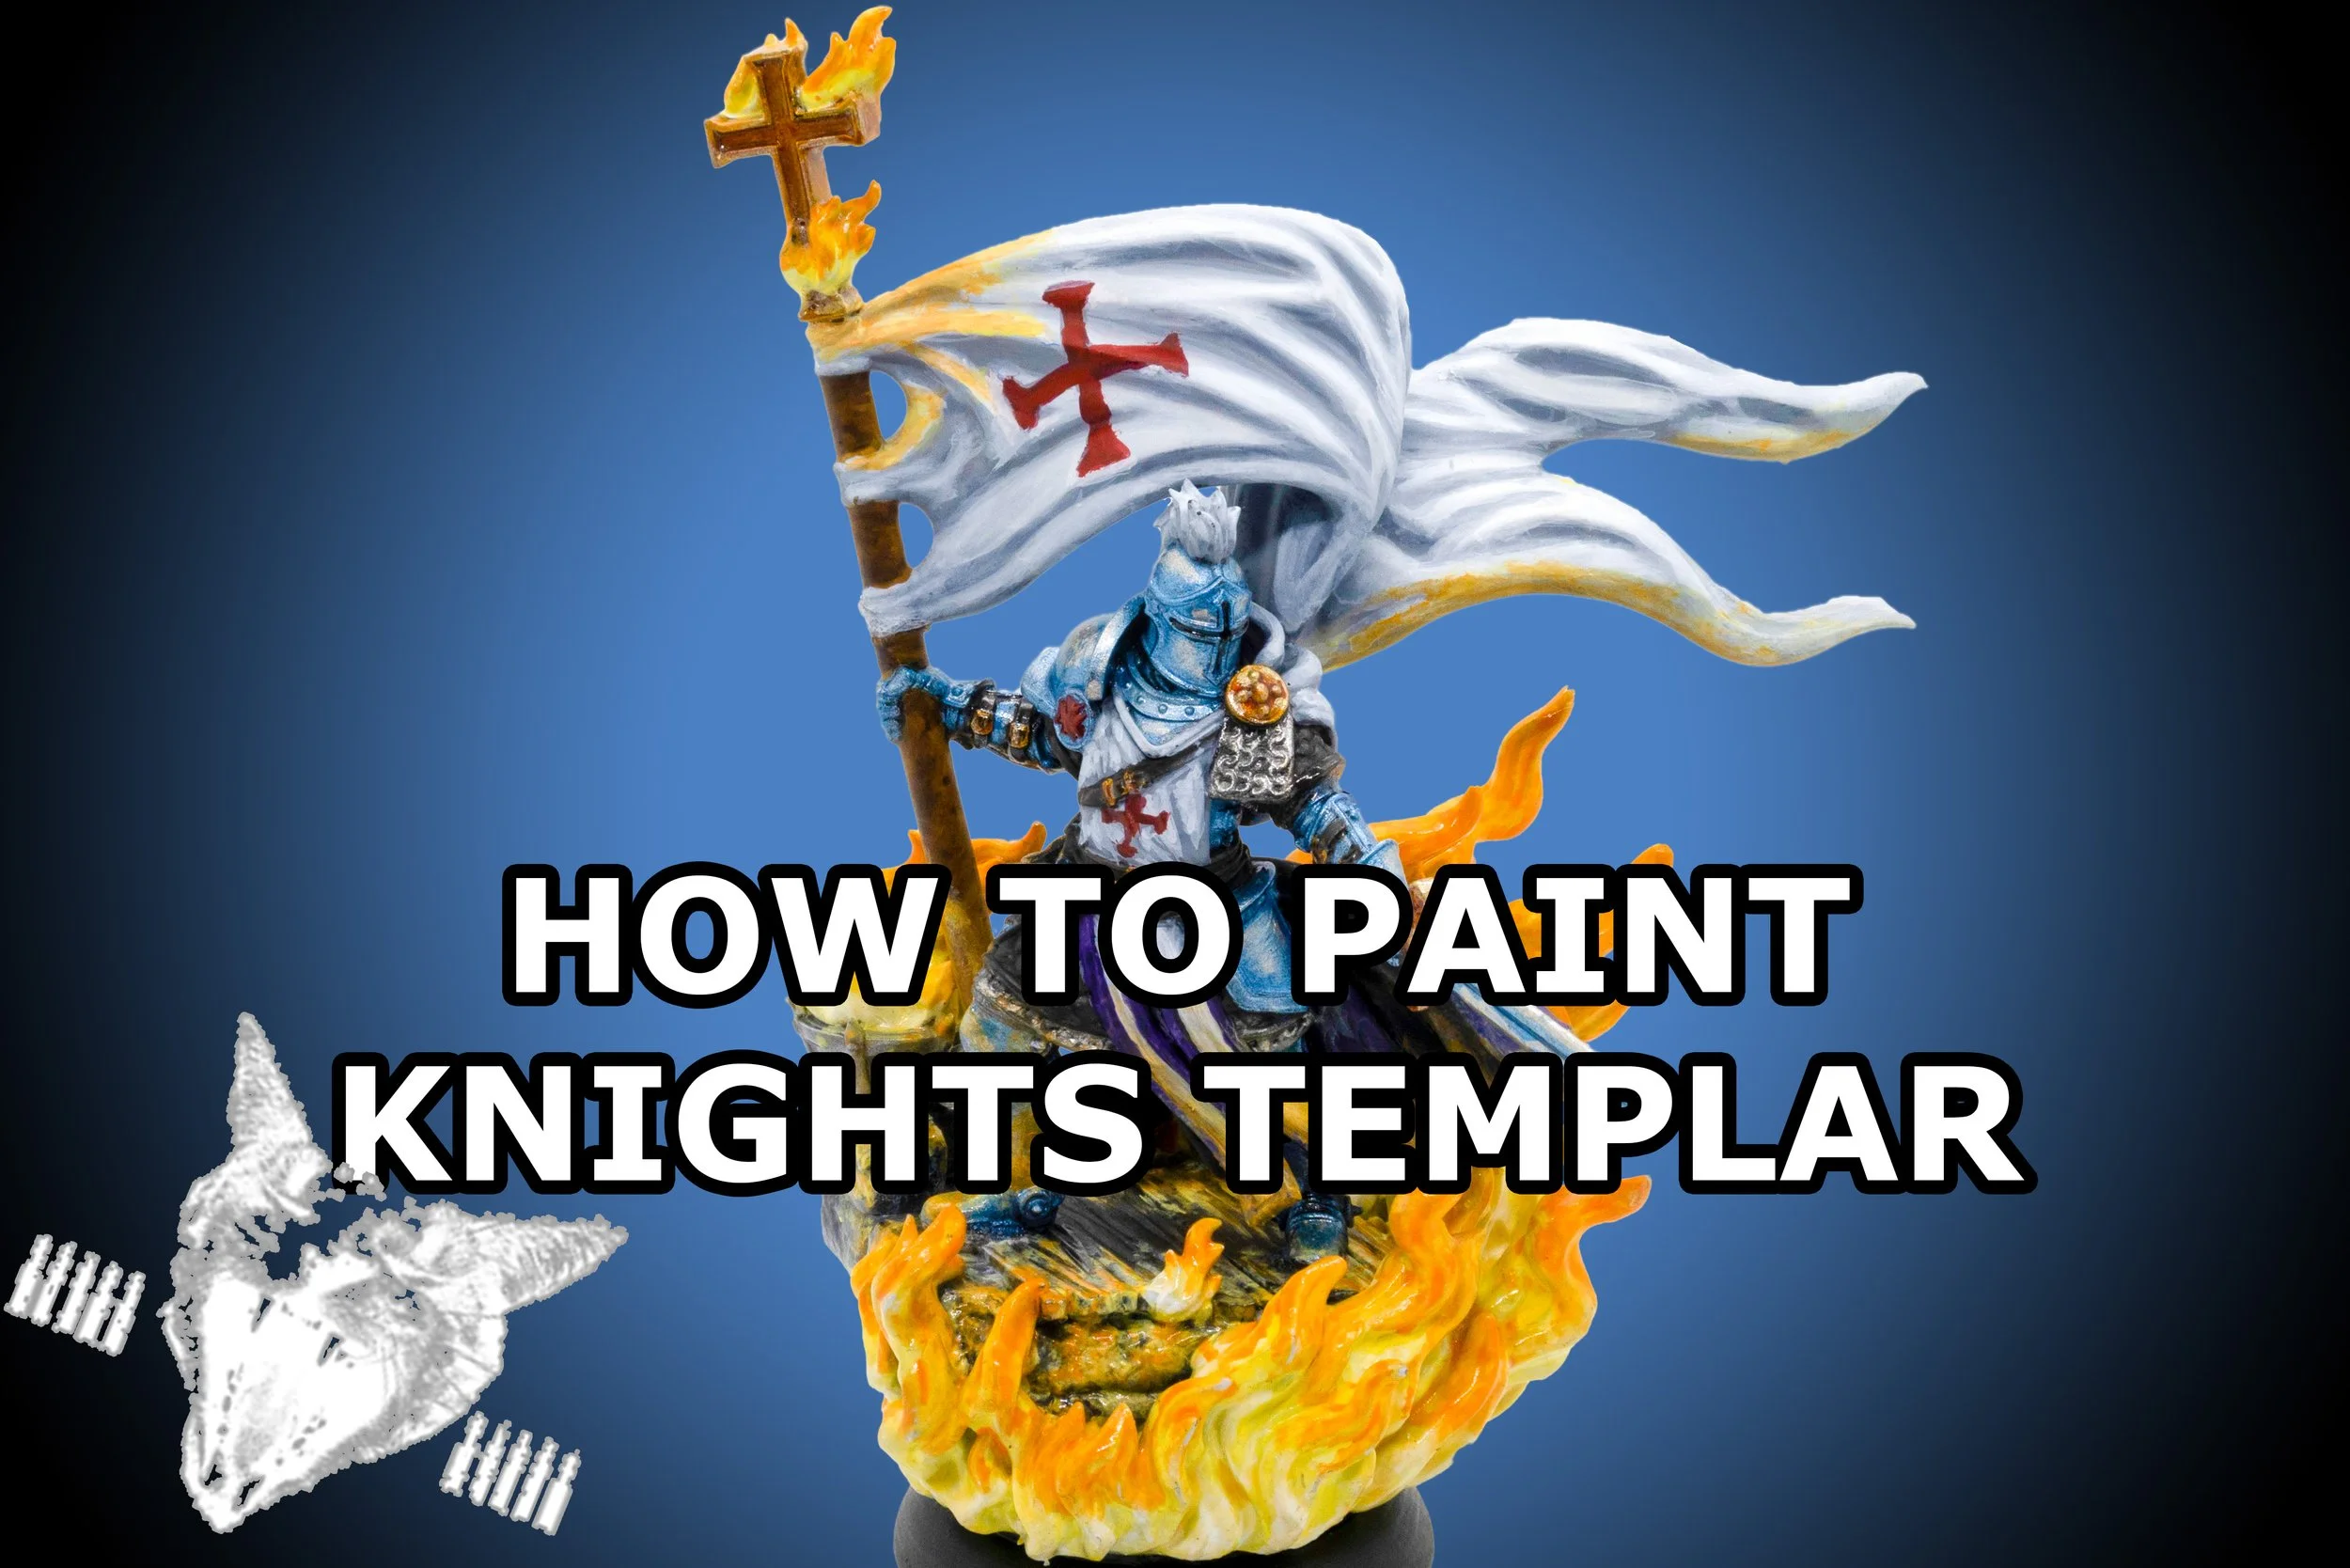


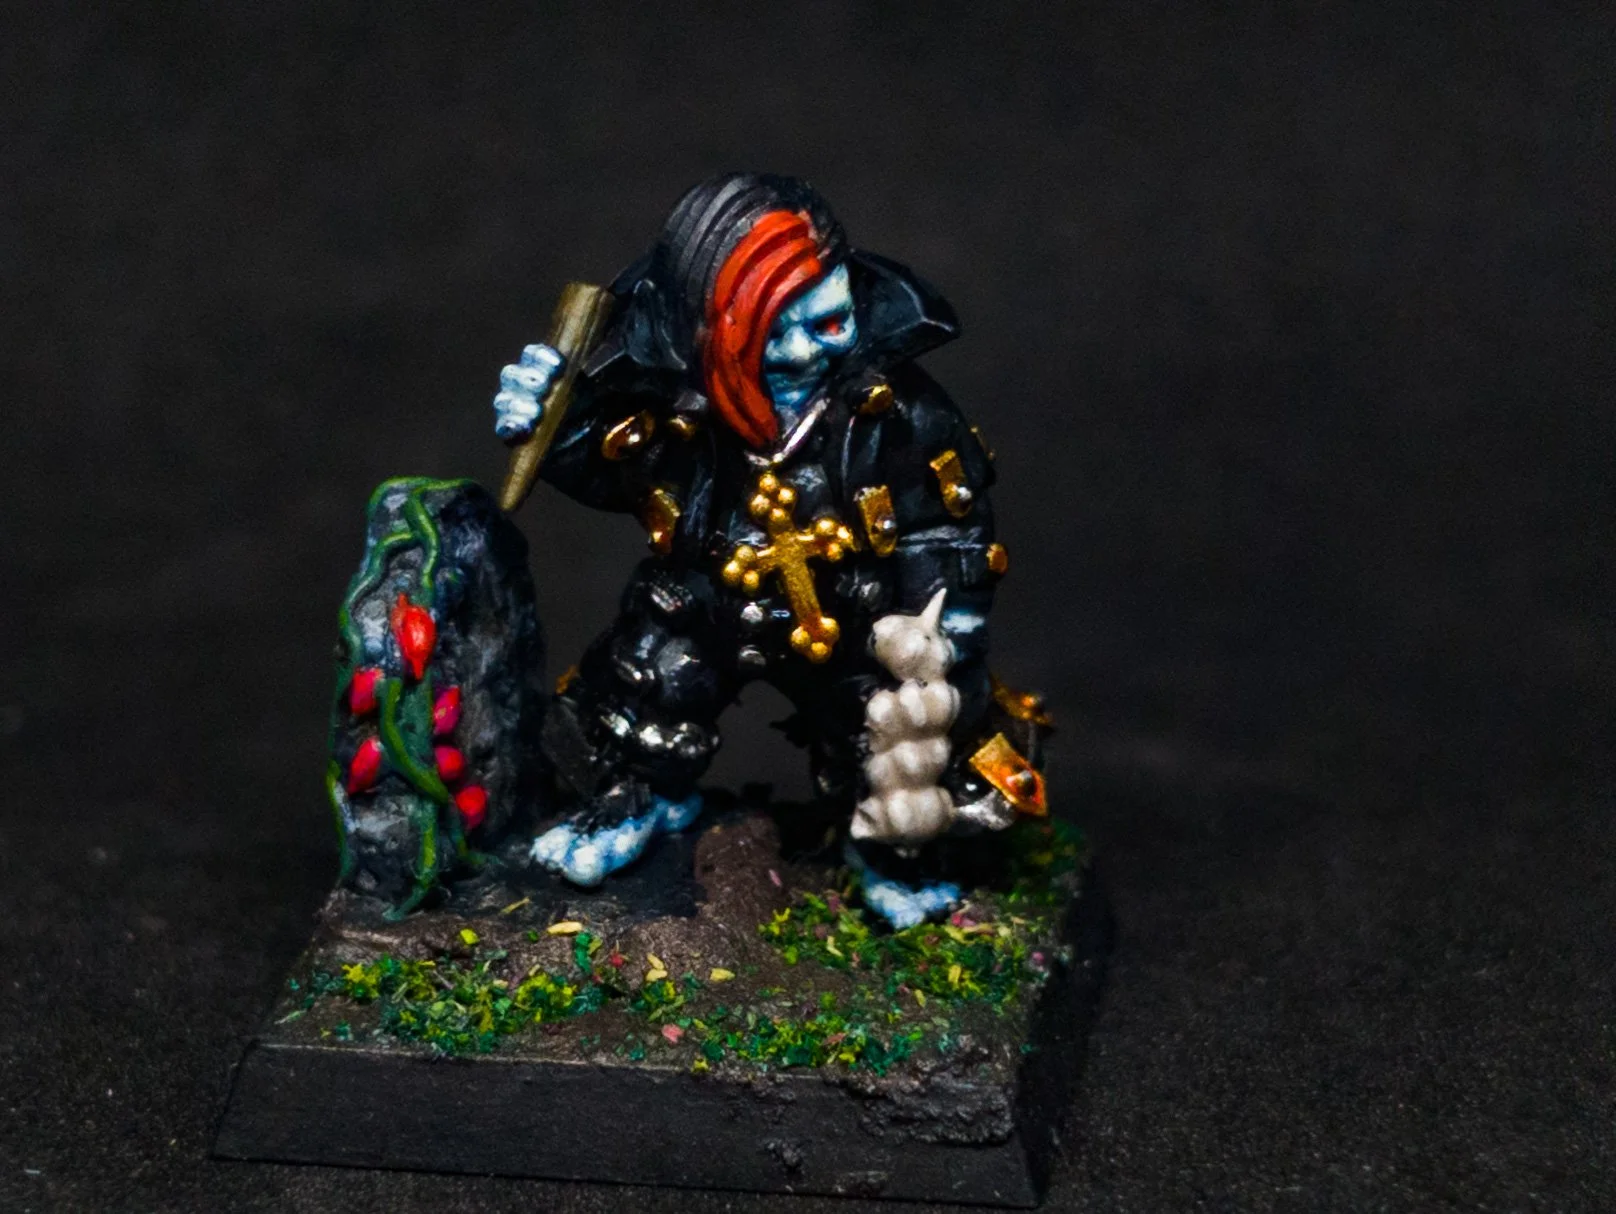







SepTemplar is another portmanteau month, September and Templar! I painted a bunch of Vatican models from Carnevale by TTCombat, and I absolutely love how they turned out!